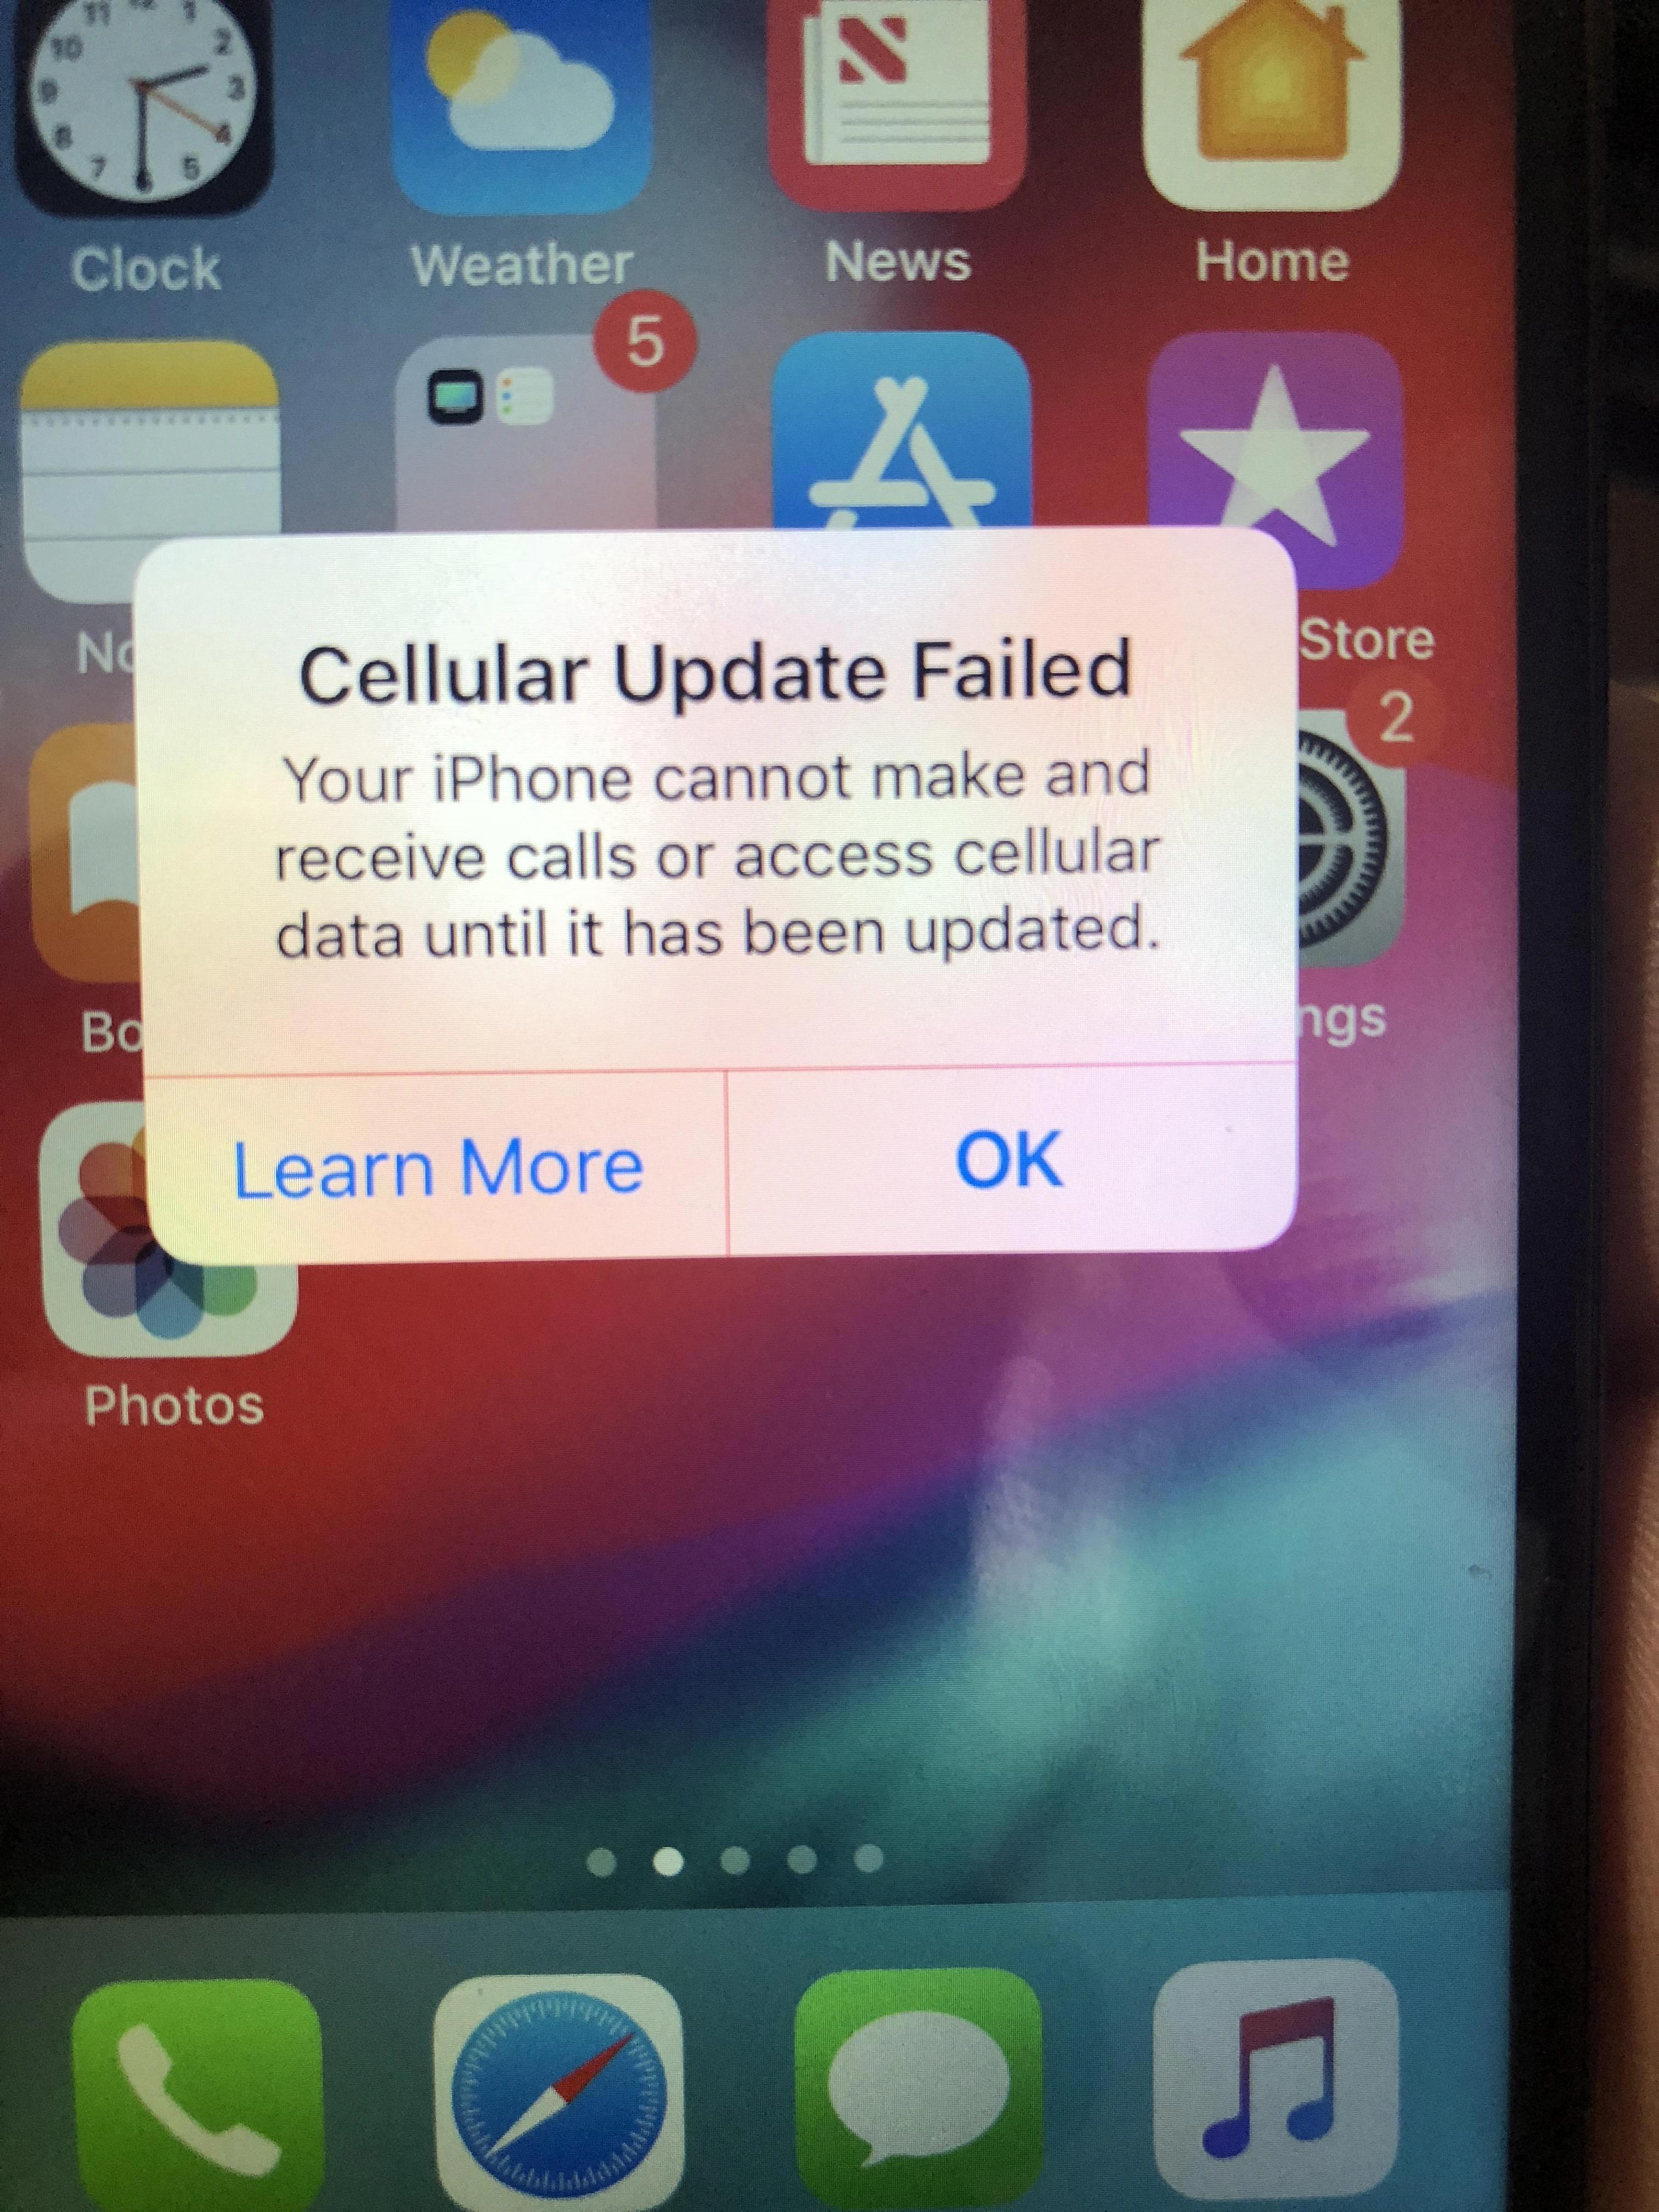
If you’re experiencing the frustrating “Cellular Update Failed” error on your iPhone, don’t worry, you’re not alone. Many iPhone users have encountered this issue, which can be caused by a range of factors. In this article, we will explore some possible solutions to help you resolve this problem and get your cellular data working again.
1. Check iPhone System Update:
One common cause of the cellular update failed error is an outdated iOS version. Network carriers often adjust their networks to match the latest iOS versions, which can cause compatibility issues with older versions. To fix this, go to Settings > General > Software Update and check if there’s an available update. If there is, install it and restart your iPhone.
2. Take Out the SIM Card:
Sometimes, the issue may be related to the SIM card not being properly inserted or recognized by the iPhone. Try removing the SIM card from your iPhone, carefully clean it, and reinsert it. Make sure it’s properly seated in the SIM card tray. Restart your iPhone and check if the error persists.
3. Disable Airplane Mode:
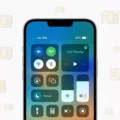
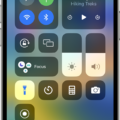
Check if Airplane Mode is enabled on your iPhone. When Airplane Mode is turned on, it disables all wireless connections, including cellular data. Go to Settings and toggle off Airplane Mode. Wait for a few seconds and then turn it back off. This can sometimes resolve the cellular update failed issue.
4. Switch Cellular Data Off:
Another simple solution to try is turning off cellular data and then turning it back on. Go to Settings > Cellular > Cellular Data and toggle the switch off. Wait for a few seconds and then turn it back on. This can help refresh the network connection and resolve any temporary glitches.
5. Disable Wi-Fi Calling:
If you have Wi-Fi Calling enabled on your iPhone, try disabling it temporarily. Wi-Fi Calling allows you to make calls over a Wi-Fi network instead of using cellular data. However, it can sometimes interfere with the cellular network connection. Go to Settings > Phone > Wi-Fi Calling and toggle it off. Check if the cellular update failed error persists.
6. Enable the LTE Option:
Enabling the LTE option can sometimes help resolve the cellular update failed issue. Go to Settings > Cellular > Cellular Data Options > Enable LTE and select the option that suits your network provider (e.g., Voice & Data or Data Only). Restart your iPhone and check if the error is resolved.
7. Search for Carrier Settings Update:
Sometimes, the cellular update failed error can be due to outdated carrier settings. To check for a carrier settings update, go to Settings > General > About. If a carrier settings update is available, you’ll see a prompt to install it. Follow the on-screen instructions to update your carrier settings.
The “Cellular Update Failed” error on your iPhone can be frustrating, but there are several potential solutions you can try. Start by checking for an iOS update, ensuring your SIM card is properly inserted, and disabling Airplane Mode and Wi-Fi Calling. Additionally, toggling off and on cellular data and enabling the LTE option may help resolve the issue. Lastly, don’t forget to check for a carrier settings update. By following these steps, you should be able to fix the cellular update failed problem and get your iPhone’s cellular data working again.
How to Force Your iPhone to Update Cellular?
To manually update the carrier settings on your iPhone or iPad, follow these steps:
1. Ensure that your device is connected to either a Wi-Fi network or a cellular network. This is necessary for the update to be downloaded and installed.
2. Open the Settings app on your device. It can usually be found on the home screen, represented by the gear icon.
3. Scroll down and tap on the “General” option. This should be located towards the top of the third group of settings.
4. Within the “General” settings, scroll down and tap on “About.” It should be near the top, just below “Software Update.”
5. On the “About” screen, your iPhone will automatically check for any available carrier updates. If an update is available, you will see a prompt asking if you want to install it. Tap on “Update” and follow the on-screen instructions to proceed with the installation.
6. In case you don’t see the prompt to install a carrier update, it’s possible that your carrier does not currently have an update available. In such cases, you may need to contact your carrier’s customer support for further assistance or wait for them to release an update.
By following these steps, you can manually update the carrier settings on your iPhone or iPad, ensuring that you have the latest network settings and optimizations provided by your carrier.
What Does It Mean When Your iPhone Says It Needs a Cellular Update?
When your iPhone displays a message stating that it requires a cellular update, it means that there is a software update available for your cellular network. This update is specifically designed to improve the performance, stability, and security of your iPhone’s cellular connectivity.
Here are a few reasons why your iPhone may prompt you to update your cellular settings:
1. Outdated iOS Version: If you haven’t updated the iOS version on your iPhone, the cellular update required issue can arise. Network carriers regularly adjust their network settings to match the latest iOS versions, and if your iPhone is running an older iOS version, it may not be compatible with the updated network settings.
2. Network Carrier Update: Sometimes, network carriers roll out updates to their network settings to enhance the performance and compatibility of their services. When such updates are available, your iPhone prompts you to install them to ensure a seamless and optimized cellular experience.
3. Security and Bug Fixes: Cellular updates also include security patches and bug fixes that address vulnerabilities and improve the overall stability of your iPhone’s cellular connectivity. It is essential to keep your device up to date to protect it from potential security threats and ensure a reliable network connection.
To resolve the cellular update required issue, follow these steps:
1. Ensure a Stable Internet Connection: Connect your iPhone to a stable Wi-Fi network to ensure a reliable and fast internet connection. This is important as cellular updates can be large in size and may require a significant amount of data to download.
2. Update iOS: Go to the Settings app on your iPhone, tap on General, and then select Software Update. If an iOS update is available, download and install it. Updating your iOS version can often resolve compatibility issues and ensure that your iPhone is compatible with the latest network settings.
3. Install Carrier Settings Update: If the cellular update message persists, go to Settings, tap on General, and then select About. If there is a carrier settings update available, you will see a prompt to install it. Follow the instructions to download and install the carrier settings update on your iPhone.
4. Restart your iPhone: After installing any updates, it is recommended to restart your iPhone. This can help apply the changes effectively and ensure that your iPhone’s cellular connectivity is optimized.
By following these steps, you should be able to resolve the cellular update required issue on your iPhone and enjoy an improved and reliable cellular connection.
Conclusion
The issue of iPhone cellular update failed can be caused by various factors. It is important to ensure that your device is updated with the latest iOS version as network carriers often adjust their networks to match the latest software. If your device is not up to date, it may encounter compatibility issues with the carrier updates.
Additionally, it is advisable to check your iPhone’s system update and make sure it is not outdated. This can be done by going to Settings, tapping on General, and selecting About. Follow the onscreen instructions to install any available carrier updates.
If the issue persists, it is worth trying some troubleshooting steps. Taking out the SIM card and reinserting it, disabling airplane mode, switching off cellular data, and disabling Wi-Fi calling are some of the steps that can be taken to resolve the problem.
Furthermore, enabling the LTE option and searching for carrier settings updates can also help in resolving the cellular update issue. It is recommended to connect your device to a Wi-Fi or cellular network before attempting any of these steps.
The cellular update failed problem on iPhones can be resolved by ensuring the device is updated, troubleshooting any possible issues, and following the recommended steps. If the problem persists, it is advisable to contact your network carrier or Apple support for further assistance.

