Are you looking for a way to access and download your iCloud Notes? If so, then you’ve come to the right place! iCloud Notes is an incredibly helpful app that allows you to store and share notes across all of your Apple devices. With iCloud Notes, you can access and download your notes from any device that has an internet connection. In this blog post, we’ll go over how to download iCloud Notes on your iPhone, iPad, iPod touch, or Mac.
First things first, you need to make sure that all of your devices are signed in with the same Apple ID. This will ensure that all of your devices are accessing the same iCloud account. Once all of your devices are signed in with the same Apple ID, you can open iCloud Drive and find and select the file that you want to download. After selecting the file, click Download at the top of the page or double-click on it. The document will then be downloaded to your default download location.
If you accidentally delete one of your notes from iCloud or if it just gets lost over time, don’t worry! You can still recover recently deleted notes by opening Notes on iCloud.com and selecting Recently Deleted in the folder list on the left side of the screen. From there, select any note that is listed and click Recover in the Notes toolbar. The note will then be moved back into its original folder.
Finally, if you want to transfer notes from iCloud to your iPhone easily then all you have to do is open Settings > Click Apple ID Profile > Tap iCloud > Turn on Notes sync > Run Notes app and wait for it to finish downloading any new notes onto your phone.
We hope this blog post helps make downloading and transferring your notes from iCloud a breeze! Thanks for reading!
Downloading Notes From iCloud
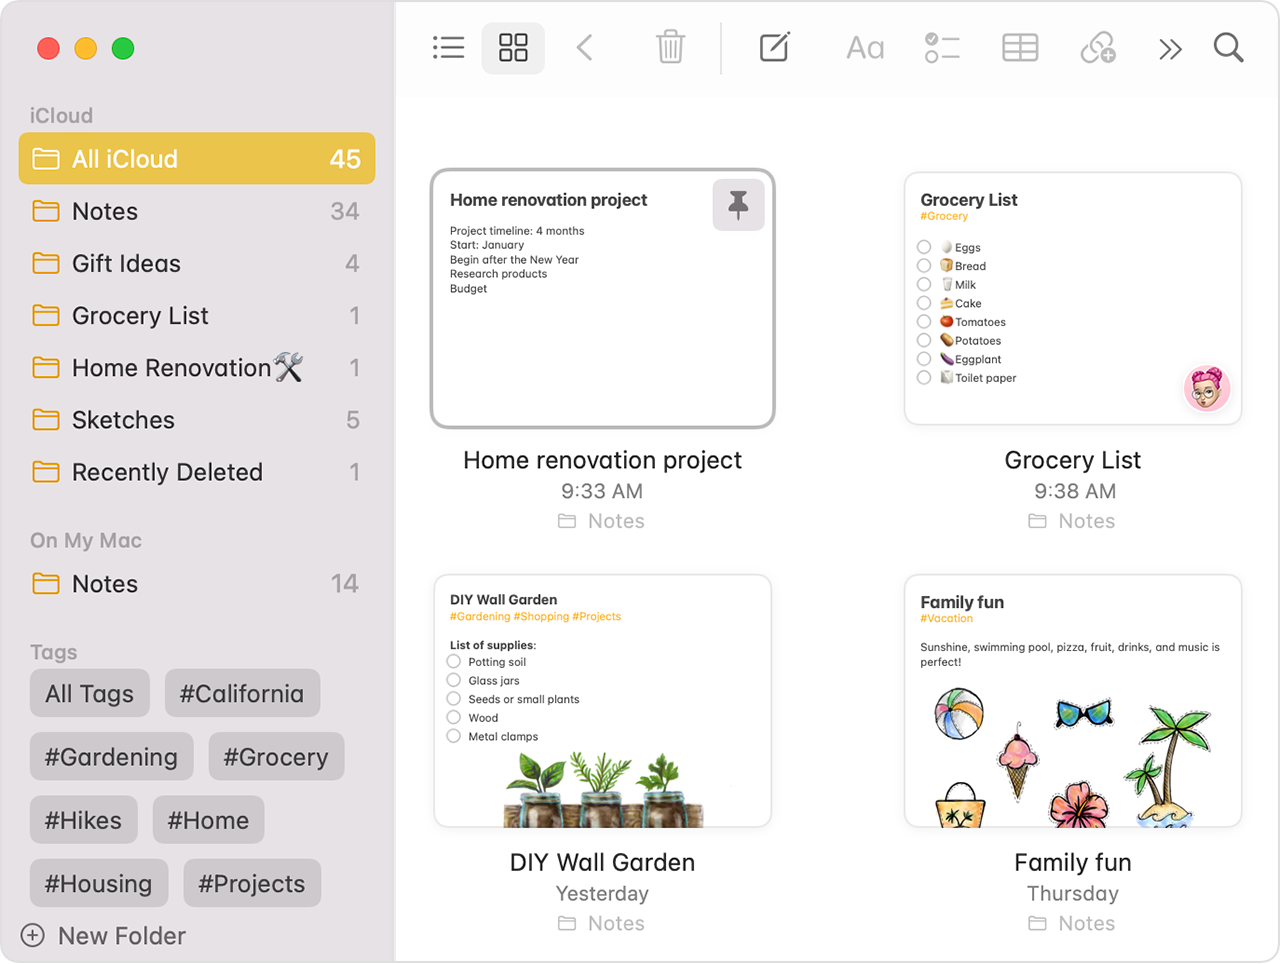
Yes, you can download your Notes from iCloud. To do so, open the Notes app on your iPhone, iPad, iPod touch, or Mac that’s signed in with the same Apple ID as the one used to create the Notes. Once you have opened the app, select the note that you would like to download and click on the “Attachments” button located at the bottom of the screen. From there, you can view and download any photos, audio files, maps, or iWork files associated with the Note. Finally, once downloaded these items will be accessible in Notes on iCloud.com.
Downloading Notes from iCloud to a PC
Yes, you can download Notes from iCloud to your PC. To do this, open iCloud Drive on your PC and find the file you want to download. Then click the Download button at the top of the page or double-click the file. The document will then be downloaded to your default download location.
Redownloading Notes from iCloud
To redownload Notes from iCloud, you will need to log into your iCloud account. Once logged in, select the ‘Notes’ icon from the list of available apps. This will open the Notes app and display all the notes that are stored in iCloud. From here, you can select the notes you wish to download and click on the ‘Download’ button at the top right corner of your screen. The selected notes will then be downloaded to your device and saved in their respective folders within the Notes app.
Downloading Notes from iCloud to iPhone
To download Notes from iCloud to your iPhone, you’ll need to open the Settings app and tap on your Apple ID Profile. From there, tap on iCloud and make sure the switch next to Notes is turned on. This will enable the synchronization of your Notes across all of your devices. Once this is done, simply open the Notes app on your iPhone and wait for the downloading process to complete. Your notes should now be available on your iPhone.
Downloading Notes from an iPhone
To download all notes from your iPhone, you can use one of the following three methods:
1. Using iCloud: Enable iCloud storage for your iPhone notes by opening Settings > [your name] > iCloud and toggling Notes to On. Your notes will upload to iCloud, where you can then sign in on another device to access them.
2. Using iTunes: Connect your iPhone to your computer and open iTunes. Select your device, then choose “Notes” from the list of options under “Backups”. Check the box next to “Encrypt local backup” if desired, then click “Back Up Now”. This will create a backup of all of your notes on your computer.
3. Using a third-party app: There are several third-party apps available that allow you to export all of your iPhone notes directly to your computer in various formats such as .txt or .pdf files. Download and install one of these apps on both your iPhone and computer, then follow the instructions provided by the app to transfer your notes.
Copying and Pasting Notes from iCloud
To copy and paste notes from iCloud, first, open the note you wish to copy to iCloud. Select the text you would like to copy, then click Edit > Copy. Open the document where you would like the note to be pasted in Notes and make sure you are in Edit Mode. Click where you would like the copied text to appear or select the existing text if you are replacing it with your copied note. Finally, click Edit > Paste and your copied note will appear in your document!
Conclusion
In conclusion, iCloud Notes is an incredibly helpful tool for those looking to store and share important documents. With its ability to easily download files from iCloud and attach items to notes, it makes staying organized effortlessly. Additionally, you can recover recently deleted notes in the Recently Deleted folder on iCloud.com, and transfer your Notes from iCloud to your iPhone with just a few simple steps. With iCloud Notes, keeping track of important documents has never been easier!

