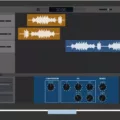
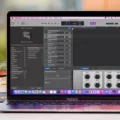
GarageBand is a great way to start recording your own podcast from the comfort of your own home. It is an accessible, inexpensive, and user-friendly option for anyone looking to launch their own podcast. With its intuitive interface and powerful editing tools, GarageBand makes it possible for anyone to create a professional-sounding podcast.
In this blog post, we’ll walk you through the steps of using GarageBand to create and publish your podcast. We’ll cover everything from setting up the software to exporting your finished show and making it available on popular podcasts directories.
First off, you need a good microphone and audio interface in order to capture high-quality sound with GarageBand. Once you have all the necessary equipment, you can begin setting up the software. Launch GarageBand on your Mac and select “New Podcast Episode” from the template menu. This will open a new project where you can start recording your show right away.
When you are done recording and editing your episode, click on Share > Export Song to Disk at the top of the window in GarageBand. This will bring up a dialog box where you can choose a location for saving the exported file (AAC, MP3, AIFF, or WAVE). Type in a name for your file in the Save As field and select an appropriate format from the pop-up menu before hitting Save.
The next step is uploading your podcast file to a hosting site such as Libsyn or Pippa so that it’s available on as many directories as possible. To do this, simply log in to your account on one of these platforms and follow their instructions for uploading files into their system. Once uploaded successfully, you will be able to share links to download or stream your show across various platforms including iTunes, Google Play Music, Spotify, etc…
Overall, creating a podcast with GarageBand is simple enough for anyone who knows how to use basic audio editing tools – no experience necessary! Just remember that having good quality audio equipment is essential if you want your show to sound professional-grade and make sure that once finished; you promote it as much as possible so that more people can hear what you have created!
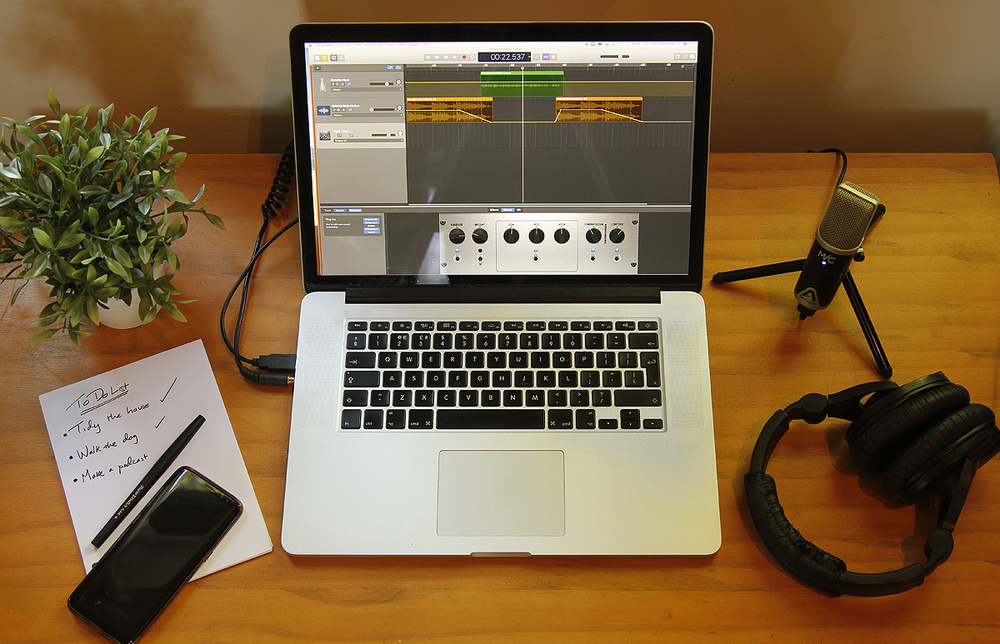
Can You Create a Podcast Using GarageBand?
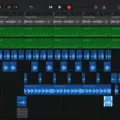
Yes, you can absolutely podcast from GarageBand! GarageBand is a great tool for creating professional-sounding podcasts. It comes with a variety of features that make it easy to record and edit audio, including an extensive library of sound effects, virtual instruments, and loops. With its user-friendly interface, you can easily record your podcast and add music or sound effects to create the perfect atmosphere for your show. All you need is a good microphone and an audio interface to connect it to your computer. Once everything is set up, you’ll be ready to start recording your show with GarageBand!
Saving a Podcast from GarageBand to MP3
To save a podcast from GarageBand to MP3, open your project in GarageBand and select Share > Export Song to Disk. In the Save As field, type in a unique name for your podcast, then choose a location in the Where pop-up menu where you would like it to be saved. Under Format, select MP3 as the file type. Finally, click the Export button to save your podcast as an MP3 file.
Uploading a GarageBand Recording to Apple Podcasts
To upload a GarageBand recording to Apple Podcast, follow these steps:
1. Open the GarageBand app and open the project containing the recording you want to upload.
2. Select Share > Export Song to Disk from the File menu.
3. In the window that pops up, select the audio format and type of podcast you want to create (e.g., AAC Encoder for an audio podcast).
4. Enter a playlist name, artist name, composer name, and album name in the fields provided.
5. Select Export from the bottom-right corner of the window and save your podcast file somewhere on your computer or hard drive.
6. Open iTunes and click “File” > “Add File to Library” from the menu bar at the top of your screen. Navigate to where you saved your podcast file and select it, then click “Choose” or “Open” to add it to iTunes.
7. Once added to iTunes, select your podcast file in iTunes and click File > Share > Podcast in iTunes from the menu bar at the top of your screen.
8. Fill out all of the required fields on this page (such as title, description, etc.), then click Publish Podcast at the bottom-right of this window when you are done to upload it directly to Apple Podcasts!
Conclusion
In conclusion, GarageBand is an excellent and cost-effective option for anyone looking to start recording their podcast. It has all the necessary tools to make a podcast sound professional, with the addition of a good microphone and audio interface. The intuitive user interface makes it easy to navigate through the various functions of GarageBand, allowing users to quickly and easily record, edit, mix, and export their podcast audio. With its many features, GarageBand is an ideal choice for both experienced producers and those just starting out in podcasting.

