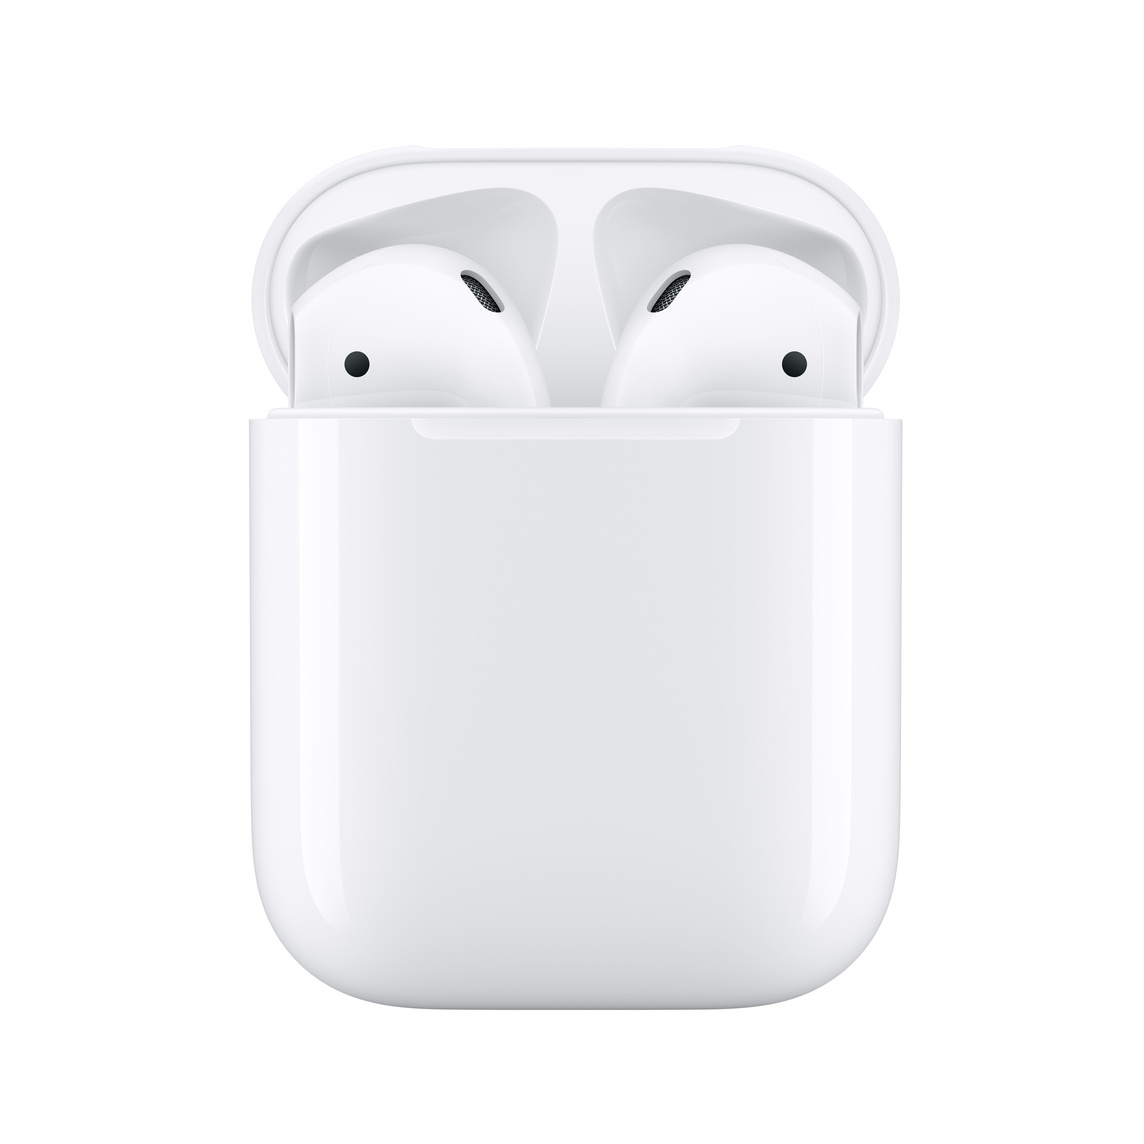
Updating your AirPods 2 is a simple and straightforward process, but it’s important to make sure your AirPods are up-to-date with the latest firmware. With the latest firmware updates, your AirPods will be able to take advantage of new features, as well as improved sound quality and battery life.
To get started with updating your AirPods 2, you’ll need an iPhone or iPad running iOS 12.5 or later, as well as a charging cable for the case that came with your AirPods.
Step 1: Connect Your AirPods to Your iPhone
To begin the update process, you’ll need to connect your AirPods to your iPhone. To do this, open Settings on your iPhone and select Bluetooth from the list of available options. Then tap on the “i” icon next to your AirPods in the list of devices.
Step 2: Check for Updates
Once connected, scroll down to the About section where you can check for updates. If there are any available updates, tap on the Update button next to them. You may also see a prompt asking if you want to install an update; if so, follow that prompt and confirm that you want to install it by tapping Install Now or Later.
Step 3: Force Install an Update
If you don’t see any updates on the About page but believe there should be one available (for example if you’ve recently bought new AirPods), you can force install an update by putting your AirPods into their case, connecting them using their charging cable and leaving them in the case until they have updated themselves automatically.
Step 4: Check That Your Update Was Successful
Once completed successfully, you should see a notification in Settings indicating that an update was installed successfully on your AirPods 2. You can also check this by going back into the About page of Bluetooth settings and checking that the version number has been updated correctly – it should show “Version 5B58” or higher depending on what version you have installed now.
Updating your AirPods 2 is a great way to ensure that they are always working at their best and taking advantage of all of their features!

Troubleshooting AirPods Update Issues
There could be several reasons why you can’t update your AirPods. It could be due to an issue with your AirPods or the charging case itself, or it could be due to an incompatibility between the software on your device and the version of firmware on your AirPods. If you’re certain that all of these conditions are met, make sure that you have the latest version of iOS on your device and that your AirPods are in their charging case with the lid open so that they can connect to your iPhone. Then connect the charging cable to the case and wait for the firmware update to start. If you still can’t update them, contact Apple Support for further assistance.
Forcing an AirPod Update
To force an AirPod update, start by connecting your AirPods to your iPhone. Then, navigate to Settings > Bluetooth and tap the “i” icon next to your AirPods. Scroll down to the About section and check if there is an available update. If so, you should see a “Check for Update” option – simply tap it and your AirPods will begin updating. Please note that this process can take a few minutes. Once the update is complete, you can use your AirPods normally.
Updating AirPods Software
Yes, you can software update AirPods. Firmware updates are automatically delivered while your AirPods are charging and connected to your iPhone, iPad, or Mac via Bluetooth. This means that you don’t need to manually update your AirPods – the updates will occur automatically. To ensure your AirPods receive the latest firmware updates, keep them close to your device while they are charging.
What is the IOS Version for AirPods 2?
If you have AirPods 2, you will need to have a device running iOS 15.1 or later in order to use them. AirPods 2 are not compatible with any versions of iOS earlier than 15.1. To ensure optimal performance, it is recommended that your device is running the most recent version of iOS available. You can check which version of iOS you currently have by going to Settings > General > About and looking at the Version number.
Forcing an Update on AirPods Pro 2
To manually force an update for AirPods Pro 2, you will need to start by placing them in their charging case and connecting the case to a power source. Then you will need to connect the AirPods Pro 2 to an Apple device, either with Bluetooth or via a lightning cable. Once connected, your device should automatically detect if there is a new firmware version available. If a new version is available, it will be downloaded and installed directly on your AirPods Pro 2. You can also find the latest version of the firmware on Apple’s official support page.
Updating AirPods Firmware Without Apple
Updating the AirPods firmware without Apple is not possible, as Apple is the only source of the software. However, if you own an iPod, iPad, Mac, or MacBook, you can keep your AirPods up to date by plugging them into their case and keeping it close to your iOS or macOS device. The updates should download automatically and will keep your AirPods’ software up to date.
Conclusion
Updating your AirPods 2 is a simple process. All you need to do is connect your AirPods to your iPhone, go to Settings > Bluetooth, tap the I icon next to your AirPods, and scroll down to the About section. You can then check if there is an update available and try to force the installation if necessary. With these few steps, you can ensure that you have the latest firmware version and enjoy all of the features of your AirPods 2.


