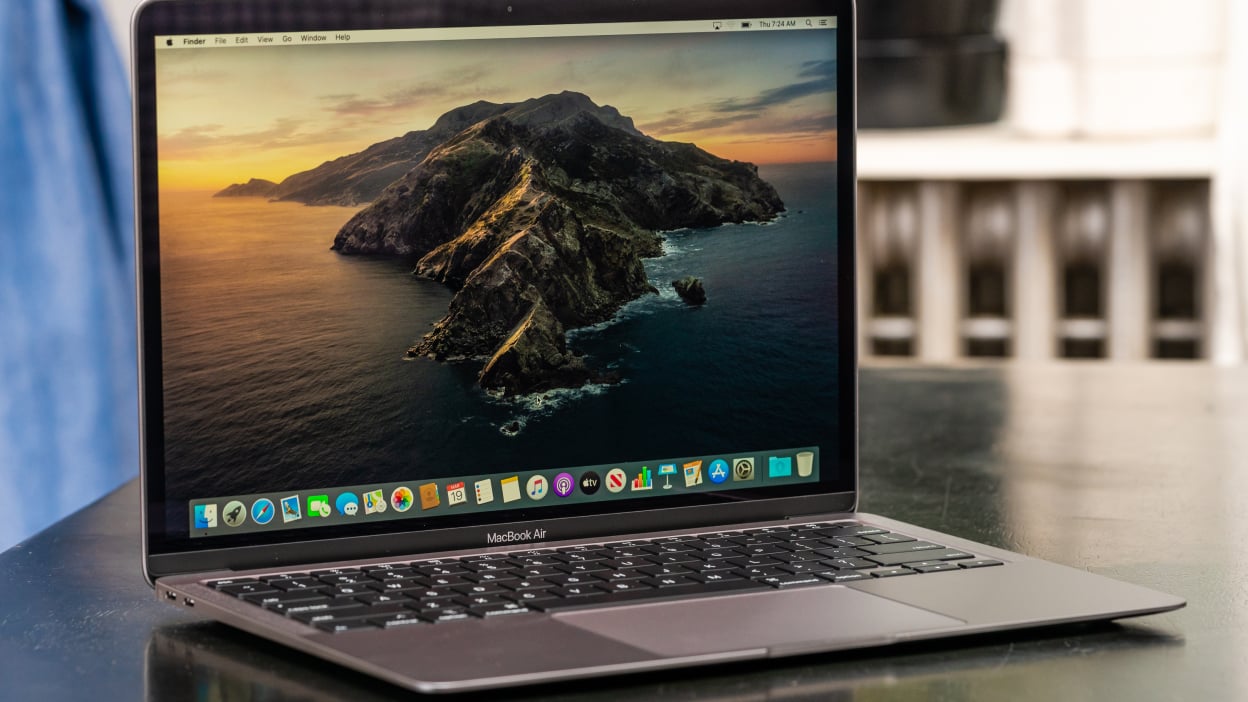
Are you having trouble with your Macbook Air microphone? Maybe it’s not working as expected, or not picking up sound at all? If so, don’t worry! This blog post will walk you through how to test and troubleshoot your Macbook Air microphone so that you can get it working again.
The first step to fix any microphone issue on the Macbook Air is to make sure that the input volume is set correctly. To do this, click on the Apple logo in the top menu bar and select System Preferences in the drop-down menu. On the System Preferences screen, click on the Sound tab. Here you can adjust your Input Volume settings accordingly.
Next, it’s important to test your microphone to make sure that it is indeed working as expected. To do this, open the Voice Memos app and tap on the Record button. Speak into your phone at a normal level and stop the recording when finished. When you play back the memo, you should hear your voice clearly if everything is working properly.
If you want to go one step further in order to make sure everything is running smoothly with your Macbook Air microphone, then we recommend using a third-party application such as Audio MIDI Setup (AMS). This will allow you to fine-tune things such as output/input gain levels and also check for any potential hardware issues with your device.
Finally, if none of these methods have fixed your problem then it may be time to consider purchasing a new microphone for your Macbook Air. There are plenty of great options available for both wired and wireless microphones so be sure to do some research before making a purchase decision!
We hope this blog post has been helpful in helping you troubleshoot any microphone issues with your Macbook Air!

Ensuring Microphone Functionality on Mac
To make sure your microphone is working on a Mac, you’ll need to open the System Settings. To do this, go to the Apple menu in the top left corner of your screen, then click ‘System Settings’. In the sidebar, click Privacy & Security. Scroll down if necessary and click ‘Microphone’. Underneath, you will find a list of apps that have access to your microphone. Make sure that all relevant apps have access enabled and then test your microphone by speaking into it and checking for feedback in the app or program you are using. If there is no response, try adjusting your volume level or checking for any mute settings in the program you are using.
Troubleshooting a Non-Functioning MacBook Air Microphone
The most common reason for a MacBook Air microphone not working is that the input volume is set too low. To check if this is the issue, go to System Preferences, click on the Sound tab, and make sure that your microphone’s input volume is set to a level where you can hear it. Additionally, make sure that your microphone is properly connected to your Mac and that all settings related to it are correct. If these steps do not work, then there may be an issue with either the microphone itself or with other audio software installed on your Mac.
Testing a Microphone to Ensure It Is Working
To test if your microphone is working, you first need to make sure it is connected to your PC. Once that is done, you can open the Sound settings on your computer by selecting Start > Settings > System > Sound. In the Sound settings, go to Input, and under Test your microphone you will see a blue bar that rises and falls as you speak into your microphone. If the bar moves consistently with your voice, then it means your mic is working properly.
Testing Microphones and Speakers on Mac
To test your microphone and speakers on a Mac, first, open the System Preferences from the Apple menu in the top left corner of your screen. Then select Sound and click on the Input tab. Ensure that your microphone is selected as the Audio Input Device and check the level meter to make sure that sound is being received. If not, adjust the volume slider until you can see that sound is being picked up.
Next, switch over to the Output tab and select your built-in speakers as the Audio Output Device. Check to see if the Output volume slider is set low; if it is, move it to the right and test it again. If there’s a Mute checkbox selected, deselect it and test again. You should now be able to hear sound coming through your speakers when you talk into your microphone.
Troubleshooting a Non-Functioning Built-In Microphone
The most common reason why your built-in microphone might not be working is that it’s either not enabled or isn’t set as the default device. To check if your microphone is enabled, go to your computer’s sound settings and make sure that the microphone is checked and set as the default device. You can also check the connections to make sure that everything is correctly plugged in. Additionally, you may need to update your audio drivers or adjust the settings of your sound card to ensure that your microphone is working properly.
Testing Audio on a Mac
In order to test audio on your Mac, you’ll need to open System Preferences. To do this, click the Apple logo in the top left corner of your screen and select ‘System Preferences’. Once System Preferences is open, select ‘Sound’. On the Sound window, select the ‘Output’ tab and then choose the built-in speakers. If the Output volume slider is set low, move it to the right and test your audio. Additionally, make sure that the Mute checkbox is not selected. Once you have adjusted these settings, you should be able to test your audio.
Testing a Microphone Before a Zoom Meeting
To test your microphone before a Zoom meeting, you will first need to join the meeting. Once you have joined the meeting, click on the “Test Speaker and Microphone” button at the bottom of your screen in the audio settings. This will open up a window that allows you to test your microphone and speaker. You can then use this window to adjust your volume and make sure that your microphone is working properly before joining the meeting.
Conclusion
Overall, the microphone is an essential tool for audio recording and communication. It can be used to record high-quality sound in many different scenarios such as recording music, conducting interviews, streaming videos, or making phone calls. Setting up a microphone correctly and testing it regularly is important to ensure that you are getting the best quality audio possible. With the right setup and maintenance, a microphone can provide clean and clear audio for many years to come.


