GarageBand is one of the most popular music production software programs out there. It’s used by both professional and amateur musicians alike and makes creating high-quality recordings a breeze. But once you’ve finished your masterpiece, you may be wondering how to save your GarageBand project as an MP3 file.
Fortunately, saving GarageBand projects as MP3 files is a relatively simple process. First, open your project in GarageBand and click on the “Share” menu at the top of the screen. From there, select “Export Song to Disk…” and choose MP3 from the list of available file formats. You can also choose AAC or AIFF if you prefer higher-quality sound files.
Once you’ve selected your desired format, you can change the name of your file if you wish, or leave it as is. Make sure to select “Desktop” as the destination for where you want to save it so that it will be easy to find later on. Finally, click “Export” to save your GarageBand project as an MP3 file.
If you want to save your project elsewhere such as a flash drive or cloud storage platform, follow the same steps above but instead of clicking “Export” select “Save As…” from the File menu and choose where you want it saved.
Saving GarageBand projects as MP3 files is a great way to ensure that your work will be preserved for years to come without any loss in audio quality. Plus, it makes it easy for others to enjoy your creations without having access to GarageBand itself! So next time you finish up a great track or podcast in GarageBand, don’t forget to save it as an MP3 file!
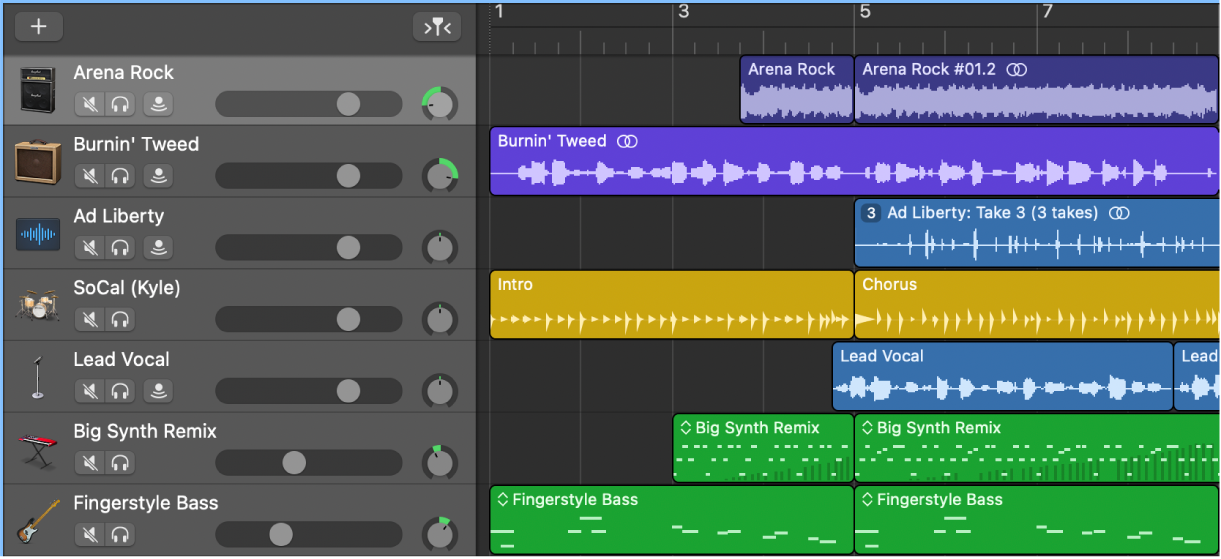
Saving a GarageBand File as an MP3
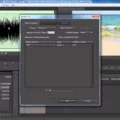
To save a GarageBand file as an MP3, you will need to open the File menu and select Share, then Export Song to Disk. When the export dialogue box appears, make sure that the Where field is set to Desktop (or whatever folder you’d like to save the MP3 in) and select the radio button next to MP3. You can also change what the file will be named if desired, but it is recommended to leave the Quality setting as is. Once all of your settings are configured, click Export and your file will be saved as an MP3.
Exporting a GarageBand Project
In order to export a GarageBand project, first click the Share menu at the top of the screen. From there, select Export Song to Disk. You will be prompted to choose a file format for the project; you can choose either AAC or MP3 (compressed, smaller files) or AIFF (Mac compatible), or WAVE (Mac & Windows compatible). Once you have selected your desired file format, you can then save your project to a flash drive or cloud-based storage platform.
Does GarageBand Support MP3 Files?
Yes, GarageBand does have MP3 support. When you import an MP3 file, it is converted to a 44.1 kHz sample rate, 16-bit depth format. You can use the imported audio file directly in GarageBand without any further conversion or manipulation. Additionally, you can also export your project as an MP3 file for sharing or other purposes.

