Are you a Nikon user trying to figure out the best way to import photos from your camera to your Mac computer? Well, you’ve come to the right place! In this blog post, we will be discussing how to easily and quickly transfer photos from your Nikon camera directly to your Mac.
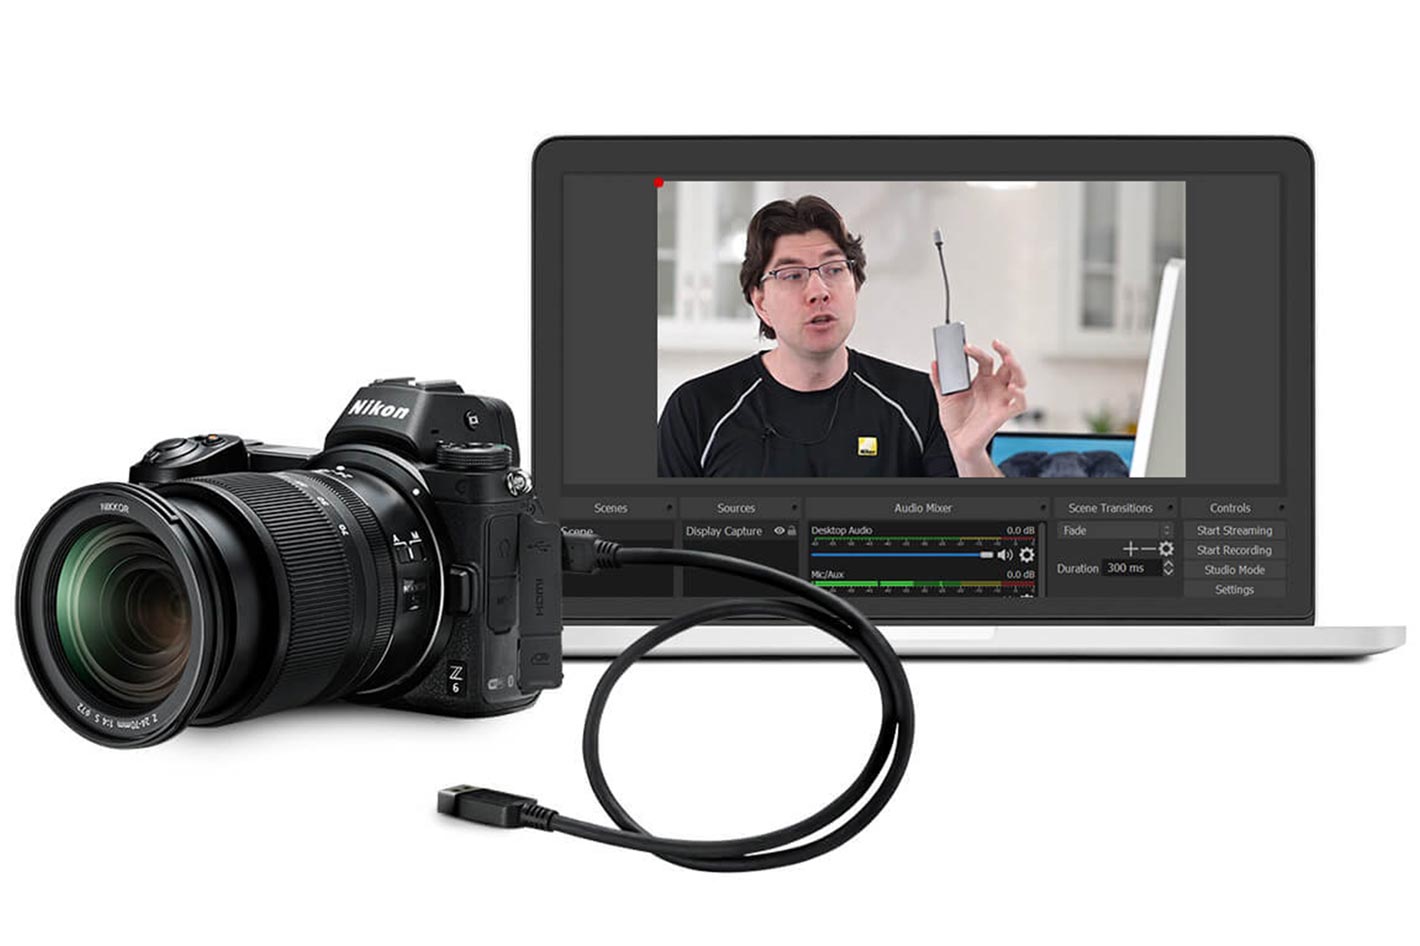
First and foremost, make sure that you are prepared with the necessary materials. You will need a USB cable (available separately) as well as a memory card that has been inserted into the camera. Once you have these items, turn off the camera and plug one end of the USB cable into the computer and the other end into the USB plug on the left side of the camera under the microphone jack. Then, turn on the camera.
Once your Nikon camera is connected to your Mac, it is time to open up the Nikon Transfer 2 component of ViewNX-i or NX Studio. This will allow for photos from your camera to be downloaded directly onto your computer. Click “Start Transfer” in order for this process to begin. After all, photos have been successfully downloaded onto your computer, terminate the connection by turning off the camera before disconnecting it from your Mac.
Finally, if you are using the Preview app on your Mac computer, it is possible to import images directly from any connected cameras through “File > Import from [camera name]” or “File > Import from Camera > [camera or device name]”. A window should appear with thumbnail images of all photos that are available in your camera for download onto your computer!
We hope this blog post has been informative and helpful in teaching you how to import photos from a Nikon Camera onto a Mac Computer! For more information regarding this process or other related topics feel free to reach out!
Transferring Photos From Nikon DSLR to Macbook
To transfer photos from your Nikon DSLR to your Macbook, you’ll need to first connect the camera to your Mac via a USB cable. After making sure the camera is off and that a memory card is inserted, connect the USB cable and then turn on the camera. Next, start up the Nikon Transfer 2 component of ViewNX-i on your Mac. Once that’s done, click Start Transfer to initiate the process of moving your photos from the camera to your computer. When finished, disconnect the USB cable to terminate the connection.
Importing Photos From Camera to Mac
To import photos from your camera to your Mac, open the Preview app on your Mac and choose File > Import from [camera name]. If more than one camera is connected to your Mac, choose File > Import from Camera > [camera or device name]. A window will appear with thumbnail images of all the photos on your camera. Select the photos you want to import, then click Import Selected. You can also select the folder where you want to save the imported photos. Once imported, the photos will be available in the designated folder for you to view and edit.
Transferring Photos from Nikon D3200 to Macbook
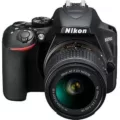
To transfer photos from your Nikon D3200 to your Macbook, you will need to follow these steps: 1. Connect the camera to your computer using the supplied USB cable. Plug the small end of the USB cable into the USB port on the left side of your camera and plug the other end into an available USB port on your Macbook. 2. Turn on your camera and wait for it to be recognized by your Macbook. When prompted, select “PC” or “Mass Storage” as a connection type on the camera. 3. Once connected, open up Applications > Image Capture, where you will see all photos stored on your camera’s memory card. 4. Select which photos you would like to transfer by checking off each photo or selecting multiple at once using Command+A (Mac) or Control+A (Windows). 5. Click Import Selected or Import All and choose where you would like them saved before clicking OK/Import/Done depending on what version of OSX you are running. 6. Once all photos have been imported, eject and safely remove the Nikon D3200 from your computer before unplugging it from both devices.
Transferring Photos from Nikon D7500 to Mac
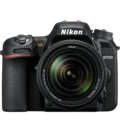
To transfer photos from your Nikon D7500 to your Mac, you’ll need to use the Nikon NX Studio Software. First, turn off your camera and make sure that you have a memory card inserted. Then connect the supplied USB cable from the camera to your computer. Turn the camera on and wait for the Nikon Transfer 2 component of NX Studio to start up. When it does, click “Start Transfer” to begin transferring photos from your camera to your Mac. Once all of the photos have been transferred, turn off your camera before disconnecting it from the computer.
Connecting a Nikon Camera to a Mac
To get your Mac to recognize your Nikon camera, first make sure that the USB or USB-C cable is properly connected to both the camera and the computer. If your computer has another USB port, try plugging the cable into it. Then, check your camera to make sure it’s turned on and set to the correct mode for importing photos. Refer to the instructions provided with your camera for further help with this. Once everything is plugged in and set up correctly, you should see a pop-up on your Mac asking if you want to import photos from the camera. Select Yes and follow any additional prompts from there until your photos are imported.
Transferring a DSLR Camera Photos to a MacBook
Transferring photos from your DSLR camera to your MacBook is easy! First, you’ll need to connect the camera to your MacBook using a USB cable. Once the cable is connected, turn on your camera and open Finder on your Mac. You should see the camera listed in Finder under Locations. To transfer the photos, simply select all of the images you want to transfer and drag them into a folder on your computer. Once all of the photos have been transferred, you can safely disconnect your camera.
Transferring Photos from a Nikon D3200 Camera
To get photos of your Nikon D3200, you can either connect the camera directly to the computer with the supplied USB cable or use a card reader connected to the computer. Once the connection is established, you can then access the photos on your camera and transfer them to your computer. If you are using a card reader, simply insert the memory card into it and then plug it into a USB port on your computer. Once the connection is established and your computer recognizes the memory card, you can open up the folder containing your photos and drag them onto your desktop or preferred folder.
If you want to edit any of your photos directly on the camera, be sure to check out Chapter 9 of your user manual which covers all of its built-in image-editing capabilities.
Connecting a Nikon Camera to a Computer
First, connect one end of the USB cable that was included with your Nikon camera to the camera itself. Then, plug the other end of the USB cable into an available USB port on your computer. If you’re using an external mic such as the Nikon ME-1, plug it into the computer’s mic port. Next, turn on your Nikon camera and wait for your computer to recognize it. Depending on your operating system, you may need to install additional drivers or software before being able to use your camera with your computer. Once everything is installed and set up properly, you should be able to access your photos and videos from the camera directly on your computer.
Conclusion
In conclusion, Nikon is a renowned name in the camera industry and has produced high-quality cameras for over a century. Nikon cameras are known for their exceptional image quality, as well as their cutting-edge technologies such as 4K video capture, face recognition, and Wi-Fi connectivity. Additionally, they are easy to use and are compatible with many third-party software programs. Nikon also offers a variety of accessories and lenses to help you customize your camera setup to your specific needs. With all these features combined, it’s no wonder why Nikon is one of the top brands in the photography world.


