In this digital age, having a reliable cloud storage solution is crucial to keep our data safe and accessible. One such solution is the iCloud, offered by Apple. It allows users to store their files, photos, and other important data securely in the cloud. However, the availability of certain features and services may vary depending on your region. In this article, we will discuss the US iCloud Account and how to create one.
The US iCloud Account offers a range of benefits and features that are specific to the United States. These include access to services like Apple News, Apple Pay, and the ability to purchase and download apps that are only available in the US App Store. By creating a US iCloud Account, users can unlock these additional features and enhance their Apple ecosystem experience.
To create a US iCloud Account, there are a few simple steps you need to follow. First, open the Settings app on your iPhone or iPad. Look for your name and tap on it, then select “Media & Purchases.” From there, tap on “View Account” and then “Country/Region.” In the next screen, tap on “Change Country or Region” and select the United States as your new country. Make sure to review the Terms & Conditions and tap “Agree” to confirm your decision.
If you’re creating a new Apple ID on the web, visit appleid.apple.com and click on “Create Your Apple ID.” Follow the instructions to provide an email address, create a strong password, and set your device region to the United States. Additionally, you’ll be asked to enter a phone number that you can always access for verification purposes. If you wish, you can also subscribe to Apple Updates by checking the corresponding boxes.
After successfully changing your country or region to the United States, you may need to sign in to your device with your Apple ID and password. If prompted, enter the six-digit verification code sent to your trusted device or phone number to complete the sign-in process.
It’s important to note that changing your country or region may have some implications. For example, it may affect your ability to access content or services that are specific to your previous region. Additionally, certain features and services may not be available in the US iCloud Account if you are not physically located in the United States.
Creating a US iCloud Account can unlock additional features and services that are exclusive to the United States. By following a few simple steps, you can easily change your country or region and enjoy the benefits of a US iCloud Account. Just remember to carefully review the Terms & Conditions before agreeing to any changes.
How Can You Create a USA iCloud Account?
To create a USA iCloud account, you can follow these steps:
1. Open the Settings app on your iPhone or iPad.
2. Tap on your name at the top of the Settings menu.
3. Scroll down and tap on “Media & Purchases”.
4. Next, tap on “View Account” to access your Apple ID settings.
5. In the Account settings, tap on “Country/Region”.
6. To change your country or region, tap on “Change Country or Region”.
7. You will see a list of available countries and regions. Scroll down and select “United States” from the list.
8. Review the Terms & Conditions presented on the screen.
9. Tap “Agree” in the upper-right corner to proceed.
10. Confirm your decision by tapping “Agree” again.
By following these steps, you will be able to create a USA iCloud account on your iPhone or iPad. Keep in mind that changing your country or region might affect your access to certain apps, content, or services that are specific to different regions.
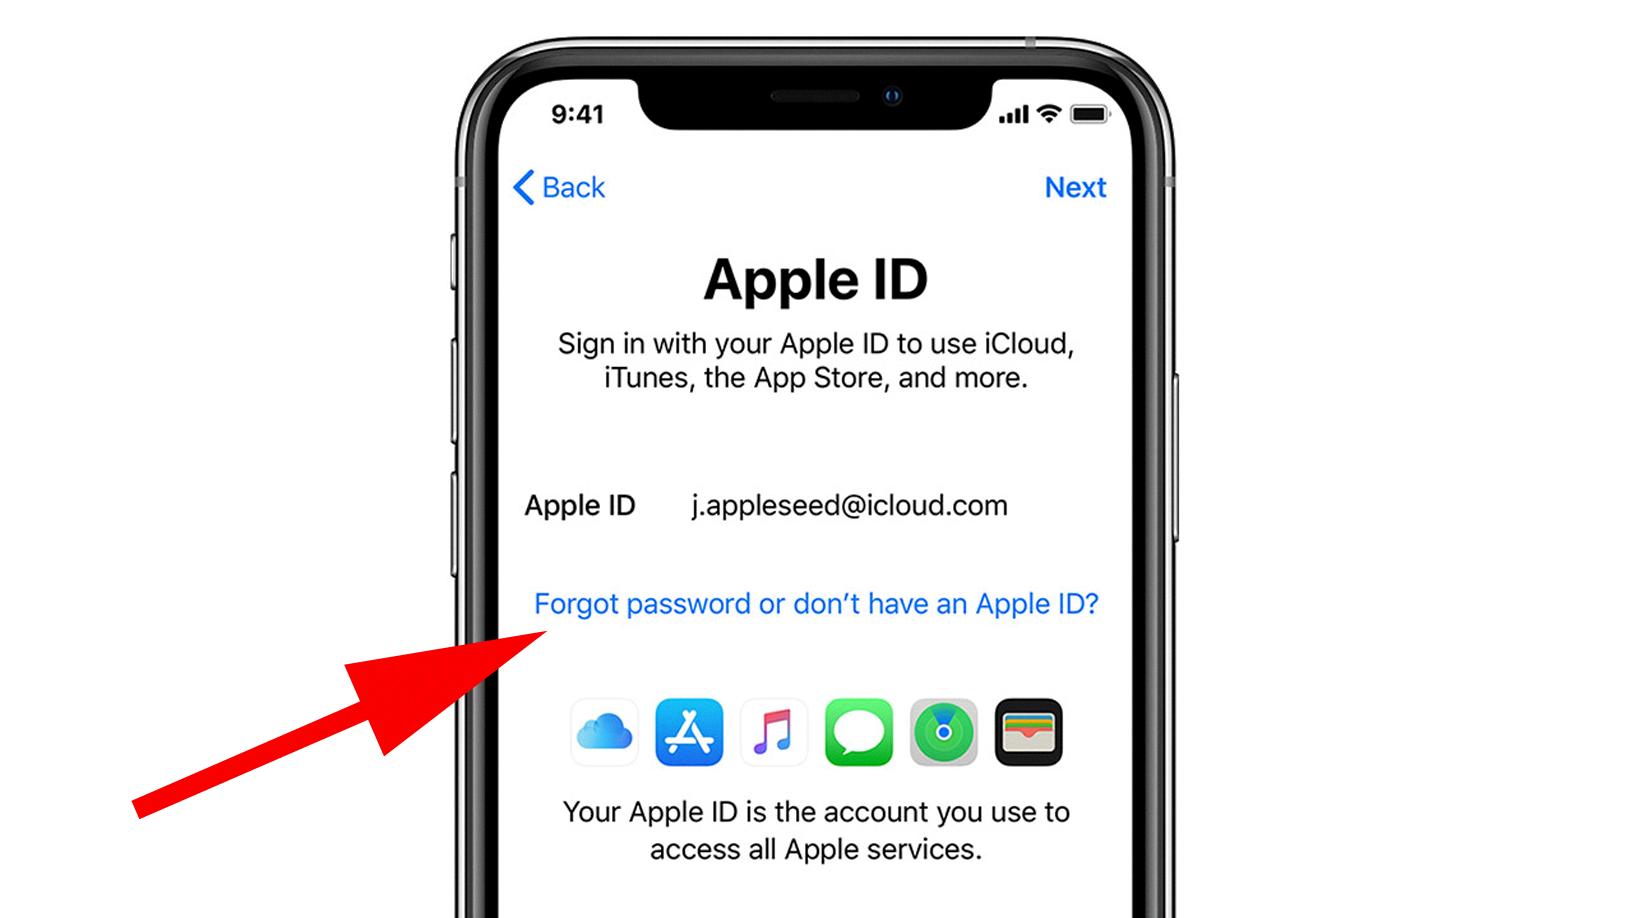
How Do You Create An Apple ID For An American Address?
To create an Apple ID with an American address, you can follow these steps:
1. Open your web browser and go to appleid.apple.com.
2. Click on “Create Your Apple ID” to begin the process.
3. You will be prompted to provide an email address. Enter a valid email address that you have access to, as this will be used for account verification and communication.
4. Create a strong password for your Apple ID. It should be at least eight characters long and include a combination of uppercase and lowercase letters, numbers, and special characters.
5. Set your device region to the United States. This is important as it determines the availability of certain apps and services specific to the country.
6. Enter a phone number that you can always access. This is used for security purposes and account recovery. Make sure to include the country code and remove any leading zeros.
7. You will have the option to subscribe to Apple Updates. If you’d like to receive news, offers, and updates from Apple, check the boxes accordingly.
8. Complete the security verification process by solving the CAPTCHA or selecting the images that match the given prompt.
9. Read and agree to the Terms and Conditions by checking the box.
10. Click on the “Continue” button to proceed.
11. Apple may require additional verification to ensure the security of your account. This can be done by receiving a verification code via text message or using two-factor authentication.
12. Once you have completed the verification process, your Apple ID will be created, and you can start using it to access various Apple services and features.
Remember to keep your Apple ID and password secure and avoid sharing them with anyone to protect your personal information and digital assets.
How Do You Create A Foreign iCloud Account?
To create a foreign iCloud account, follow these steps:
1. Go to the Account Information page in your iCloud settings.
2. Look for the option “Change Country or Region” and click on it.
3. From the list of countries or regions, select the one you want to set as your new location.
4. Take the time to carefully review the Terms & Conditions provided.
5. Once you have read and understood the Terms & Conditions, click on the “Agree” button to proceed.
6. A confirmation prompt will appear, asking you to confirm your agreement. Click on “Agree” again to confirm your choice.
7. Congratulations! You have successfully created a foreign iCloud account. Your account will now be associated with the selected country or region.
Please note that changing your country or region may have certain implications. It could affect the availability of specific apps, services, or features that are restricted to certain regions. Additionally, you may have to update your payment and billing information to align with the new location. Make sure to consider these factors before proceeding with the change.
How Do You Log Into iCloud USA?
To log into iCloud USA, follow these steps:
1. Open the Settings app on your device.
2. Tap on “Sign in to your [device]”.
3. Enter your Apple ID and password in the provided fields.
4. If prompted, enter the six-digit verification code that was sent to your trusted device or phone number.
5. Complete the sign-in process by following any additional prompts or instructions.
By following these steps, you will be able to log into your iCloud account specifically for the USA region.
Conclusion
Changing your country or region for your iCloud account in the US is a simple process that can be done either on your iPhone or iPad through the Settings app or on the web through the Apple ID website. By following the step-by-step instructions provided, you can easily switch your iCloud account to a different country or region.
On your iPhone or iPad, you can change your region by accessing the Settings app, tapping your name, selecting Media & Purchases, and then tapping View Account. From there, you can navigate to Country/Region and select Change Country or Region. Review the Terms & Conditions, agree to them, and confirm your selection. This will update your iCloud account to the new country or region.
Alternatively, you can create a new Apple ID on the web by visiting appleid.apple.com. Follow the onscreen steps to provide an email address, create a strong password, and set your device region. Enter a phone number that you can always access and choose to subscribe to Apple Updates if desired. After completing these steps, your Apple ID will be associated with the new country or region.
Once you have successfully changed your country or region, you can sign in to your device using your Apple ID and password. Enter the verification code sent to your trusted device or phone number if prompted, and complete the sign-in process.
Changing your US iCloud account to a different country or region is a straightforward process that can be done easily using your iPhone, iPad, or the Apple ID website. By following the provided instructions, you can ensure that your iCloud account is associated with the correct country or region for your needs.


