Are you looking for a reliable and easy way to connect your Mac to an Epson printer? With the Epson Connect Printer Setup for Mac, you’ll be able to quickly and easily configure your printer and get it up and running in no time. In this blog post, we’ll go over the steps you need to take to get your Epson printer connected to your Mac.
First, you’ll need to download and run the Epson Connect Printer Setup Utility. Once it is open, click “Continue” then “Agree” on the Software License Agreement. Click “Install” folloed by “Close” when complete. Now select your product and click “Next”. The next step is Printer Registration so be sure to click that as well as “Next”.
Next, you will need to add your Bluetooth printer to your printer list by folowing these steps: Go To Apple Menu > System Settings, then click Printers & Scanners in the sidebar (you may need to scroll down). Click the Add Printer, Scanner or Fax button on the right side of the screen followed by selecting the Default button. Now select your printer in the Printers list and click “Add”.
Finally, if you are having trouble connecting due to any technical issues such as a turned off printer or being on different networks then follow these steps: Press home button on your Epson product if necessary then press icon that says Wi-Fi (Recommended). Select Start Setup or Change Settings followed by Wi-Fi Setup Wizard which will guide you through connecting wirelessly.
Now that you have gone through all of these steps, you should be able connect your Mac with an Epson Printer without any difficulties! If there are sill any problems when setting up or connecting, refer back to this blog post for more detailed instructions or contact customer service for further assistance!
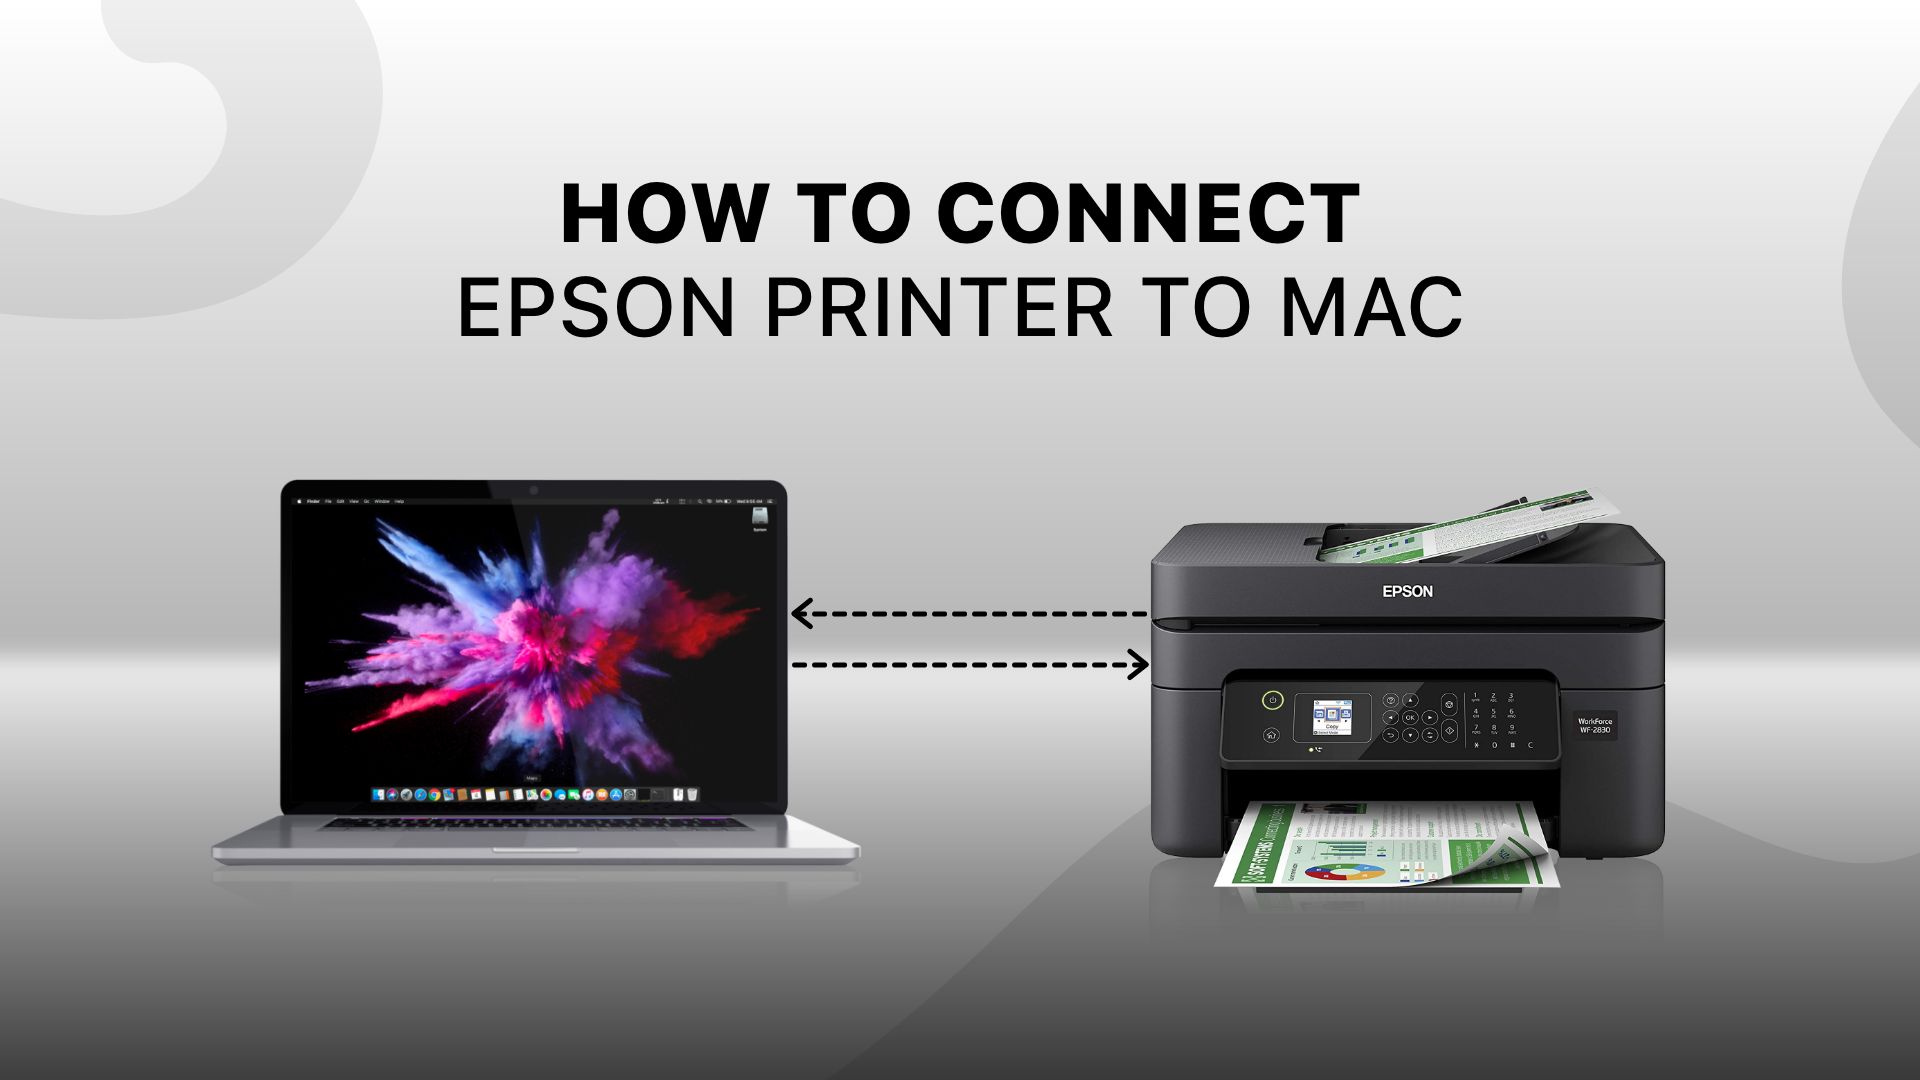
Connecting a Mac to an Epson Printer
Setting up your Epson printer on a Mac computer is a straightforward process. To get started, download and run the Epson Connect Printer Setup Utility. Once you’ve accepted the Software License Agreement, click Install and then Close. Next, select your product, followed by Printer Registration. Once you have entered your information, click Next to register your product. You can then choose whethr or not to set up the Epson Connect services for printing from smartphones and tablets. Finally, click Finish to complete the setup process. You should now be able to print from your Mac computer to your Epson printer!
Connecting a Printer to a Mac
To get your Mac to recognize your printer, you will need to add it to your list of printers. To do this, open System Preferences from the Apple menu and select Printers & Scanners. Click the Add Printer, Scanner, or Fax button on the right and then select the printer you want to add from the Printers list. Click Add and your Mac should now recognize your printer. You may also need to download any necessary drivers or software for the printer if it is not already installed on your system.
Troubleshooting Mac’s Inability to Locate Epson Printer
It’s possible that your Epson printer is turned off, or that your Mac is now on a different network. If the printer was being shared from another user’s Mac, it’s also possible that the user has stopped sharing it, or that their Mac is offline. To ensure that you can locate your Epson printer, make sure it’s powered on and connected to the same network as your Mac. If you’re still having trouble finding the printer, check with other users to see if they’re still sharing it.
Connecting an Epson Printer Wirelessly
To connect your Epson printer wirelessly, you will firt need to make sure that your router is set up and your wireless network is active. Then, follow the steps below:
1. On your Epson printer control panel, press the Home button (if necessary).
2. Press the Setup icon.
3. Select Wi-Fi Setup Wizard and follow the on-screen instructions to connect your printer to your wireless network.
4. Once you have completed the Wi-Fi setup wizard, press OK and then go back to the home screen of your Epson printer’s control panel.
5. Your Epson printer should now be connected to your wireless network and ready for use!
Connecting an Epson Printer to a Computer
In order to get your Epson printer to recognize your computer, you will need to install the Epson Connect Printer Setup Utility. To do this, follow thse steps:
1. Download and install the Epson Connect Printer Setup Utility.
2. Agree to the End-User License Agreement, then click Next.
3. Click Install, then Finish.
4. Select your product, then click Next.
5. Select Printer Registration, then click Next.
6. Select Agree, then click Next.
7. Follow the on-screen instructions to complete the setup process and register your printer with your computer.
Once this is done, your Epson printer should now be recognized by your computer and ready for use!
Connecting a Mac to a Printer Wirelessly
To wirelessly connect your Mac to your printer, you’ll need to make sure the printer is connected to the same Wi-Fi network as your Mac. Depending on the type of printer you have, there may be a few additional steps prior to connecting.
Once the printer is connected to your Wi-Fi network, open System Preferences on your Mac and choose Printers & Scanners. Click the ‘+’ button at the bottom of the list of printers and select Add Printer or Scanner. Your Mac will search for available printers and display a list of them. Select the one you want to add and click Add.
If prompted, enter a name for your printer and click OK. You can also select any additional options that appear in this window before clicking Add. Once added, your printer should now appear in the list of available printers both in System Preferences and when printing from apps like Pages or Word.
You can now wirelessly print from your Mac by opening any document or file you want to print and choosing File > Print in the app you’re using. When selecting a printer, choose your AirPrint printer from the Printer menu and then select any other print options you want bfore clicking Print.
Adding a Printer That Is Not Showing Up
Adding a printer that isn’t showing up can be done in a few simple steps. First, open the Windows Start menu and select Settings. Then, select Devices and click on Printers & Scanners. Next, click Add a Printer and choose “The printer that I want isn’t listed.” The “Add Printer” screen will then pop up for you to enter the necessary details of your printer. You may need to proide information such as your printer’s name, its network address, or its port number in order for it to be recognized by your computer. Once you have entered all of the required information correctly and saved the changes, your printer should now be available for use!
Troubleshooting a Wireless Printer Not Responding to a Mac
It could be that your Mac is not connected to the same wireless network as the printer, or that the Wi-Fi connection has been interrupted. It’s also possible that the printer driver is not up to date or thre is an issue with the printer itself. To troubleshoot, try turning off and then back on both your Mac and the wireless printer. Make sure that both devices are connected to the same wireless network and check for any updates to the printer driver. If none of these steps resolves your issue, you may need to contact your printer manufacturer for further assistance.
Troubleshooting Wireless Printer Connection Issues
There are a few possile reasons why your wireless printer is not being detected. Firstly, it could be an issue with your network connection. Ensure that your router is properly configured and that your printer is connected to the correct wireless network. Secondly, you might need to check the settings on your printer. Make sure that the wireless connection is enabled and that the correct network name and password are entered correctly. Finally, it could be a driver issue. Ensure that you have the latest driver installed for your printer, as this can help it be detected by other devices on the network. If all of these steps fail, try removing and re-adding your printer in Windows Settings > Devices > Printers & Scanners.
Troubleshooting Epson Printer Connection Issues
It’s possible that your Epson printer isn’t connecting to your computer because of a few different issues. First, it cold be a problem with the USB cable you’re using. Make sure the cable is securely connected to both the printer and computer and try using a different cable if possible. Second, it could be an issue with the interface card in the printer itself; try resetting the printer to its factory settings and see if that helps. Third, it could be an issue with the type of interface selected in the printer’s settings; make sure you’ve selected the correct one for your particular model. Lastly, it could be a driver issue; try uninstalling any existing drivers and then downloading and installing the correct ones for your model of Epson printer.
Troubleshooting Epson Connect Printer Connection Issues
Epson Connect is not finding the printer because it may be connected to a diffeent network (SSID) than the device you are using. To resolve this, ensure that the wireless LAN network (SSID) that your device is connected to is the same as the one your printer is connected to. If your router supports multiple networks (SSIDs), you may need to switch the printer’s connection to the same network as your device.
Compatibility of Epson Printers With Mac Computers
No, Epson printers are compatible with Mac. We offer a wide range of Epson printers that are fully compatible with the latest versions of macOS. Our dedicated support articles provide detailed information on installation and setup for the most recent versions of macOS, so you can get your printer up and running quickly and easily. Additionally, we provide software updates to ensure our printers remain compatible with Macs over time.
Verifying Epson Printer WiFi Connection
To check if your Epson printer is connected to WiFi, you will need to enter setup mode on the printer. To do this, press and hold the Wi-Fi button on the top of your printer for three seconds or until the power light begins to flash. Then use the arrows on your printer to select Network Settings and press OK. Select Check Network Connection and then select Yes to print a check report. This report will tell you if your printer is connected to a wireless network and provide other useful information about your connection.
Connecting a Printer Wirelessly to a Computer
To wirelessly connect your printer to your computer, you’ll need a Wi-Fi router and a printer that’s compatible with Wi-Fi. First, connect your router to your computer via an Ethernet cable and configure it according to the manufacturer’s instructions. Then, power on your printer and follow the manufacturer’s instructions for setting up the printer on a wireless network. Once the printer is connected to the same network as your computer, it should automatically be detected by Windows 10. Go to the Start menu and click Settings, Devices, then Printers & scanners. Select Add a printer or scanner and wait for your printer to apear in the list, then select it and hit Add device.
Connecting a Wireless Printer to a Computer Wirelessly
Connecting your wireless printer to your computer wirelessly is a relatively simple process. First, you’ll need to make sure that both your computer and the printer are connected to the same WiFi network. Once you’ve verified that, locate the printer settings on your computer and select the option to add a new device or add a new printer. Select the option for wireless connection and enter the network name and password (if applicable). Your computer shold then detect your printer and connect it automatically. After this, you should be able to send documents from your computer to print wirelessly.
Conclusion
Epson printers are a reliable and cost-effective choice for home or office printing needs. They offer a wide range of models with features such as Wi-Fi compatibility, mobile printing and scanning, and advanced print functions. With easy setup and installation, Epson printers can be connected to your wireless network quickly and easily. The Epson Connect Printer Setup Utility makes it even simpler to set up and manage your printer. Whether you’re looking for a basic model to handle your occasional printing needs or an advanced model with all the bells and whistles, Epson has something for everyone.

