Welcome to the world of Macbook Pro! With its stunning design and powerful features, the Macbook Pro is a laptop that stands out from the crowd. In this blog post, we’re going to discuss how to burn a CD on a Macbook Pro.
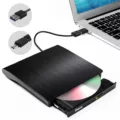
First things first, you’ll need to have an external CD/DVD drive. While it’s possible to burn CDs and DVDs using the internal drive in some models of Macbooks, it’s best to have an external drive just in case. Connect your external drive to your Macbook Pro via the USB port and make sure it is powered on.
Next, you’ll need to create a playlist containing the files or songs you want to burn onto the disc. To do this, open up the Music app on your Macbook Pro and choose ‘View > as Songs’. Make sure that all of the items you want included are selected by checking off teir checkboxes. Once your playlist is ready, insert a blank disc into your external CD drive and select it from within Music. Finally, choose ‘File > Burn Playlist To Disc’ and wait for your disc burning process to complete successfully!
Congrats! You now know how to burn a CD on your Macbook Pro! If you followed all of these steps correctly then you should now have a playable disc with all of your chosen files or songs stored inside it. If at any point during this process you run into any issues or need help troubleshooting something then don’t hesitate to contact Apple Support for assistance – they will be more than happy to lend a helping hand!
Burning Music to a CD on a MacBook Pro
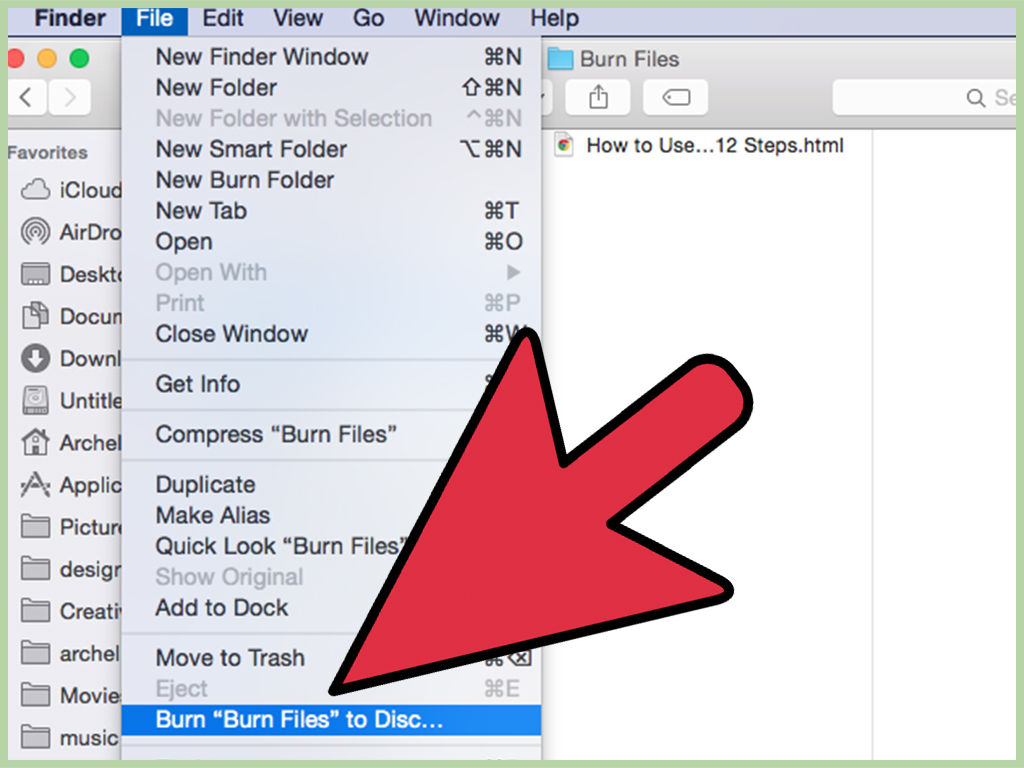
To burn music to a CD on your MacBook Pro, you’ll need to first open the Music app. Create a playlist that contains the songs or files you want to burn to the disc by selecting them, then choosing View > as Songs and ensuring each item has a checkmark beside it. Next, insert a blank disc. Select the playlist, then choose File > Burn Playlist to Disc. Give your disc a name and adjust any other settings as desired, then click Burn at the bottom of the window. After a few minutes, your disc will be ready for use!
Source: en.wikipedia.org
Why Is It Not Possible to Burn a CD on a Mac?
Unfortunately, modern Mac computers no longer ship with a CD drive as standard, wich means that you will need an external CDRW or Apple SuperDrive in order to burn a CD. Without this hardware, your Mac simply won’t have the necessary capabilities to write data to an optical disc. In addition, you may need compatible software for burning CDs, depending on the type of data you want to burn.
Does Mac Computers Have CD Burners?
Yes, a Mac can have a CD burner. Depending on the type of disc you want to burn, you will need either an Apple Combo drive or SuperDrive (for audio, MP3, and data CDs) or an Apple SuperDrive (for data DVDs). Additionally, you may be able to use a USB SuperDrive for either type of disc.
Ripping a CD on a Mac Without iTunes
Ripping a CD on your Mac without iTunes is a straightforward process. All you need is a reliable third-party tool like Wondershare UniConverter to do the job. Here are the steps for how to rip a CD on Mac without iTunes:
Step 1: Insert the CD and launch Wondershare UniConverter. Download, install, and run the program on your Mac.
Step 2: Customize your CD to MP3 conversion settings. Once the CD is accessed by the program, you will be able to view all the files present in it. You can then select which files you’d like to convert and customize thir output settings such as audio bitrate, sample rate, etc.
Step 3: Convert the CD to MP3 without using iTunes. After customizing your output settings, click the “Convert” button at the bottom of the screen to start converting your files into MP3s without using iTunes. The process will take some time depending on how many files you have selected for conversion but once it’s finished, you’ll have successfully ripped your audio CDs into MP3s on your Mac without using iTunes!
Connecting a CD to a Macbook Pro
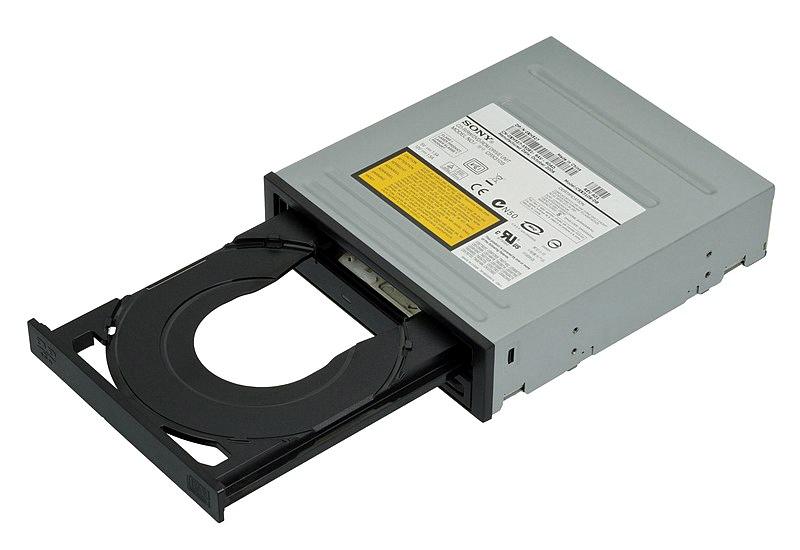
To connect a CD to your Macbook Pro, you will need an external optical drive. Most of these drives connect via the USB port on your laptop. Once it is connected, you can insert the CD into the drive and it sould be recognized by your computer. Depending on the type of CD, you may be able to play it directly from the drive or transfer files from the disc onto your laptop.
Can You Still Burn CDs Using iTunes?
Yes, you can sill burn CDs on iTunes. To create an audio CD, simply select the songs you want to include on your CD, then choose File > Burn Playlist to Disc. You can also create MP3 CDs that contain multiple albums or playlists and will play on most MP3-capable CD players. To do so, select the albums or playlists you want to include on your CD, then choose File > Convert > Create MP3 version. Once the new versions of the songs are created, you can then burn them to a disc by choosing File > Burn Playlist to Disc.
Troubleshooting Issues with Burning CDs
The most likely reason why your computer won’t let you burn a CD is because the optical drive on your computer is not compatible with the type of disc you are tying to use. Additionally, it may also be because the disc you are trying to use has already been closed (write-protected) in a previous write or burn process. If that’s the case, you will need to use a new disc. Finally, it may also be that the software you’re using to burn the CD is outdated or incompatible with your system.

