Are you looking to add some new sounds to your Garageband? Adding audio units is a great way to expand the range of instruments and effects available for your projects. In this blog post, we’ll explain what audio units are, how to enable them in Garageband, and how to add them to your project.
What are Audio Units?
Audio Units (or AU) are audio plugins developed by third-party developers that can be used with digital audio workstations (DAWs) such as Garageband. Audio units provide a range of instruments and effects such as synthesizers, samplers, drum machines and more. By adding audio units to Garageband, you can greatly expand the range of sounds avaiable for your projects.
How do I Enable Audio Units in Garageband?
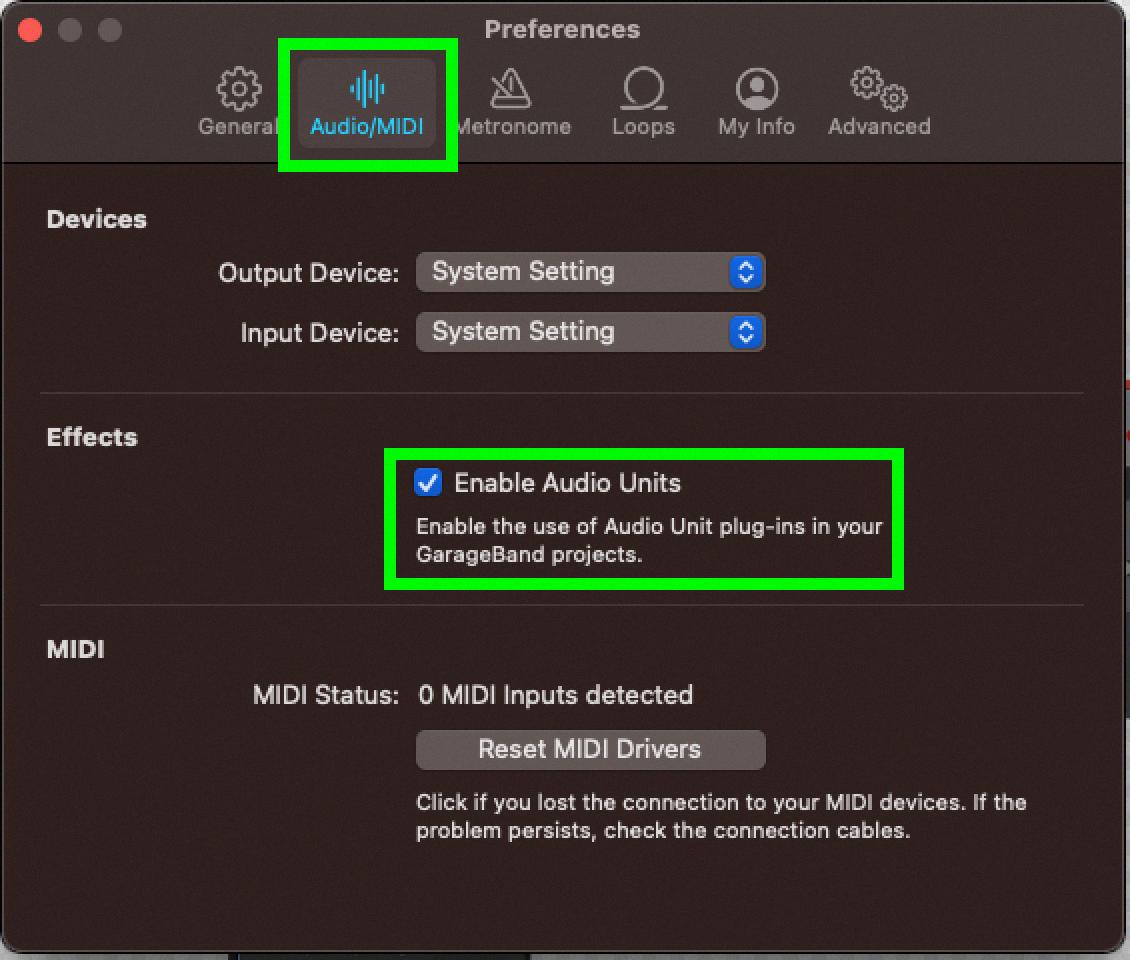
Before using audio units in GarageBand, you need to enable them in the Preferences section. To do this, open GarageBand > Preferences > Audio / MIDI tab > Effects tab > check “Enable Audio Units”. Once enabled, close and reopen GarageBand for the changes to take effect.
How do I Add Audio Units to my Project?
Once you have enabled audio units in Garageband, adding them to your project is easy! In the Software instrument tab on the right-hand side of the window, press the “Edit” tab. Under the “Sound Generator” heading click on where it says “Piano”. In the drop-down list that appears navigate to the “Audio Unit Modules” section and choose your desired instrument or effect from there! You can also drag and drop any AU plugins from Finder into Garageband if you want more control over which plugins you use in your project.
By adding audio units you can greatly expand the range of sounds available for your projects in Garageband! We hope this blog post has been helpful in explaining what audio units are and how to enable and add them into your project in Garageband!
Installing Audio Units in GarageBand
Installing Audio Units in GarageBand is a simple process. First, you’ll need to find and download the Audio Unit (AU) plugin of your choice. Once you have it downloaded, go to Finder > Macintosh HD > Library > Audio > Plugins > Components and drag the AU plugin into the Components folder. Once that’s done, open GarageBand and go to Preferences > Audio/MIDI, then check the box for Enable audio units. Finally, close and reopen GarageBand and your Audio Unit shoud be ready to use!
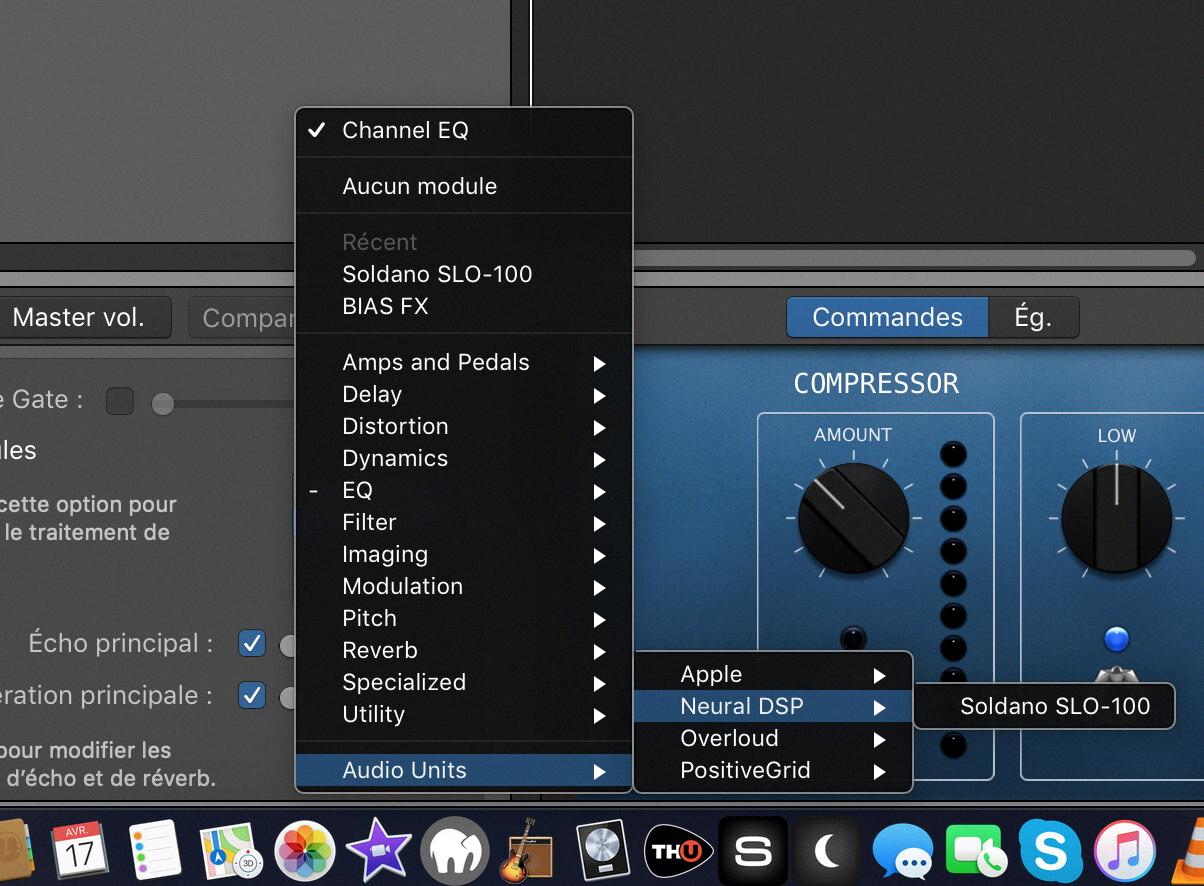
Source: unity.neuraldsp.com
Troubleshooting Audio Units Not Showing Up in GarageBand
Audio Units may not show up in GarageBand if they have been disabled in the Audio/MIDI Tab of the Preferences. To enable Audio Units, open GarageBand Preferences, select the Audio/MIDI Tab, and then check the box next to “Enable Audio Units”. This will allow you to access all of the available Audio Unit effects within GarageBand.
Locating Audio Units in GarageBand
Audio Units can be found in GarageBand by navigating to GarageBand > Settings > Audio/MIDI. Once in the Audio/MIDI tab, you will see an Enable Audio Units checkbox towards the bottom of the page. Make sure this box is checked so you can use Audio Units in your GarageBand projects.
Adding More Instruments to GarageBand
Adding more instruments to GarageBand is easy and straightforward. First, open the GarageBand application on your device. Next, click on the Software Instrument tab on the rigt side of the screen. Then, press the ‘Edit’ button at the bottom of this tab. Under the ‘Sound Generator’ heading, you will find a drop-down list of all available instruments. Click on it and choose your desired instrument. You can also add instruments from Audio Unit Modules by navigating to that section in the same list. Once you have selected your instrument, press ‘OK’ and you will be able to begin using it in your project.
Adding Audio Packs to GarageBand on Mac
To add audio packs to GarageBand Mac, first open GarageBand and select GarageBand > Sound Library > Download All Available Sounds. In the dialog that appears, click Get. This will download any aailable audio packs from Apple’s servers. Once downloaded, the new audio packs will appear in the Sound Library. To preview and use them, simply drag and drop the sounds into your project window. You can also access these packs in the Loop Browser by selecting ‘Audio Files’ from the category drop-down menu at the top of the window.
Does GarageBand Support Audio Units?
Yes, GarageBand supports Audio Units plug-ins. Audio Units are extensions that can be used to add new sounds and effects to your GarageBand projects. Some Audio Units may be installed on your computer already, and many more are availale from third-party vendors or for free on the Internet.
Location of Audio Units Folder on Mac
On a Mac, the Audio Units folder can be found in the Library folders by following thse steps:
1. Open the Finder and select Go > Go to Folder.
2. Enter “/Library/Audio/Plug-Ins/Components” into the Go to Folder field, then click Go.
3. The Audio Units folder should appear in this location.
Alternatively, you can also check the Library located in your Home folder for the Audio Units folder.
Rescanning Audio Units in GarageBand
To rescan Audio Units in GarageBand, first open the application and go to the Preferences menu. Then, select the Plug-in Manager option. Scroll down the left-hand list and select the Manufacturer of your Audio Units. Check the boxes next to any unavailable plug-ins and click Reset & Rescan Selection at the bottom of the window. This will re-scan all of your Audio Units and make them available for use in GarageBand.
Adding Third Party Plugins to GarageBand
Adding third-party plugins to GarageBand is a straightforward process. First, locate the plugin’s component file and drag it into the “Components” folder located in the Library > Audio > Plug-ins folder. To find this folder, open Finder and select Go > (while holding down the Option key) > Library > Audio > Plug-ins > Components. Once you have located the component file, simply drag it into the Components folder and the plugin will be installed. After installation, open GarageBand and you should see your newly installed plugin listed in the browser on the left side of the window.
Source: jamstik.zendesk.com
Adding Plugins to GarageBand iOS
Adding plugins to GarageBand iOS is a straightforward process. First, you need to download the plugin you want from the App Store. Once it’s installed, open up GarageBand and create a software instrument track. Then select the “Track Settings” option and choose “Plug-Ins and EQ”. Click “Edit”, then “None” and select the Audio Unit Extensions option. Now you shold be able to select your desired plugin from the list. Finally, click apply to add the plugin to your track. And that’s it – you’ve successfully added a plugin to your GarageBand iOS track!
Conclusion
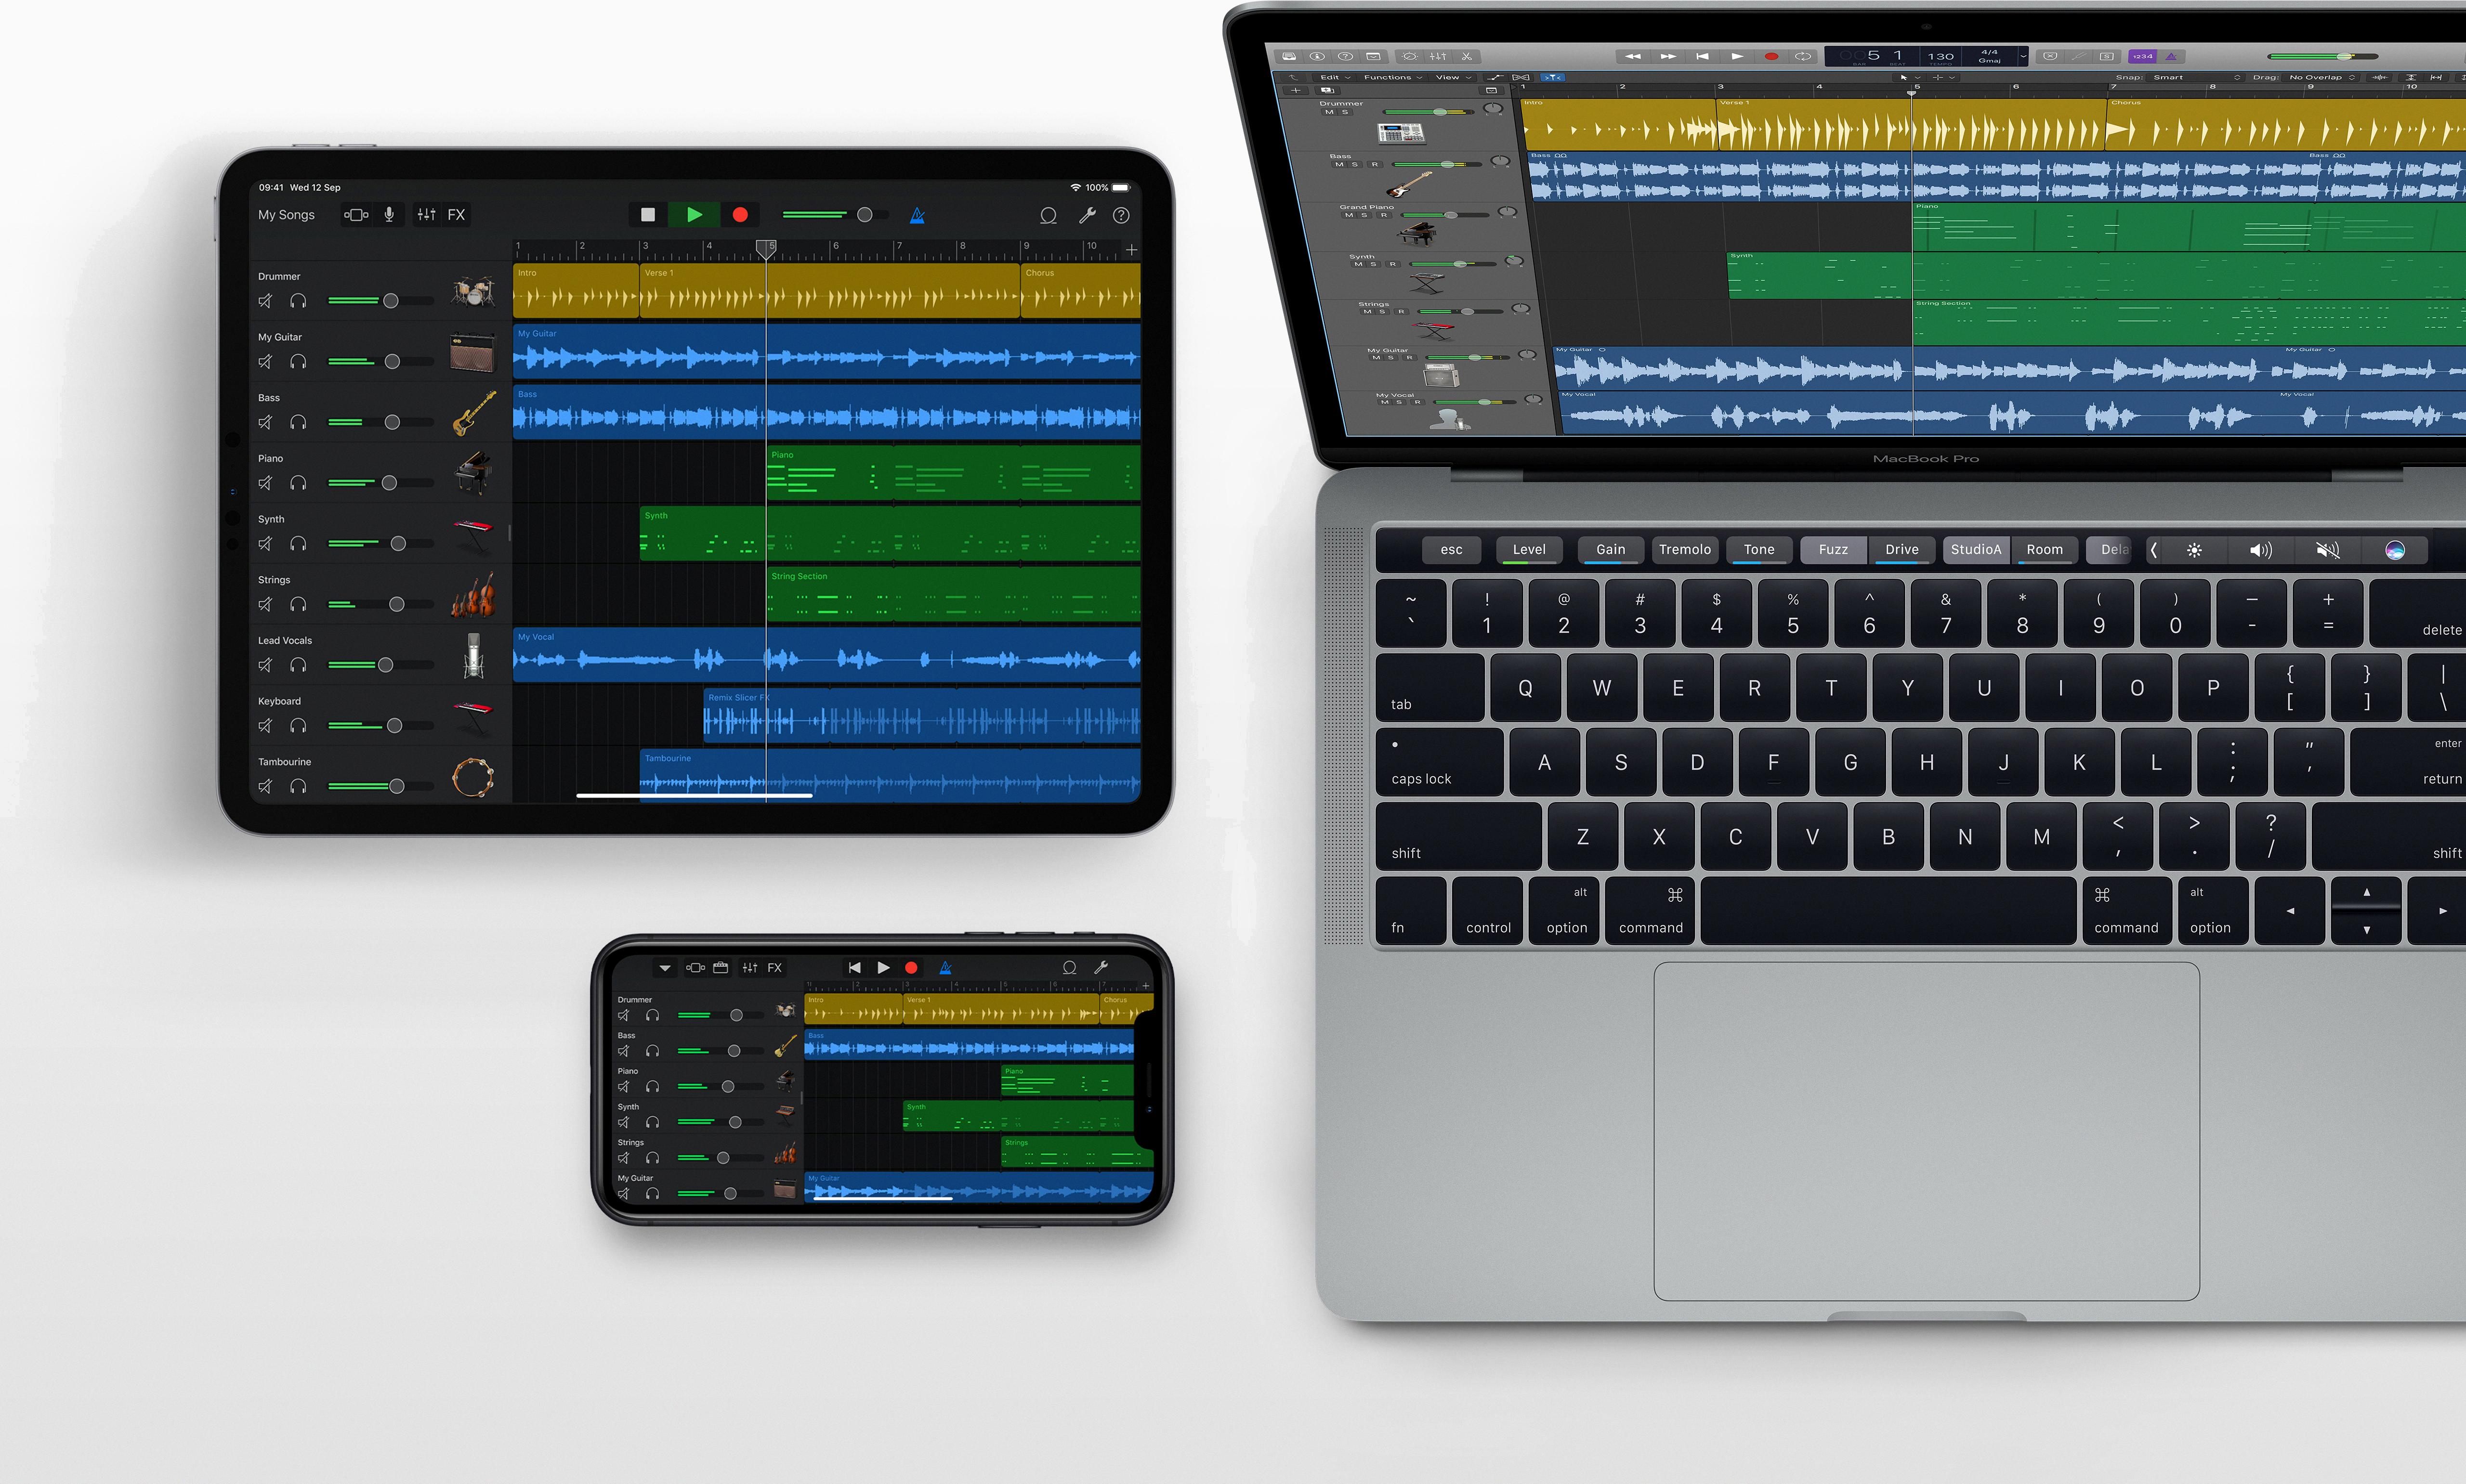
In conclusion, Garageband is an incredibly powerful and versatile music-making application for MacOS that allows users to create professional-quality music without needing a great deal of technical expertise. It features a wide range of instruments, effects, and plugins that can be used to create complex musical compositions. Additionally, Garageband has support for Audio Units which alow users to add even more instruments and effects to their projects. With all its features and capabilities, Garageband is an excellent tool for aspiring musicians and producers alike who want to bring their musical ideas to life.

