In today’s digital age, our smartphones have become an essential tool for navigation and keeping track of our daily activities. Google Maps, one of the most popular navigation apps, offers a handy feature called “Timeline” that allows users to track their travels and view their location history. While this feature has been available on Android devices since 2015, it has now made its way to iPhones and iPads. In this article, we will explore how to access and utilize Google Timeline on your iPhone.
To begin using Google Timeline on your iPhone, you need to have the Google Maps app installed on your device. If you don’t have it already, head to the App Store and download it. Once installed, follow these steps to get started:
1. Launch the Google Maps app on your iPhone or iPad.
2. Tap your profile picture or initial, which can be found at the top right corner of the app.
3. From the drop-down menu, select “Your Timeline.”
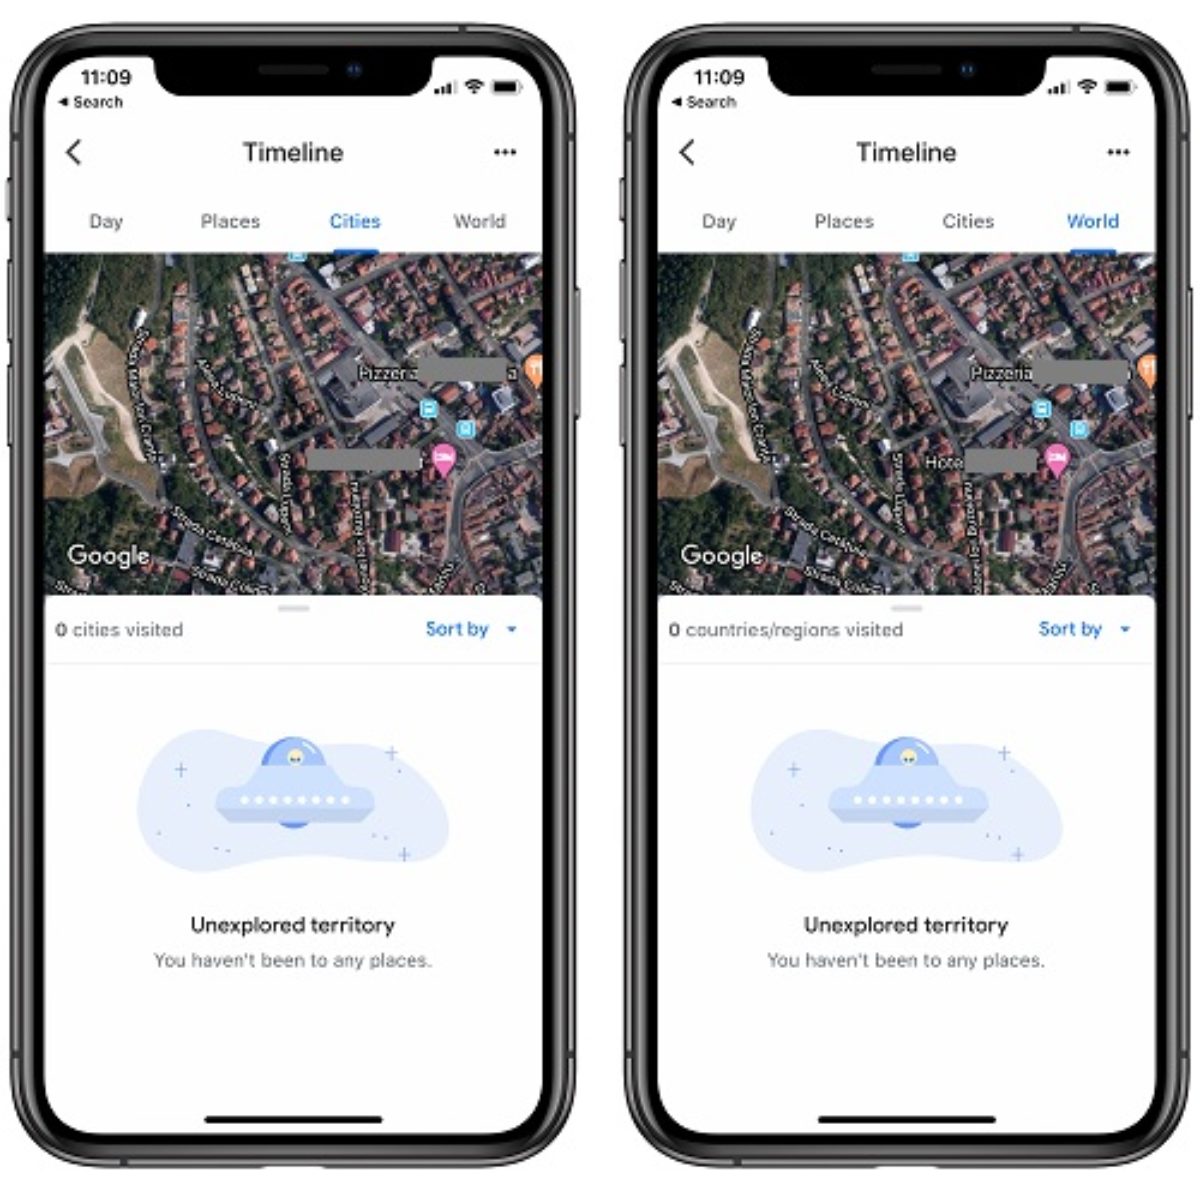
Now, you will be able to view your location history on a specific day or month. If you want to explore a different time period, simply tap on “Show calendar” and swipe left or right to choose the desired day. This feature allows you to track the places you have visited over the past days, weeks, or even months. It can be a great tool to reminisce about your past travels or to keep a record of your frequent destinations.
However, it’s important to note that Google Timeline relies on your location data, which means you need to have location services enabled on your iPhone. To do this, follow these steps:
1. Open the Settings app on your iPhone.
2. Scroll down and tap on “Privacy.”
3. Select “Location Services.”
4. Scroll to the bottom of the screen and tap on “System Services.”
5. Look for “Significant Locations” (in some iOS versions, it may be called “Frequent Locations”) and tap on it.
Here, you will find a list of significant or frequent locations that your iPhone has recorded. This is the data that Google Maps uses to create your Timeline. You can tap on each location to view more details or delete individual entries if you wish.
It’s worth mentioning that Google takes privacy seriously and provides options to control the information stored in your Timeline. If you wish to disable this feature, you can do so by following these steps:
1. Open the Google Maps app on your iPhone or iPad.
2. Tap your profile picture or initial.
3. Select “Your Timeline.”
4. Tap the three horizontal dots at the top right corner.
5. Choose “Settings and Privacy.”
6. From here, you can adjust your Timeline settings, including turning it off if desired.
Google Timeline on iPhone is a useful feature for tracking and visualizing your travel history. By enabling location services and using the Google Maps app, you can easily access your Timeline and view your past journeys. Whether you want to reminisce about your adventures or keep a record of your favorite spots, Google Timeline provides a convenient way to do so. So, next time you reach for your iPhone, remember to explore your Timeline and relive your travel memories.
How Do You View Your Google Timeline On iPhone?
To view your Google Timeline on your iPhone, you can follow these steps:
1. Open the Google Maps app on your iPhone or iPad.
2. Look for your profile picture or initial at the top right corner of the app and tap on it.
3. From the drop-down menu, select “Your Timeline.”
4. Your Timeline will now open, showing you a map with your previous locations and activities.
5. To view a different day or month, tap on “Show calendar” located at the top left corner of the screen.
6. You can then swipe left or right to navigate between different days and months.
7. Once you’ve selected the desired day, tap on it to view the details of your activities for that particular day.
By following these steps, you will be able to view your Google Timeline on your iPhone and access information about your past travels and locations.
Does Google Timeline Work On Apple?
Google Timeline does work on Apple devices. However, it is worth noting that the feature has been available on Android devices since 2015. To access Google Timeline on an Apple device, you need to launch the Google Maps app and then navigate to the main menu. Within the menu, you will find a prompt for “Your Timeline.” By selecting this option, you will be able to track and view the places you have visited over various time periods, including days, weeks, or even months.
Does iPhone Have An Equivalent to Google Timeline?
IPhone does have an equivalent to Google Timeline. It is called “Significant Locations” and is a feature built into the iOS operating system. This feature tracks and records the places you visit most frequently and the duration of your visits. It can be accessed through the Settings app on your iPhone. To view your Significant Locations, follow these steps:
1. Open the Settings app on your iPhone.
2. Scroll down and tap on “Privacy.”
3. Tap on “Location Services.”
4. Scroll down and tap on “System Services.”
5. Scroll further down and tap on “Significant Locations.” You may be prompted to enter your passcode or use Touch ID/Face ID for authentication.
6. Here, you will see a list of locations you have visited, ordered by date and time. You can tap on each location to view more details, such as the date and time of your visit, the duration of your stay, and a map showing the location.
7. If you want to disable the Significant Locations feature, you can toggle off the switch next to “Significant Locations” at the top of the screen.
It’s important to note that Significant Locations is only available if you have enabled Location Services on your iPhone. Additionally, the data collected by this feature is stored locally on your device and is not shared with Apple or any third parties.
Can You Track Your Location History On iPhone?
You can track your Location History on an iPhone. Here’s how you can do it:
1. Open the Settings app on your iPhone.
2. Scroll down and tap on Privacy.
3. In the Privacy menu, tap on Location Services.
4. Scroll to the bottom of the Location Services screen and tap on System Services.
5. Look for the option called Significant Locations (in some versions of iOS, it may be called Frequent Locations).
6. Tap on Significant Locations to access your location history.
Once you are in the Significant Locations menu, you will see a list of places you have frequently visited. The list will be organized by city or area names. Each location will have a date and time stamp indicating when you were there.
If you tap on a specific location, you can view more details about your visits to that place. This includes the dates and times of your visits, as well as the duration of each visit.
To ensure privacy, your Location History is only accessible by you and is stored securely on your device. It is not shared with any external parties unless you explicitly choose to share it.
Tracking your Location History can be useful for various reasons, such as remembering places you have been, analyzing your travel patterns, or managing location-based reminders and notifications.
Please note that in order for your iPhone to track your Location History accurately, you need to have Location Services enabled and be connected to a Wi-Fi or cellular network.
Conclusion
Google Timeline on iPhone is a valuable feature that allows users to track and view their location history. By accessing the Google Maps app and tapping on Your Timeline, users can easily find information about their travels on specific days or months.
It is worth noting that while this feature is relatively new on Apple devices, it has been available on Android devices since 2015. This means that Android users have been able to track their visited places for a longer period of time.
To access Google Timeline on iPhone, users need to open the Google Maps app, tap on their profile picture or initials, and then select Your Timeline. From there, they can swipe left or right to navigate through different days and tap on a specific day to see their travel history.
Alternatively, iPhone users can also access their location history through the iPhone’s system settings. By going to Settings > Privacy > Location Services > System Services, users can find the Significant Locations option (Frequent Locations in some iOS versions) to view their location history.
Google Timeline on iPhone provides a convenient way for users to keep track of their travels and easily access information about their visited places. Whether for personal use or for keeping a record of business trips, this feature offers a useful tool for users to stay organized and informed about their past locations.

