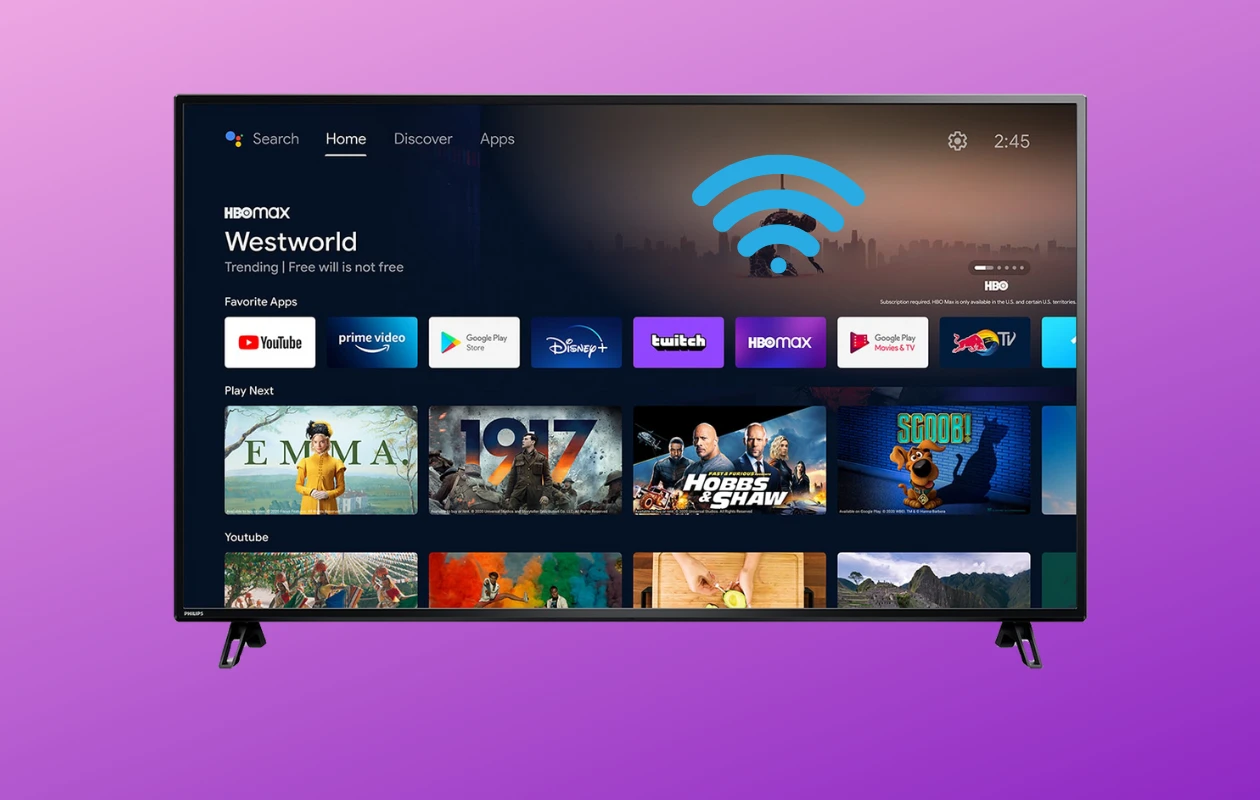
Connecting your Philips TV to a wireless network can be a great way to enjoy endless streaming options and access to online content. In this article, we will guide you through the process of connecting your Philips TV to a wireless network and provide some troubleshooting tips in case you encounter any issues.
Step 1: Access the Setup Menu
To begin the process of connecting your Philips TV to a wireless network, you will first need to access the Setup menu. You can do this by pressing the Home button on your remote control and selecting Setup from the menu.
Step 2: Connect to Network
Once you are in the Setup menu, select Connect to Network and confirm by pressing OK on your remote control.
Step 3: Select Wireless
From the Connect to Network menu, select Wireless and press OK.
Step 4: Scan for Networks
To connect to your wireless network, you will need to scan for available networks. Go to Scan and confirm by pressing OK on your remote control.
Step 5: Select Your Network
After the scanning process is complete, you should see a list of available networks. Select your network and confirm with OK.
Step 6: Enter Network Key
If your wireless network is secured with a password, you will be prompted to enter the network key. Select Enter Key and press OK on your remote control. Use the on-screen keyboard to enter your network key and press OK.
Step 7: Connect to Network
After entering the network key, select Connect to Network and confirm by pressing OK. Your Philips TV will now attempt to connect to your wireless network.
Troubleshooting Tips
If you encounter any issues while connecting your Philips TV to your wireless network, try the following troubleshooting tips:
Reset the router: Sometimes, resetting your router can help resolve connectivity issues. Unplug your router for at least 10 seconds and then plug it back in.
Check the router’s password: Make sure you are entering the correct password for your wireless network.
Try to create the wireless connection again: If the connection fails, try to create the wireless connection again by repeating the steps outlined above.
Check the Network settings on the TV: Make sure that the Network settings on your Philips TV are set up correctly.
Hard reset: If all else fails, you can try a hard reset of your Philips TV. To do this, unplug your TV for at least 10 seconds and then plug it back in.
Check the router’s security options: Make sure that your router’s security options are not blocking your TV from connecting to the network.
Test another connection: If possible, test another device on your wireless network to make sure that the issue is not with your network.
Reinstall the TV: If none of the above troubleshooting tips work, you may need to reinstall your Philips TV.
Connecting your Philips TV to a wireless network can be a great way to access online content and streaming options. By following the steps outlined above and troubleshooting any issues that may arise, you can enjoy all the benefits of a wireless connection on your Philips TV.

Connecting a Philips Smart TV to WiFi
To connect your Philips Smart TV to WiFi, you need to follow these steps:
1. Turn on your TV and press the [Home] button on your remote control.
2. Select [Setup] from the menu.
3. Click on [Connect to network] and press [OK].
4. Select [Wireless] and press [OK] again.
5. Choose [Scan] to search for available wireless networks.
6. Select your WiFi network from the list and confirm by pressing [OK].
7. If your network is password protected, enter your network password using the on-screen keyboard and press [OK].
8. Wait for your TV to connect to your WiFi network. Once connected, you should see a confirmation message on your screen.
Note: If you have any trouble connecting to your WiFi network, make sure that you have entered the correct network password and that your TV is within range of your wireless router. You can also try restarting your TV and router, or contact your wireless provider for further assistance.
Troubleshooting Philips TV WiFi Connection Issues
If your Philips TV is not connecting to your WiFi network, there are a few troubleshooting steps you can take to resolve the issue:
1. Reset the router: This is the first step you should take. Sometimes, a simple router reset can fix the connectivity issue. Turn off the router, unplug it from the wall socket, wait for 30 seconds, and then plug it back in.
2. Check the router’s password: Make sure you are using the correct password to connect to your WiFi network. If you are not sure about the password, check the router’s documentation or contact your internet service provider.
3. Try to create the wireless connection again: Go to the TV’s network settings and select your WiFi network. Enter the password and try to connect again.
4. Check the Network settings on the TV: Make sure the TV is set to the correct network type (wired or wireless) and that the network settings are correct. If you are unsure, consult the TV’s manual.
5. Hard reset: If the above steps don’t work, try a hard reset. This will restore the TV to its factory settings. To do this, go to the TV’s menu, select “Setup”, and then select “TV settings”. Choose “Factory settings” and follow the on-screen instructions.
6. Check the router’s security options: Make sure the router’s security settings are not preventing the TV from connecting to the network. Check your router’s documentation for instructions on how to change these settings.
7. Test another connection: Test another device on your WiFi network. If the device connects successfully, it’s likely that the issue is with the TV.
8. Reinstall the TV: As a last resort, you can try reinstalling the TV. This involves deleting the TV’s registration information and then registering it again. Consult the TV’s manual for instructions on how to do this.
By following these troubleshooting steps, you should be able to resolve the issue and connect your Philips TV to your WiFi network.
Connecting a Philips TV to WiFi Without a Remote
To connect your Philips TV to WiFi without a remote, you can follow the steps listed below:
1. Check if your TV has a physical button or control panel: Some Philips TVs have a physical button or control panel on the set that allows you to navigate and select options. If you have this on your TV, you can use it to connect to WiFi.
2. Use a mobile device with the Philips TV app: Download the Philips TV app on your mobile device and connect it to the same WiFi network as your TV. Open the app and select your TV from the list of available devices. Follow the on-screen instructions to connect your TV to WiFi.
3. Use a universal remote: If you have a universal remote, you can try programming it to work with your Philips TV. Once you have programmed it, use the remote to navigate to the WiFi settings and connect your TV to the internet.
4. Use an Ethernet cable: If your TV has an Ethernet port, you can connect it directly to your router using an Ethernet cable. This will provide a stable and fast internet connection without the need for a remote.
It’s important to note that not all Philips TVs have the same features and options. If you’re unsure about how to connect your specific model to WiFi without a remote, refer to the user manual or contact Philips customer support for assistance.
Connecting a TV to a WiFi Network
To connect your TV to a WiFi network, you need to follow a few simple steps. First, you need to press the HOME button on your TV remote. Then, select the Settings option from the list of available options.
The next steps will depend on the menu options available on your TV. You may see an option called Network & Internet or similar. Navigate to the option named Easy Setup and then select Wi-Fi. This will allow you to access the list of available Wi-Fi networks.
Select the Wi-Fi network that you want to connect to and enter the password if required. Make sure that you enter the password correctly, as a wrong password can prevent your TV from connecting to the network.
Once you have entered the correct password, follow the on-screen instructions to complete the setup process. Your TV should now be connected to the Wi-Fi network, and you should be able to access the internet on your TV.
Conclusion
Philips TVs offer a variety of features and options for users to enjoy their viewing experience. Connecting the TV to a wireless network is a straightforward process that can be done in a few simple steps. However, in case of any issues, there are troubleshooting methods available to ensure a smooth connection. Additionally, for those who prefer a wired connection, some Philips TVs have an Ethernet port available. With its sleek design and advanced technology, Philips TV is a great choice for anyone looking for a high-quality viewing experience.


