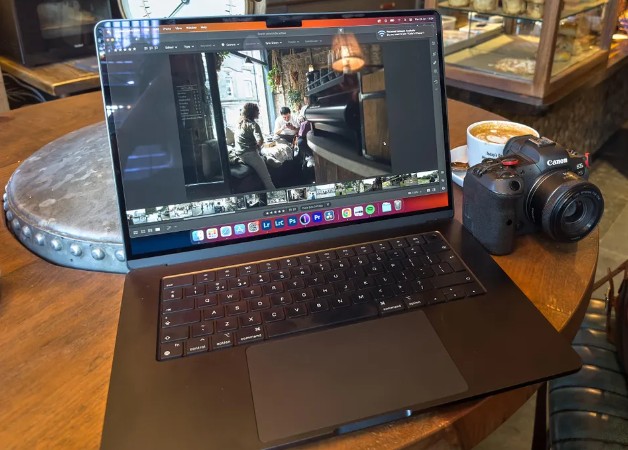
Can you imagine spending hours perfecting a photograph on your MacBook Air, only to find the colors look completely different when printed? This frustration often stems from an uncalibrated screen, which can mislead photographers and lead to inaccurate editing decisions.
Without proper screen calibration, the colors you see on your display may not translate accurately into prints or other displays. This mismatch can be disastrous for photographers dependent on exact color representation.
By calibrating your screen, you ensure color accuracy, creating a reliable reference point that guarantees the colors you see during the editing process will match the final output. This simple yet crucial step can make all the difference in achieving perfect print matching and maintaining consistency in your photography.
Understanding the Macbook Air for Photography
The Macbook Air display is designed for an exceptional photo editing experience. With its stunning Retina display, every detail of your photos is rendered with sharp clarity. The wide color gamut (P3) ensures vibrant and accurate colors, allowing you to see your images as they truly are.
Also, True Tone technology automatically adjusts the display’s color temperature based on your surroundings, making your editing sessions comfortable and consistent.
The Calibration Process: Step-by-Step
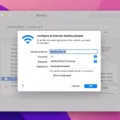
Calibrating your MacBook Air screen is essential for achieving color accuracy in photography. Let’s walk through the process using Apple’s built-in Display Calibrator Assistant. This tool helps you adjust the white point, gamma, brightness, and contrast to ensure your display is perfect for photo editing.
First, open the Display Calibrator Assistant from System Preferences.
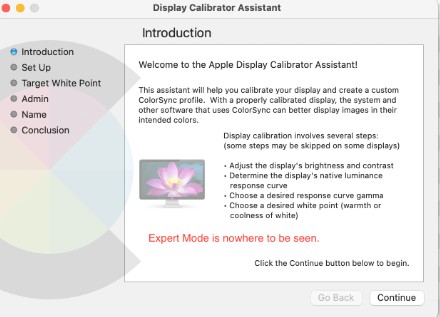
Follow the prompts to adjust the white point, which sets the overall color temperature of your display. Next, you’ll set the gamma; start with the native gamma and then adjust to your target gamma for balanced contrast.
Adjust brightness to match your working environment and ensure details are visible in both shadows and highlights. Don’t forget to compare color profiles. For a successful calibration, work in a room with consistent lighting and review your settings periodically to maintain accuracy.
Hardware Calibration Alternatives
When it comes to achieving the best possible screen accuracy for photography, using hardware calibration devices can make a significant difference. Unlike software-based solutions, these devices offer greater precision and customization.
Two types of hardware calibration devices are commonly used: the Colorimeter and the Spectrophotometer. Both of these tools measure and adjust the colors on your screen, ensuring they are as accurate as possible.
Popular brands like X-Rite and Datacolor offer reliable options. For instance, the X-Rite i1Display Pro and the ColorMunki Display are renowned for their effectiveness.
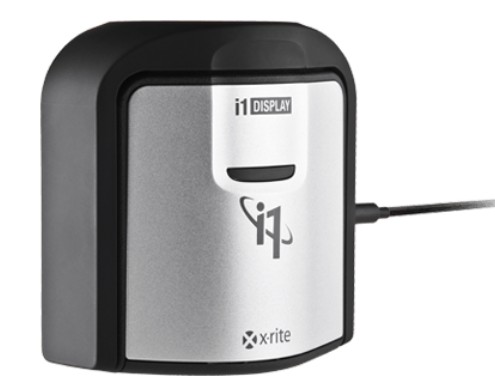
These devices provide photographers with a higher level of control over their display settings, resulting in more accurate color representation.
Optimizing Settings for Photo Editing
For optimal monitor brightness, set it between 120 and 140 nits/cd/m2. This range ensures your screen is bright enough to display details without causing eye strain. Adjust the color temperature to D65 (6500K), which is the standard for most photography work, providing a neutral white balance.
To minimize reflections and ambient light interference, set up your workspace with controlled lighting. Use window coverings to shield direct sunlight, while adjusting your screen to lessen glare. This workspace setup will help keep your photo colors true and accurate.
The Role of Ambient Light
In your workspace, lighting conditions can significantly affect color perception. Bright light can cause glare and reflections on your MacBook Air’s screen, distorting the true colors of your photos. To minimize these issues, ensure your workspace lighting is gentle and uniform. Adjust your screen’s position to steer clear of direct lighting to diminish glare.
Aim for an ambient light color temperature of around 5000K, which closely mimics natural daylight and provides a neutral environment for photo editing. By optimizing your workspace lighting, you can achieve more accurate and consistent color perception on your display.
Choosing the Right Calibration Target
The right calibration target is crucial for accurate color representation on your MacBook Air screen, especially for photography. Calibration targets, such as D65 and D50, are key to this. D65, with a color temperature of approximately 6500K, is the standard for photo editing and is widely used for digital output.
However, for print workflows, D50, which has a color temperature of around 5000K, is the preferred standard due to its closer match to daylight conditions in print environments. By selecting the appropriate calibration target based on your intended output—D65 for digital and D50 for print—you ensure that your screen calibration is aligned with your specific needs, providing the most accurate color representation for your projects.
This output-specific calibration is essential for achieving professional results in both digital and print media.
Using Calibration for Print Matching
Getting your Macbook Air display calibrated ensures your photos look their best when printed. Start by calibrating your screen to achieve accurate print matching. This is vital for soft-proofing images before they go to print, as it helps predict how colors will appear on paper.
Custom calibration involves creating printer profiles tailored to your specific printer and paper type. These profiles integrate with your calibrated display to maintain color consistency throughout your print workflows.
Limitations of Laptop Calibration
Calibrating your Macbook Air screen for photography can enhance its display, but it’s important to be aware of certain laptop display limitations. While calibration improves color accuracy, professional monitors still have the edge in several areas.
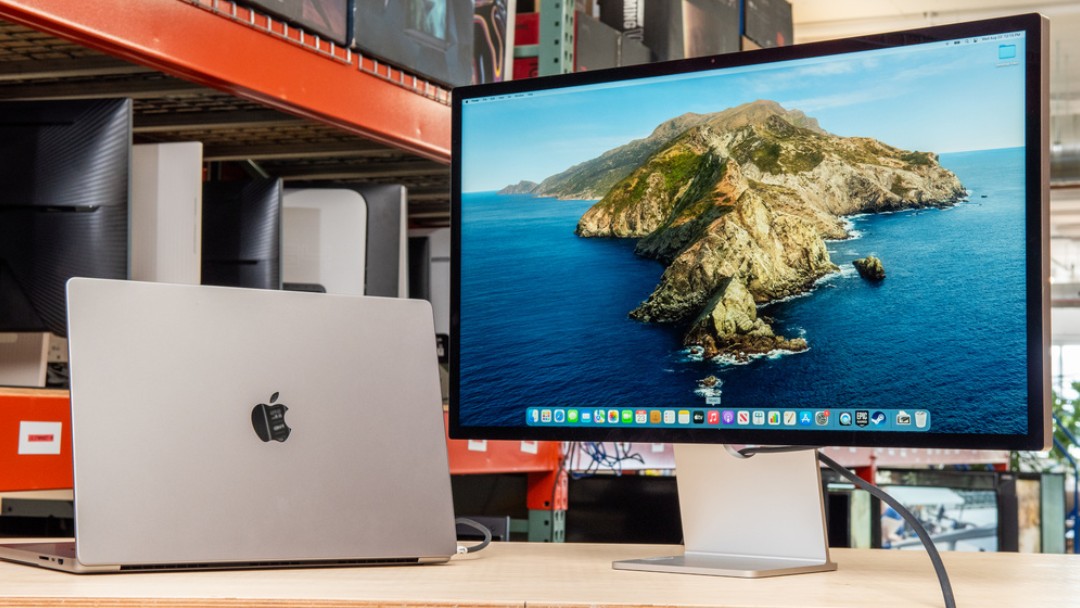
For instance, a Macbook Air’s color gamut might not be as wide, meaning it can’t display as many colors as high-end photography monitors. Brightness uniformity can also be an issue, as laptop screens often show variations in brightness across the display.
Also, the viewing angle on a laptop might not be as consistent, leading to color shifts when viewed from different angles. For critical photography work, investing in a professional monitor could provide the precision and consistency needed for the best results.
Tips for Maintaining Calibration
Keeping your MacBook Air screen perfectly calibrated is essential for maintaining accuracy in your photography work. Regular recalibration is crucial because screens can drift over time, affecting color accuracy.
The frequency of recalibration depends on how often you use your MacBook and the environmental factors it’s exposed to, such as temperature and humidity changes. Aim to recalibrate every 2-4 weeks.
Be aware that lighting changes in your workspace can significantly impact color perception, so always recalibrate your screen under the same lighting conditions you typically work in.
Conclusion
Calibration is crucial for achieving professional results in photography. By ensuring accurate screen colors, you can make sure your edits are spot on. This accurate editing guarantees that your photos look great on any device and in print, leading to print consistency.
Plus, you’ll experience a workflow improvement since you won’t have to second-guess your color choices. This color confidence not only boosts your professionalism but also ensures your creative vision is always realized perfectly.

