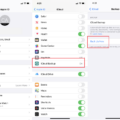
When it comes to using apps on your Android device, there may be times when you want to allow access to your camera. Whether it’s for taking photos or videos, video chatting, or scanning documents, enabling camera access for apps can enhance your user experience. In this article, we will guide you through the process of allowing an app to access the camera on your Android device.
To begin, open the Settings app on your Android device. This can typically be found in your app drawer or by swiping down on the notification panel and tapping on the gear icon.
Scroll down and tap on “Apps & notifications.” This option may be labeled differently based on the Android version you are using, but it should be similar.
Next, tap on “Advanced” to access additional app settings.
Now, tap on “App permissions” to view and manage the permissions for your apps.
In the list of permissions, locate and tap on “Camera.” This will display the apps that currently have access to your device’s camera.
To allow an app to access your camera, simply toggle the switch next to the app’s name to the “On” position. This will grant the app permission to use your camera.
Similarly, if you want to allow an app to access your device’s microphone, locate and tap on “Microphone” in the list of permissions. Toggle the switch next to the app’s name to enable microphone access.
It’s important to note that granting camera and microphone access to apps may have privacy implications. Be cautious when allowing access to sensitive features and consider the reputation and trustworthiness of the app before granting permissions.
Remember to regularly review and manage app permissions to ensure that you have control over what your apps can access on your Android device. This can help protect your privacy and security.
Allowing an app to access your camera and microphone on your Android device is a straightforward process. By following the steps outlined in this article, you can easily enable camera and microphone access for your desired apps. Just remember to be mindful of the permissions you grant and regularly review them to maintain your privacy and security.
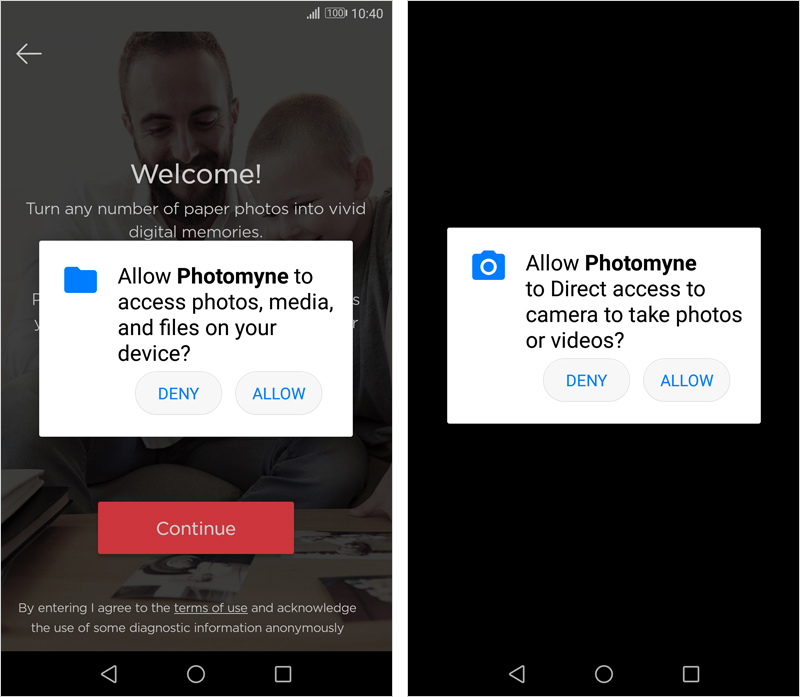
How Do You Allow Camera Permission for Apps on Android?
To allow camera permission for apps on Android, follow these steps:
1. Open the Settings app on your Android device.
2. Scroll down and tap on “Apps & notifications.”
3. Tap on “Advanced.”
4. Tap on “App permissions.”
5. Tap on “Camera.”
6. You will see a list of apps that have requested camera access. To grant permission to all apps, tap on the toggle switch or checkbox next to “Camera” to enable it for all apps.
7. If you prefer to grant camera access to specific apps only, you can individually toggle the switch or checkbox next to each app on the list.
Remember that granting camera and microphone permissions to apps may have privacy implications, so it is important to be cautious and only allow access to trusted apps.
How Do You Enable Camera Access for Apps?
To enable camera access for apps on your Android phone, you can follow these steps:
1. Open the Settings app on your Android phone.
2. Scroll down and tap on “Apps” or “Applications” (the name may vary depending on your device).
3. Look for the app for which you want to enable camera access and tap on it.
4. Tap on “Permissions” or “App permissions.”
5. Find the “Camera” option and make sure it is enabled or toggled on. If it is already enabled, you can skip to the next step.
6. If the camera permission is disabled, tap on the toggle switch to enable camera access for the app.
Please note that the exact steps and options may slightly vary depending on the Android version and device you are using.
How Do You Give an App Permission?
To grant an app permission on your Android device, you can follow these steps:
1. Open the Settings on your device. You can usually find it in the app drawer or by swiping down the notification panel and tapping the gear icon.
2. In the Settings menu, scroll down and tap on “Apps & notifications.” This option might be named slightly differently depending on your device and Android version.
3. Look for “Permission manager” or a similar option, and tap on it. This will open the Android permission controller app.
4. In the permission manager, you’ll see a list of app permissions. These are categorized based on the type of access they require, such as location, camera, microphone, etc.
5. Choose the specific permission you’re interested in granting to an app. For example, if you want to give an app access to your location, tap on the “Location” permission.
6. Once you select a permission, you’ll see a list of apps that have requested access to that specific permission. The apps will be categorized based on whether they have access to the permission all the time or only while in use.
7. To grant permission to an app, simply toggle the switch next to it. If the switch is turned on, it means the app has permission for that particular access. If it’s turned off, tap on the switch to grant permission.
By following these steps, you can easily manage and grant permissions to specific apps on your Android device. It’s important to review these permissions to ensure that apps only have access to the data and features you’re comfortable with.
How Do You Access Your Camera on Android?
To access your camera on an Android device, follow these steps:
1. Locate the camera app on your home screen or in the app drawer. It usually has a camera icon and is labeled “Camera.”
2. Tap on the camera app to open it. This will launch the camera interface on your device.
3. Once the camera app is open, you will see the viewfinder screen, which displays what your camera lens is capturing in real-time.
4. By default, the front-facing selfie camera is usually activated. To switch to the rear-facing camera, look for a camera icon with two arrows in a circle or a button labeled “Switch” or “Front/Rear.” Tap on it to switch to the rear camera.
5. Once you are in the desired camera mode, you can start taking photos or recording videos. To do this, look for a shutter button, usually located at the bottom center of the screen. Tap on it to capture a photo or hold it down to start recording a video.
6. Some camera apps offer additional features and settings that you can access by tapping on icons or menus on the screen. These may include options for adjusting the flash, exposure, focus, and other settings.
7. After you have taken a photo or recorded a video, you can usually review and access your media by tapping on a preview thumbnail or a gallery icon. This will open up a screen where you can view, edit, and share your captured media.
Remember to grant necessary permissions to the camera app if prompted to do so, as some features may require access to your device’s camera and storage.
Accessing your camera on Android involves locating and opening the camera app, switching to the desired camera mode (front or rear), and using the on-screen controls to capture photos or videos.
Conclusion
Enabling camera and microphone access for all apps on your Android device is a simple process that can be done through the device’s settings. By following the steps provided, you can ensure that all apps have the necessary permissions to utilize the camera and microphone functions.
It is important to note that granting these permissions may have privacy implications, as apps will have the ability to capture and record audio and visual data. Therefore, it is recommended to review and consider the permissions requested by each individual app before granting access.
Additionally, when it comes to photography and mobile photography, using the rear-facing camera is generally advised for capturing higher quality images. The rear camera often has better resolution and more advanced features compared to the front-facing or selfie camera. So, if you want to achieve the best image quality, utilizing the rear camera whenever possible is recommended.
Ensuring camera and microphone access for all apps on your Android device can enhance your user experience and allow you to take full advantage of the features offered by various applications. Just remember to prioritize your privacy and security by carefully considering the permissions granted to each app.

