When it comes to switching from a Windows PC to a Mac, one of the crucial tasks is transferring your files. Fortunately, Apple has made this process relatively straightforward with the help of the Migration Assistant tool. In this article, we will explore different methods to transfer files from a PC to a Mac, including using a USB stick and utilizing cloud services.
Option 1: Using Migration Assistant
The Migration Assistant is a built-in utility in macOS that simplifies the process of transferring files and settings from a Windows PC to a Mac. To begin, open the Migration Assistant, which can be found in the Utilities folder within your Applications folder.
Once the Migration Assistant is open, follow the onscreen instructions until you are asked how you want to transfer your information. Select the option to transfer from a Windows PC and click Continue. Next, select the icon representing your PC and click Continue.
To enable file sharing between the PC and Mac, turn on File Sharing and click the Info button on the right. In the Info window, click Options and select “Share files and folders using SMB”. In the Windows File Sharing list, select the checkbox next to the user account that will be used to share files with Windows users. Enter the password for that user and click OK.
Option 2: Transfer files via USB stick
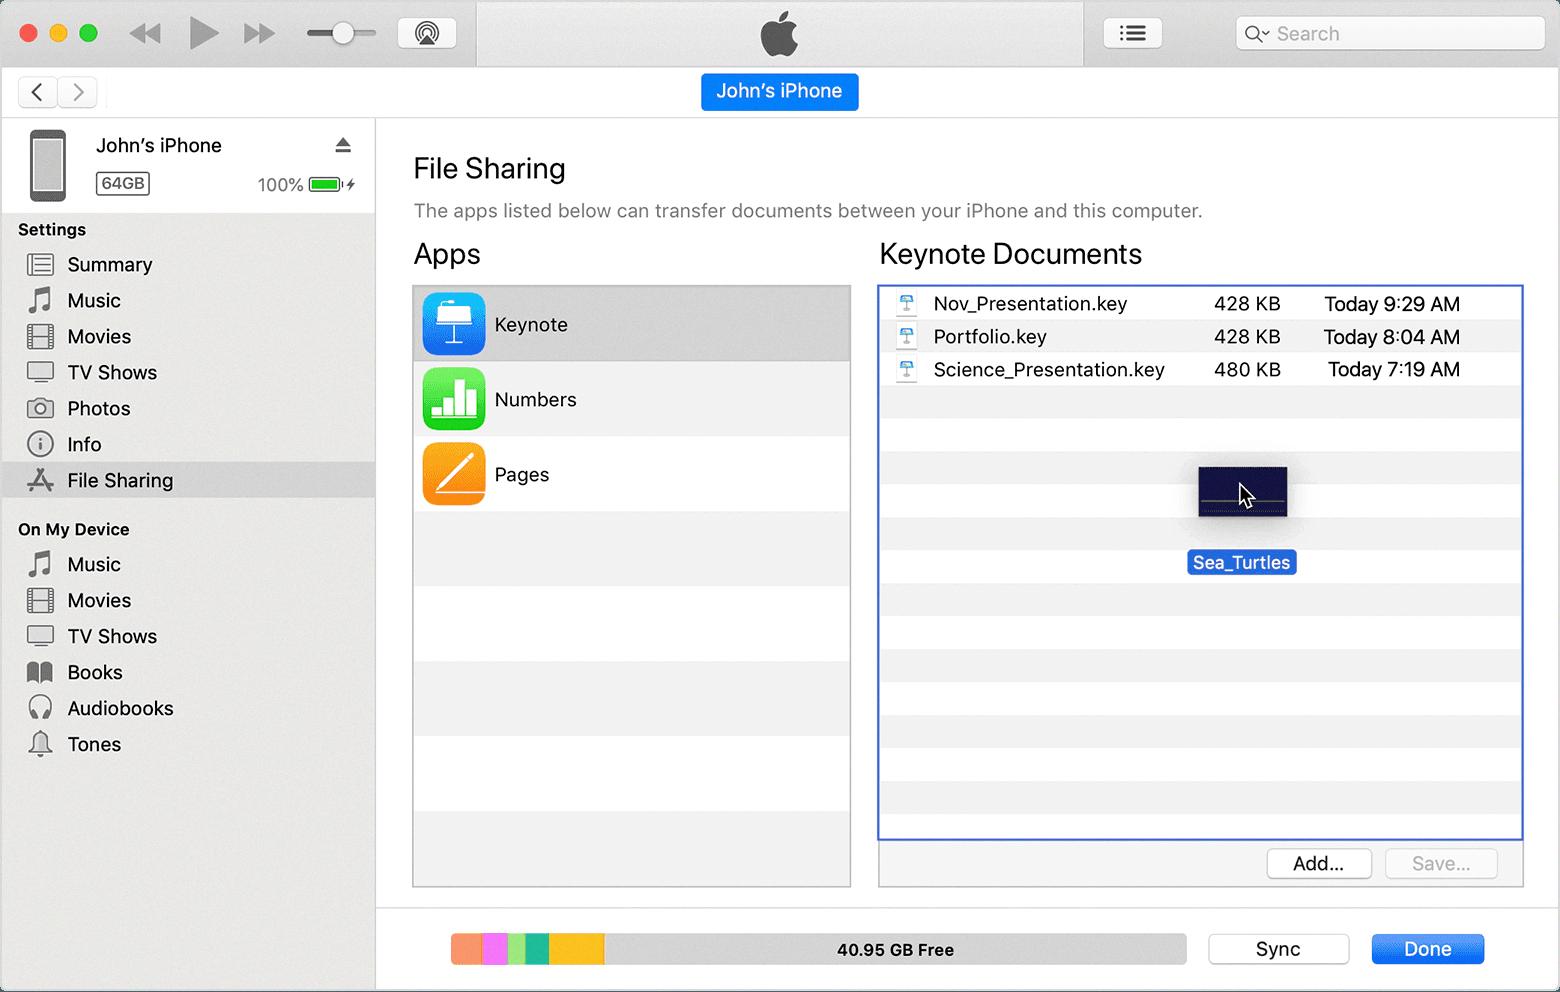
Another way to transfer files from a PC to a Mac is by using a USB stick. Connect the USB device to any one of the ports on your Windows PC and copy the files you wish to transfer onto this external storage. Once the files are copied, safely unplug the USB stick from the PC and plug it into your Mac.
On your Mac, locate the USB stick in the Finder and open it. Next, select the files you want to transfer and copy them to your Mac system. This method allows for a direct transfer of files, making it a convenient option for smaller file sizes.
Option 3: Transfer files using cloud services
Cloud services provide a convenient way to transfer files between different platforms. To transfer files from your Windows PC to a Mac using cloud services, you can use popular options like iCloud, Dropbox, Google Drive, or Microsoft OneDrive.
To access iCloud from your Windows computer, open your web browser and navigate to www.iCloud.com. Log in with your Apple ID and upload your files to iCloud. Once the files are uploaded, you can access them on your Mac by logging into iCloud on your Mac.
Similarly, for other cloud services like Dropbox, Google Drive, or Microsoft OneDrive, you can install their respective applications on your Windows PC, upload the files to the cloud, and then access them on your Mac by installing the respective applications and logging in.
Transferring files from a Windows PC to a Mac can be accomplished through various methods, including using the built-in Migration Assistant tool, transferring files via a USB stick, or utilizing cloud services. Choose the method that suits your needs best and ensure a smooth transition of your files to your new Mac.
How Do You Transfer Files From Windows to Mac?
To transfer files from a Windows PC to a Mac, you can use the Migration Assistant tool. This tool is built into the Mac operating system and helps you transfer your files, documents, applications, and settings from your Windows PC to your new Mac.
Here are the steps to transfer files from Windows to Mac using Migration Assistant:
1. Open the Migration Assistant on your Mac. You can find it in the Utilities folder within your Applications folder.
2. Follow the onscreen instructions until you are prompted to choose how you want to transfer your information. Select the option to transfer from a Windows PC and click Continue.
3. Connect your Windows PC to your Mac using a network connection or a cable. If you choose to use a network connection, make sure both your Mac and Windows PC are connected to the same network.
4. In the Migration Assistant on your Mac, you will see a list of available Windows PCs. Select the icon representing your Windows PC and click Continue.
5. You may be prompted to enter a security code on your Windows PC. This code will be displayed on your Mac. Enter the code on your Windows PC to establish a secure connection between the two devices.
6. Once the connection is established, you can choose the files, documents, applications, and settings that you want to transfer to your Mac. You can either transfer everything or select specific items.
7. Click Continue to start the transfer process. The time it takes to transfer the files will depend on the amount of data and the speed of your network or cable connection.
8. Once the transfer is complete, you will be notified on your Mac. You can then disconnect your Windows PC from your Mac and start using your transferred files and applications on your Mac.
It is important to note that not all files and applications may be compatible with both Windows and Mac operating systems. Some applications may need to be reinstalled on your Mac using their Mac versions, and some files may need to be converted to be compatible with Mac applications.
The Migration Assistant tool simplifies the process of transferring files from a Windows PC to a Mac, ensuring a smooth transition to your new Mac system.

What is the Best Way to Transfer Files Between PC And Mac?
To transfer files between a PC and a Mac, one of the most efficient methods is by using file sharing. Follow these steps to enable file sharing and transfer files seamlessly:
1. On the Mac:
– Open System Preferences by clicking on the Apple menu in the top-left corner of the screen.
– Select “Sharing” from the preferences panel.
– Check the box next to “File Sharing” in the left sidebar.
– Click on the “Options” button.
– Choose “Share files and folders using SMB” option.
– In the Windows File Sharing list, select the checkbox next to the user account you want to use for sharing files with Windows users.
– Enter the password for that user account.
– Click on OK to save the changes.
2. On the PC:
– Open the File Explorer by pressing the Windows key + E.
– In the address bar, type in the IP address of the Mac preceded by two backslashes (e.g., \\192.168.1.2).
– Press Enter to connect to the Mac.
– If prompted, enter the username and password of the Mac user account you selected for file sharing.
– Once connected, you can access and transfer files between the PC and Mac by simply dragging and dropping them.
By enabling file sharing and using SMB (Server Message Block) protocol, you can easily establish a connection between a PC and a Mac, allowing for seamless file transfer. This method ensures compatibility and convenience when transferring files between the two platforms.
Can You Transfer Files From PC To Mac With a USB Cable?
You can definitely transfer files from a PC to a Mac using a USB cable. Here are the steps to do so:
1. Connect the USB cable to your PC’s USB port.
2. Plug the other end of the USB cable into a USB port on your Mac.
3. On your PC, locate the files you want to transfer to your Mac.
4. Copy the files by right-clicking on them and selecting “Copy” or by using the Ctrl+C keyboard shortcut.
5. Open the USB drive on your PC by double-clicking on it in the File Explorer.
6. Paste the copied files into the USB drive by right-clicking inside the USB drive and selecting “Paste” or by using the Ctrl+V keyboard shortcut.
7. Once the files are successfully copied to the USB drive, safely eject the USB drive from your PC. This can be done by right-clicking on the USB drive and selecting “Eject” or by using the “Safely Remove Hardware” icon in the system tray.
8. Unplug the USB cable from your PC and plug it into a USB port on your Mac.
9. On your Mac, open Finder and locate the USB drive in the sidebar.
10. Double-click on the USB drive to open it.
11. Copy the files from the USB drive to your Mac by selecting them and dragging them to the desired location on your Mac’s hard drive.
12. Alternatively, you can right-click on the files and select “Copy,” then navigate to the desired location on your Mac’s hard drive, right-click again, and select “Paste.”
13. Once the files are successfully transferred to your Mac, safely eject the USB drive from your Mac. This can be done by dragging the USB drive icon to the trash or using the eject button next to the USB drive in Finder.
By following these steps, you can easily transfer files from a PC to a Mac using a USB cable.
How to Transfer Files From PC to Mac Without Migration Assistant?
To transfer files from a PC to a Mac without using the Migration Assistant, you have several options available. Here are the steps you can follow:
1. External Storage Device:
– Connect an external storage device, such as a USB flash drive or an external hard drive, to your PC.
– Copy the files you want to transfer to the external storage device.
– Safely eject the external storage device from your PC.
– Connect the external storage device to your Mac.
– Open Finder on your Mac and locate the external storage device.
– Copy the files from the external storage device to your Mac.
2. Network File Sharing:
– Make sure both your PC and Mac are connected to the same network.
– On your PC, locate the files you want to transfer.
– Right-click on the files and select the option to share or enable file sharing.
– Take note of the network path or IP address assigned to your PC.
– On your Mac, open Finder and click on “Go” in the menu bar.
– Select “Connect to Server” and enter the network path or IP address of your PC.
– Authenticate if required and access the shared files on your PC.
– Copy the files from your PC to your Mac.
3. Cloud Storage Services:
– Sign up for a cloud storage service like Dropbox, Google Drive, or Microsoft OneDrive.
– Install the respective desktop application on your PC and upload the files to the cloud.
– On your Mac, download and install the same cloud storage application.
– Sign in to your account and sync the files to your Mac.
4. Email or Messaging Services:
– Compress the files you want to transfer into a zip file on your PC.
– Attach the zip file to an email or send it through a messaging service like WhatsApp or Telegram.
– Access the email or message on your Mac and download the attached zip file.
– Extract the files from the zip file on your Mac.
Remember to consider the size of the files and the available storage space on your Mac when choosing a transfer method.
Conclusion
Transferring files from a Windows PC to a Mac can be done in several ways, depending on your preference and available resources.
One option is to use the Migration Assistant tool, which is built into macOS. By following the onscreen instructions, you can easily transfer your files and data from your Windows PC to your Mac. This method is convenient and ensures that all your important files are transferred accurately.
Another option is to use a USB stick or external storage device. Simply connect the USB device to your Windows PC, copy the files onto it, and then plug it into your Mac. From there, you can easily transfer the files from the USB to your Mac system. This method is useful if you have a large amount of data to transfer or if you prefer a physical storage solution.
If you prefer to transfer your files using a cloud service, there are several options available. You can use iCloud, Dropbox, Google Drive, Microsoft OneDrive, or any other cloud service of your choice. Simply upload your files from your Windows PC to the cloud service, and then access them from your Mac. This method allows for easy access to your files from any device and eliminates the need for physical storage devices.
Transferring files from a Windows PC to a Mac can be done efficiently and conveniently using various methods. Choose the method that suits your needs and preferences best, and enjoy a seamless transition to your new Mac system.


