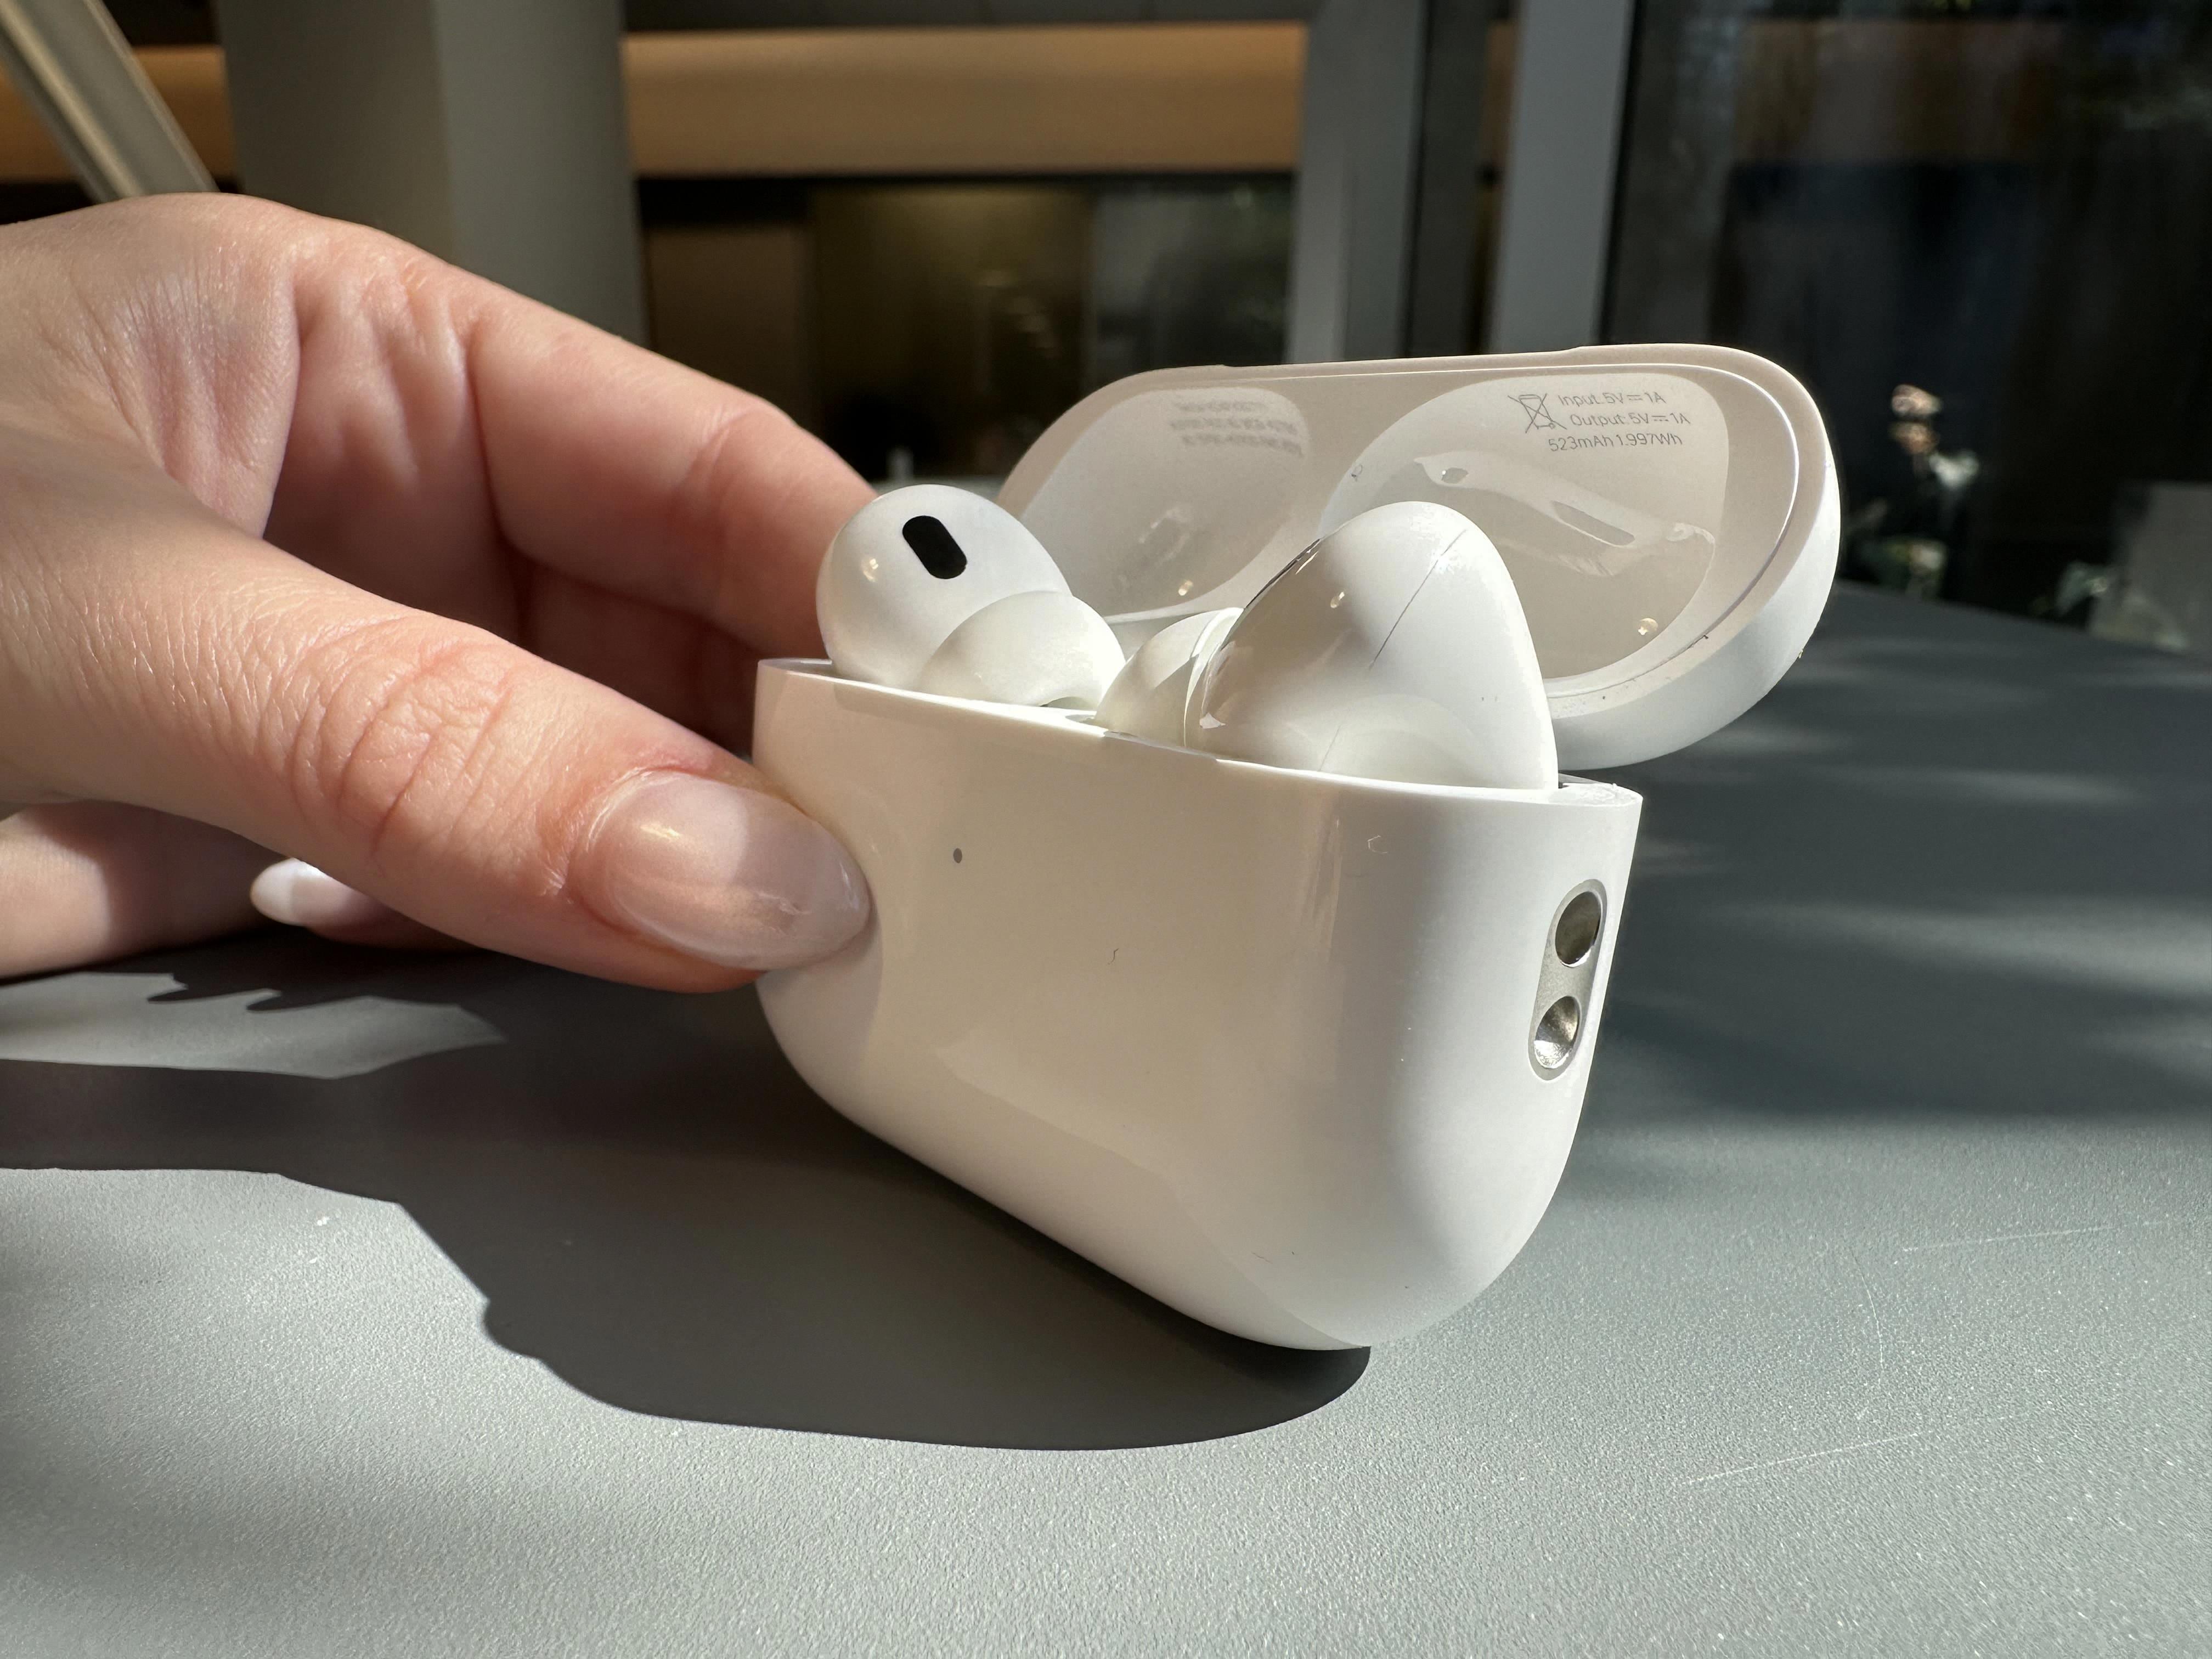
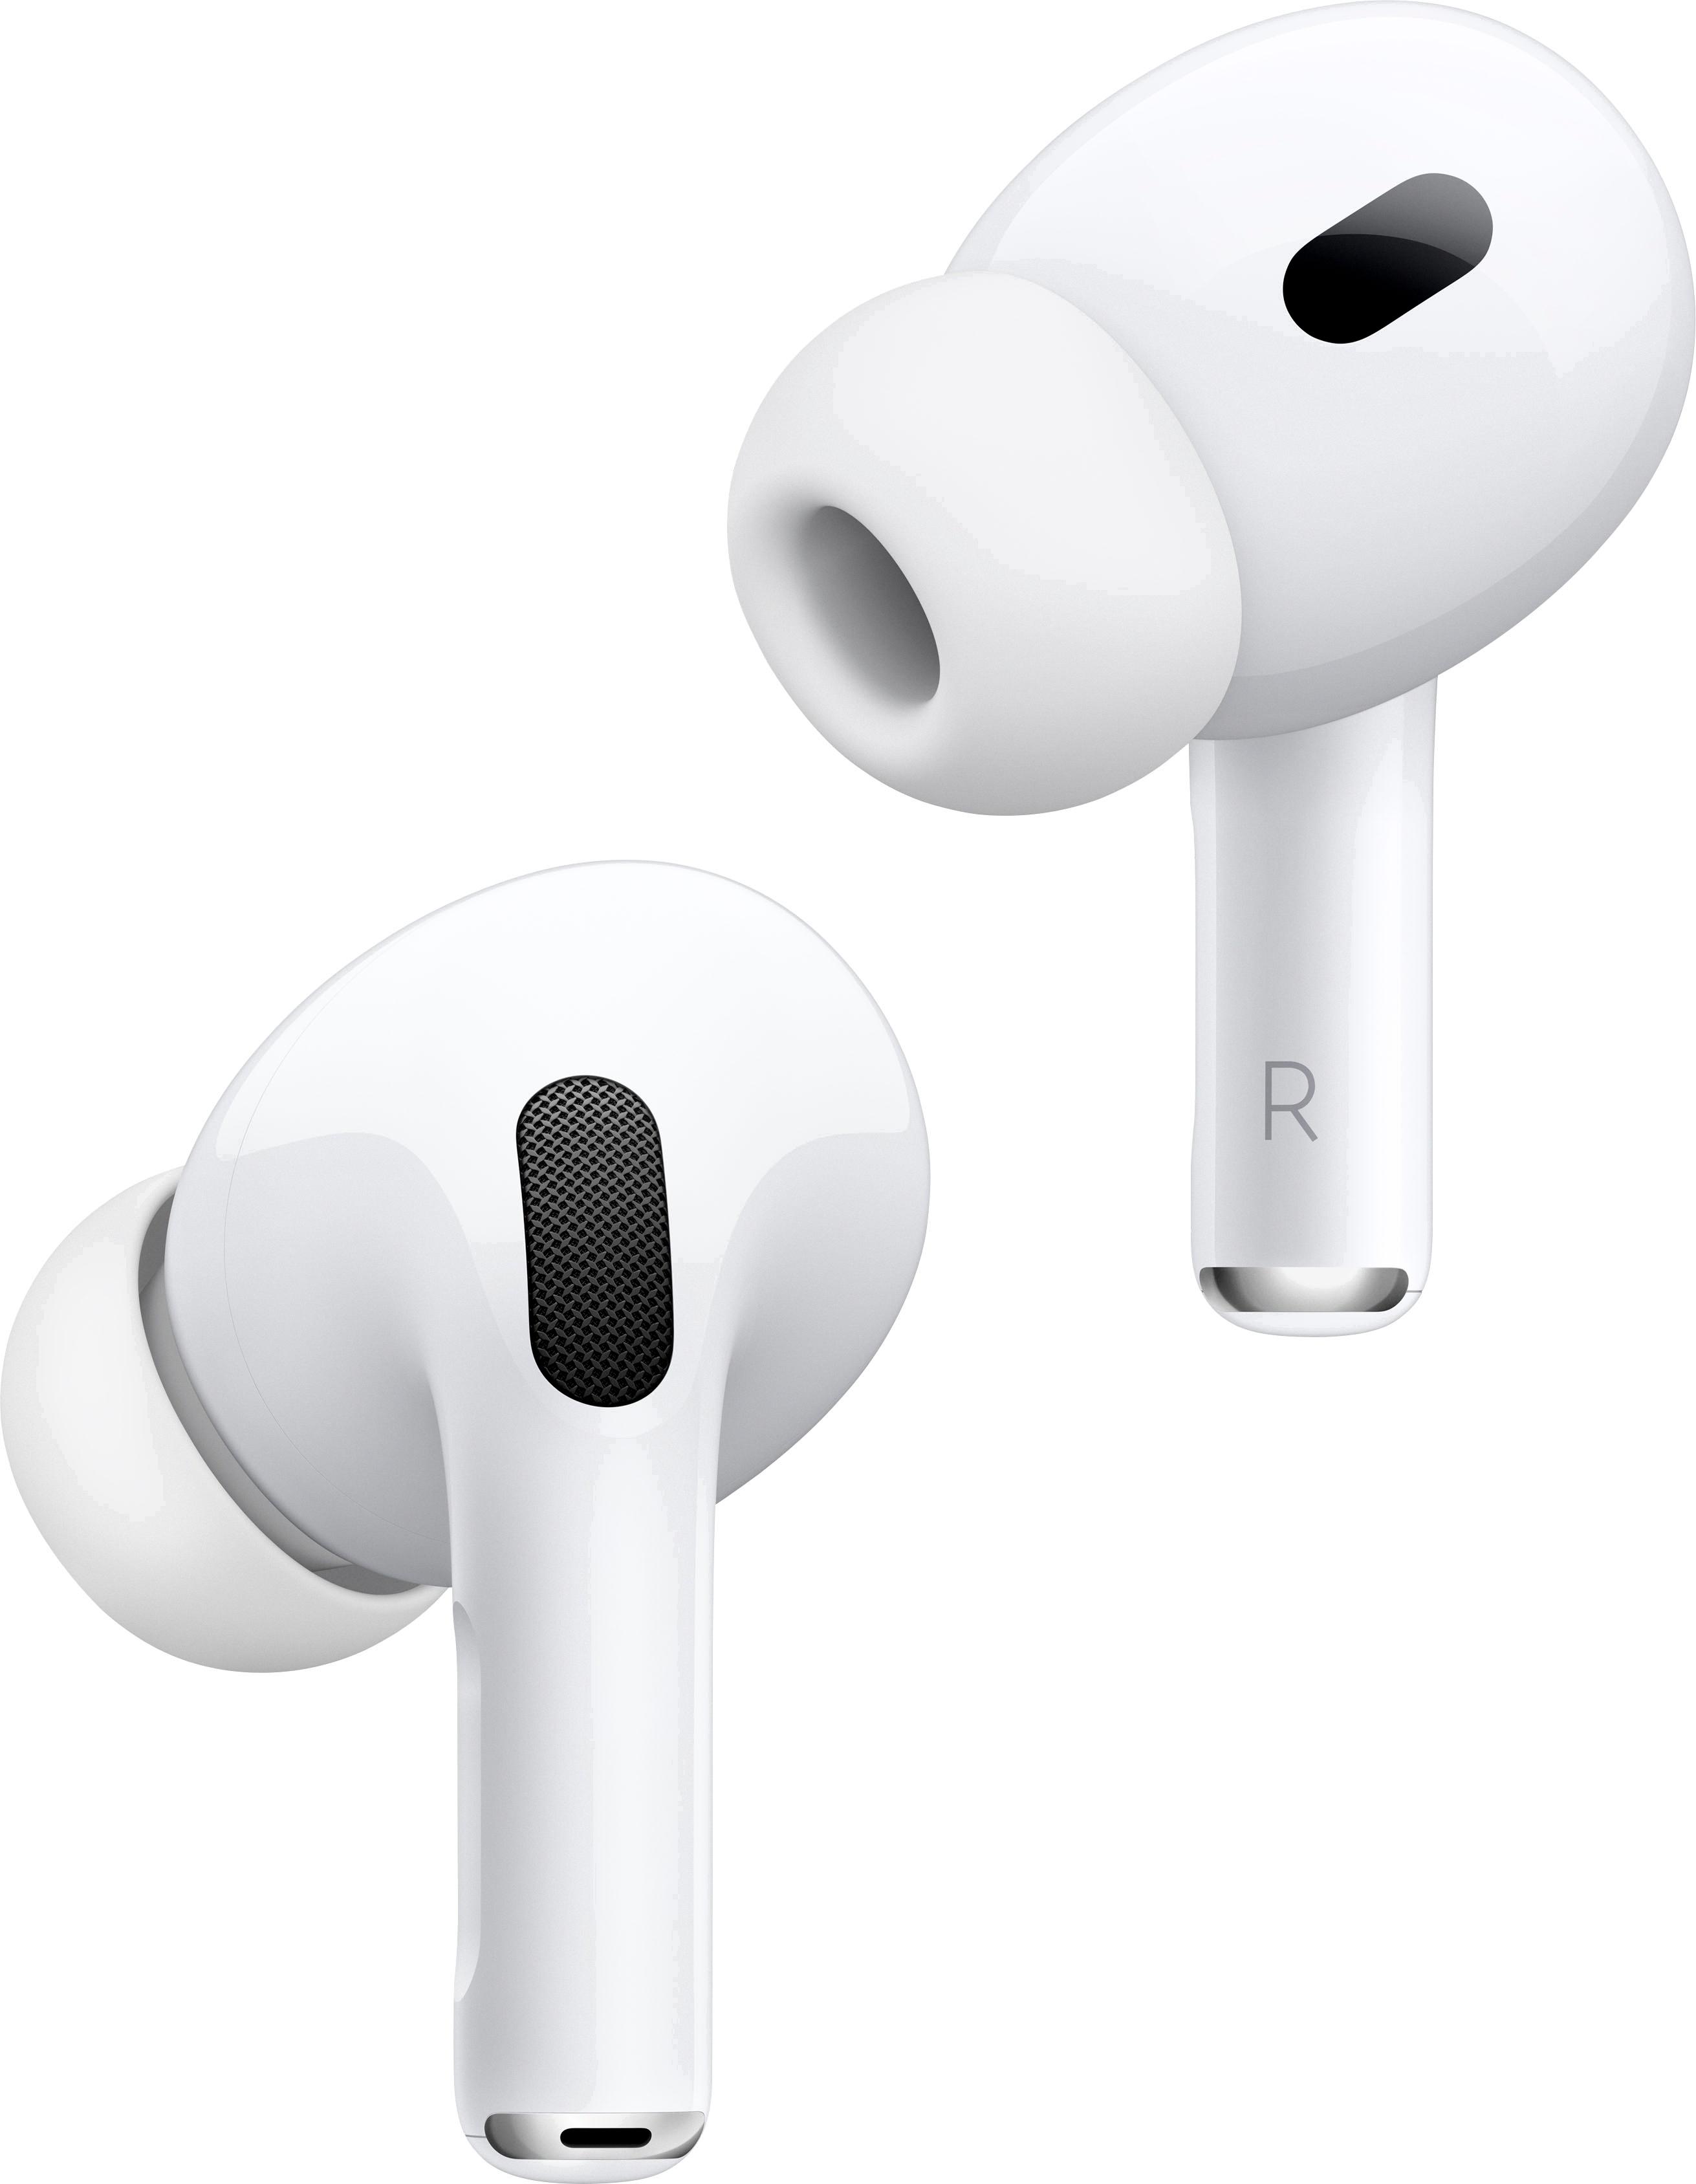
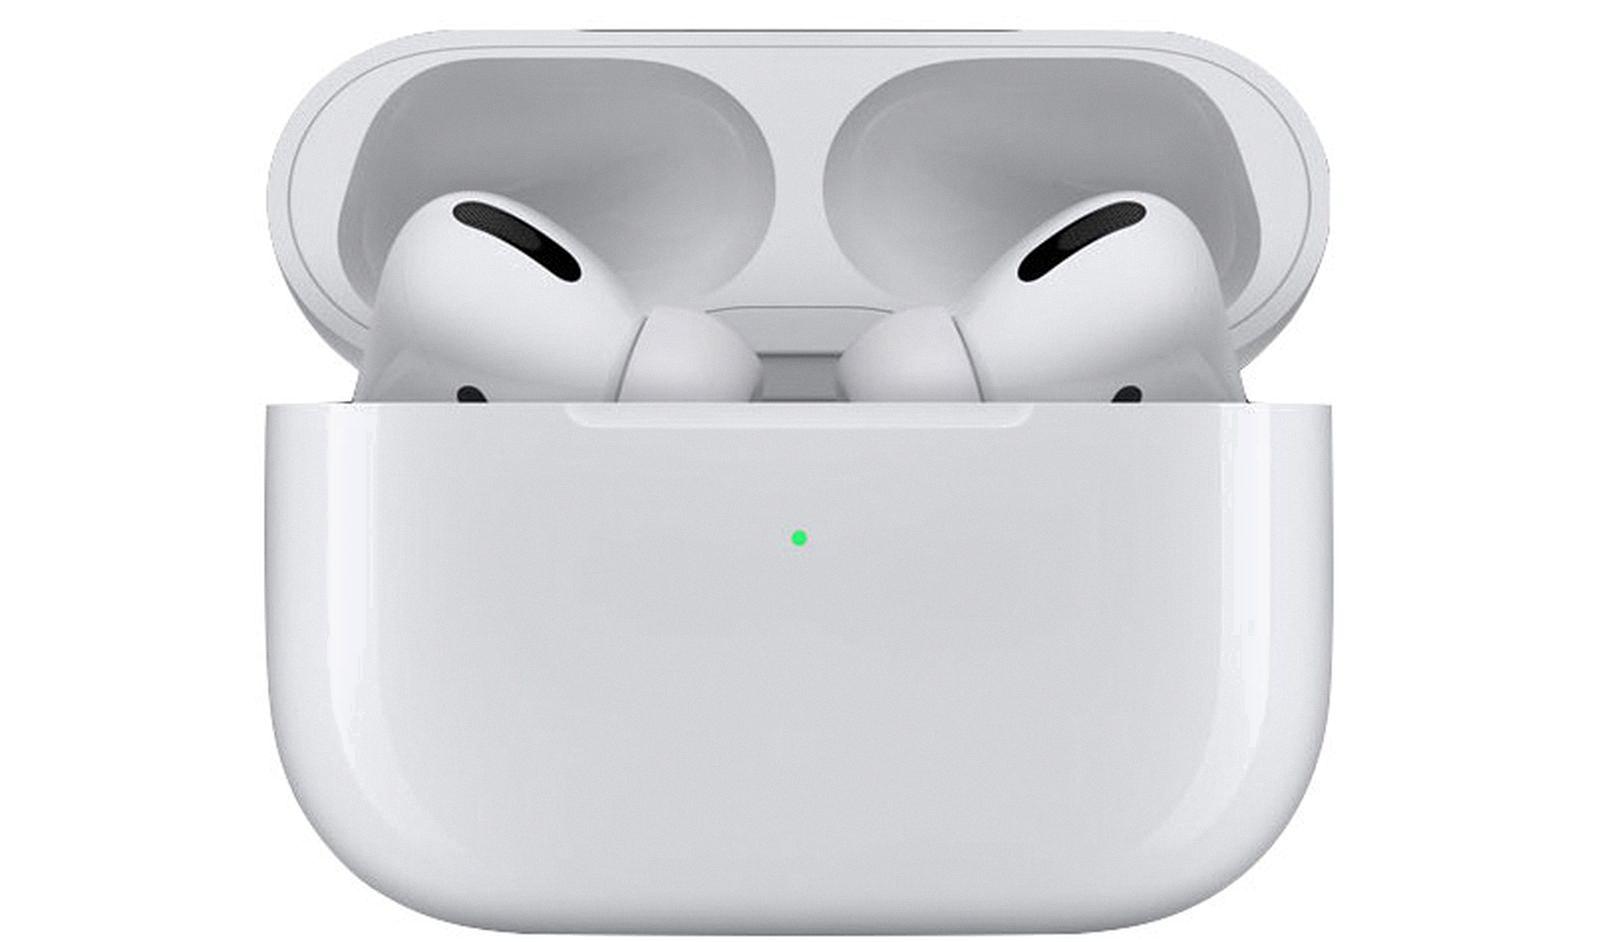
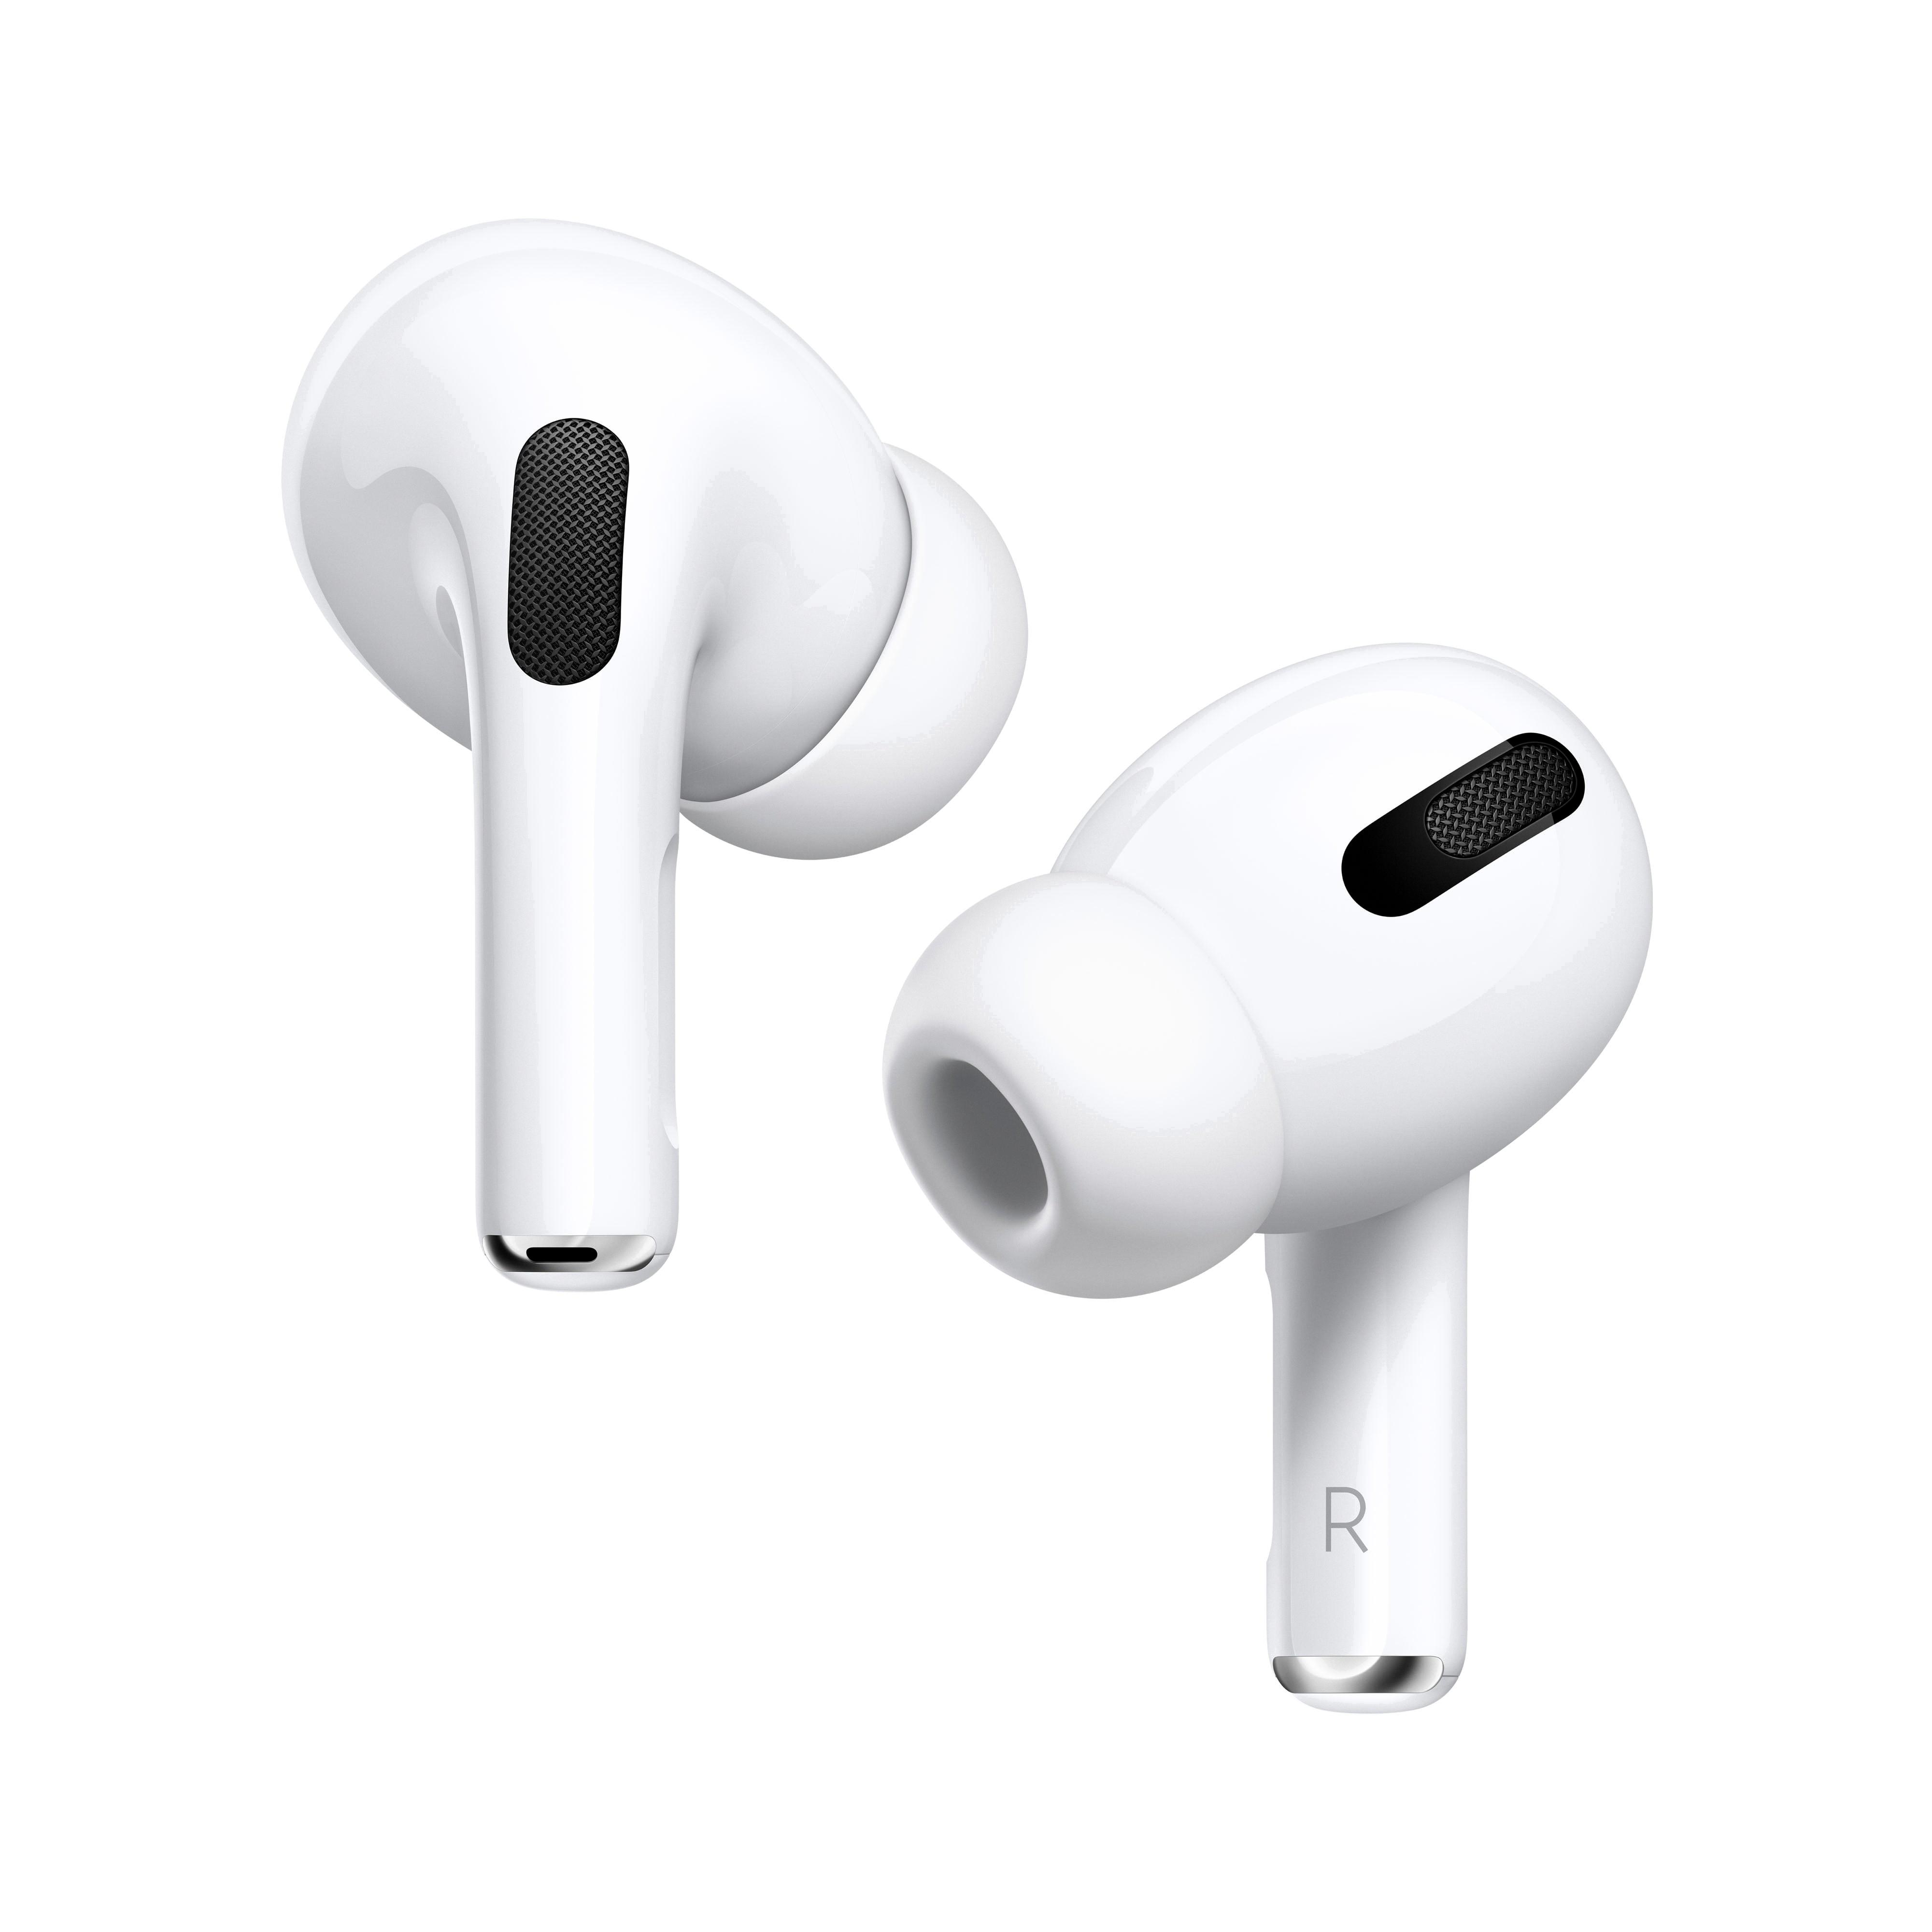
If you’re looking for an immersive sound experience, AirPods Pro are a perfect choice. With their active noise cancellation and customizable fit, these headphones have been designed to deliver an exceptional audio experience that’s tailored to your individual needs. But with so many features, it can be hard to know if they’re working correctly. That’s why it’s important to test your AirPods Pro audio quality.
First and foremost, it’s important to make sure your AirPods Pro are fitted properly. To ensure a comfortable fit with a good seal, go to Settings > Bluetooth and tap the More Info button next to your AirPods in the list of devices. Then select Ear Tip Fit Test and tap Continue before pressing the Play button. This will help you determine the best ear tip size for a snug fit.
Once your AirPods are securely in place, check the Active Microphone Settings by going to Settings > Bluetooth and tapping on the i icon next to your AirPods. Then select Microphone and make sure that Automatically Switch AirPods is enabled so that they determine which microphone is most suitable for use on the fly.
To make sure that sound is playing through both of your AirPods at once, go to Settings > Accessibility > Audio/Visual on iOS devices or Settings > Accessibility on Apple Watch and enable Mono Audio mode. You can also enable Dolby Atmos Spatial Audio if you want a more immersive experience – this can be done by going into Settings>Music and selecting Automatic, Always On, or Off under Dolby Atmos settings.
Finally, listening to some music is an easy way to check if everything is working as expected – make sure that any music you listen to supports Dolby Atmos Spatial Audio as this will provide you with a more immersive sound experience when using AirPods Pro or Beats Fit Pro with Spatial Audio turned on.
Testing the audio quality of your AirPods Pro might take a few minutes but it’s well worth it in order to get the best sound possible from them!
Testing the Audio Quality of AirPod Pro
To test the audio quality of your AirPods Pro, go to Settings > Bluetooth on your iPhone or iPad. Tap the More Info button next to your AirPods in the list of devices. Then tap Ear Tip Fit Test. This will play a brief audio tone in each AirPod, and then ask you which one sounded louder. Tap Continue and then tap the Play button to begin the fit test. Once you’ve finished, you’ll get a rating of either Good Seal, Fair Seal, or Poor Seal. Make sure you have a comfortable fit with a good seal for optimal sound quality.

Source: cnbc.com
Testing the Microphone on AirPods Pro
To test your AirPods Pro microphone, you will need to use a voice recording app. Start by connecting your AirPods Pro to your device, then open the app and select the AirPods Pro as the input device. Speak into the AirPods and record a short clip. Play back the clip to listen for any sound issues such as distortion or feedback, which could indicate an issue with your microphone. If you hear any of these problems, you may need to reset your AirPods or take them in for service.
Testing Sound on AirPods
To test sound on both of your AirPods, you can first make sure that your device is connected to them. You can check this by going to the Bluetooth settings on your device and confirming that the AirPods are listed as connected. Once they are connected, you can then access the audio settings on your device and adjust the balance so that audio plays equally in both AirPods. This is usually done by shifting the balance slider in the audio settings menu to the middle position. Once you have adjusted the balance, you should be able to test sound from both AirPods simultaneously by playing any audio content from your device.
Testing Dolby Atmos on AirPods Pro
To test Dolby Atmos on AirPods Pro, make sure that Spatial Audio is turned on and then play a supported song. If the song is playing in Dolby Atmos, you should hear the music come from all directions with a greater sense of depth and width. You should also feel like the sound is moving around you or around your head as you move it. To adjust the audio settings for Dolby Atmos, go to Settings > Music > Audio > Dolby Atmos and choose Automatic, Always On, or Off.
Testing AirPods for Optimal Performance
To test if your AirPods are working perfectly, first, check the charge status on your iPhone or iPad to make sure that each AirPod is fully charged. Put both AirPods in your ears and play audio through them. Listen closely to determine if there is any sound distortion or disruption in one of the AirPods. If there is, try resetting your AirPods by pressing and holding the setup button on the back of the case until you see an amber light flash. If resetting your AirPods doesn’t work, contact Apple Support for further assistance.

Source: bestbuy.com
Hearing Yourself on AirPods Pro
To hear yourself on AirPods Pro, you need to enable Live Listen. To do this, first, make sure your AirPods are connected to your device. Then tap the name of your AirPods and select Live Listen. If you would like to add this feature to Control Center, go to Settings > Control Center and choose Hearing. Once Live Listen is enabled, position your device near the sound source that you want to hear and speak into the microphone on the device. You should then be able to hear your voice through the AirPods Pro.
Troubleshooting AirPod Pro Audio Issues
1. Start by making sure that your AirPods Pro are connected to your device. Check to make sure that Bluetooth is enabled and that the connection is stable.
2. Ensure that the volume on your AirPods Pro is turned up, and adjust it accordingly if needed.
3. Try toggling noise cancellation off and then back on. This can be done in the AirPods settings on your device.
4. Next, check for software updates for both the AirPods Pro and your connected device (iPhone, iPad, iPod touch, or Mac).
5. If possible, try listening to audio from a different app to see if the issue persists with only one app or across all apps.
6. You can also try resetting your AirPods Pro by pressing and holding the setup button on the rear of the charging case until you see a white light flash three times; then reconnect them to your device again and see if this helps resolve the issue.
7. Lastly, make sure there’s no wireless interference or obstructions between you and your device as this can affect the audio quality coming from your AirPods Pro.
Testing the Quality of an AirPod Microphone
To test the microphone quality of your AirPods, open Settings on your iPhone or iPad and tap Bluetooth. Then, tap the “”i”” in a circle next to your AirPods and select the Microphone option at the bottom. Choose either Always Left or Always Right to use only one AirPod microphone. To test it, you can try chatting with someone on the phone or taking a voice memo. You should be able to tell if there is any audio distortion or other issues with your microphone quality.
Troubleshooting Issues with AirPods Audio Quality
It’s possible that your AirPods’ microphones are dirty, which is preventing people from hearing you. To solve this issue, take a Q-tip and spray it with 70% isopropyl alcohol. Then, gently clean the microphone grills at the bottom of each AirPod. This should help restore your audio and allow people to hear you properly again.

Source: macrumors.com
Improving the Sound Quality of AirPods
To make your AirPods sound even, you’ll need to adjust the sound balance settings. To do this, go to Settings > Accessibility > Audio/Visual, and use the Sound Balance slider to adjust the balance between left and right audio channels. You can move the slider left or right to adjust the balance until you’re satisfied with how your AirPods sound.
Balancing Sound Levels on AirPods
To even out the sound between your left and right AirPod, you can adjust the audio balance settings on your iOS device. First, go to the Settings menu and select Accessibility. Under Audio/Visual, you’ll find a slider that enables you to adjust the sound balance between the two AirPods. Move the slider until you achieve an even sound balance between both sides.
Sudden Decrease in Volume of AirPods Pro
There could be several reasons why your AirPods Pro are suddenly so quiet. It could be due to improper settings of your device or apps, dusty or clogged speakers, delayed updates, low battery, synchronization issues with Bluetooth, or volume adjustment issues. To troubleshoot the issue and get your AirPods Pro back to normal volume levels, try the following steps:
1. Make sure that the volume on both your device and the AirPods are turned up to their maximum levels.
2. Check for any pending software updates for your AirPods and install them if present.
3. Ensure that your AirPods are properly connected to your device via Bluetooth and that synchronization is working properly.
4. Try cleaning out the speakers with a soft brush or canned air to remove any dust or debris buildup that might be blocking sound from getting through.
5. Reset your AirPods by pressing and holding the setup button on the case for 15 seconds until the LED flashes white, then wait until it flashes amber again before reconnecting them to your device.
If these steps do not resolve the issue, contact Apple Support for further assistance in resolving your problem with AirPods Pro volume levels.
Conclusion
The AirPods Pro provides a comfortable fit and good seal when worn. In addition, they come with an Ear Tip Fit Test to ensure that the AirPods are providing the best audio experience possible. Additionally, you can enable the Automatically Switch AirPods option to let your AirPods determine the most suitable microphone to use on the fly. You can also turn on Mono Audio for both iPhone and Apple Watch in order to get the best sound from your AirPods Pro. Finally, you can take advantage of Dolby Atmos if you’re using compatible devices like AirPods Pro, AirPods Max and Beats Fit Pro with Spatial Audio turned on. All of these features combine to make sure that you are getting the best audio experience possible from your AirPods Pro.


