Apple users have long relied on iTunes as their go-to music player and library manager. However, with the release of macOS Catalina in 2019, Apple made a significant change by discontinuing iTunes and splitting its functionality into four separate apps. While this change brought new features and improvements, it also introduced some challenges for users, with reports of iTunes not working properly on Mac.
If you find yourself facing issues with iTunes on your Mac, there are several troubleshooting steps you can take to resolve the problem. Here’s a detailed guide to help you get your iTunes up and running smoothly again.
1. Close iTunes: Before attempting any troubleshooting steps, make sure to close iTunes completely. Even if the app’s user interface is not launching, it may still be running in the background, causing conflicts or preventing updates.
2. Remove Preference Files: Navigate to the “Library” folder on your Mac and then go to “Preferences.” Look for any files that begin with “com.apple.itunes” and delete them. These preference files can sometimes become corrupted and cause issues with the app.
3. Restart your Mac: After removing the preference files, it’s essential to restart your Mac. This will help refresh the system and clear any temporary glitches that may be affecting iTunes.
4. Open iTunes with Shift Key: To test if iTunes is still showing an update message, try opening the app while holding down the “Shift” key on your keyboard. This will prevent any third-party plugins or add-ons from loading, which could be causing conflicts. If iTunes opens without the update message, it indicates that a plugin or add-on is causing the issue.
5. Check for Updates: Ensure that you have the latest version of iTunes installed on your Mac. Open the App Store and go to the “Updates” tab to check for any available updates. If there’s an update for iTunes, install it and see if it resolves the problem.
6. Reinstall iTunes: If none of the above steps work, you may need to reinstall iTunes on your Mac. To do this, first, uninstall iTunes completely from your system. Then, download the latest version of iTunes from the Apple website and install it following the provided instructions. This fresh installation should resolve any software-related issues.
If you’ve followed all these steps and iTunes still isn’t working correctly on your Mac, it may be worth reaching out to Apple Support for further assistance. They can provide specific guidance based on your system configuration and help troubleshoot any underlying issues.
ITunes not working on a Mac can be frustrating, but with the right troubleshooting steps, you can often resolve the problem. By closing iTunes, removing preference files, restarting your Mac, opening iTunes with the Shift key, checking for updates, and reinstalling iTunes if necessary, you can increase the likelihood of getting iTunes back up and running smoothly on your Mac.
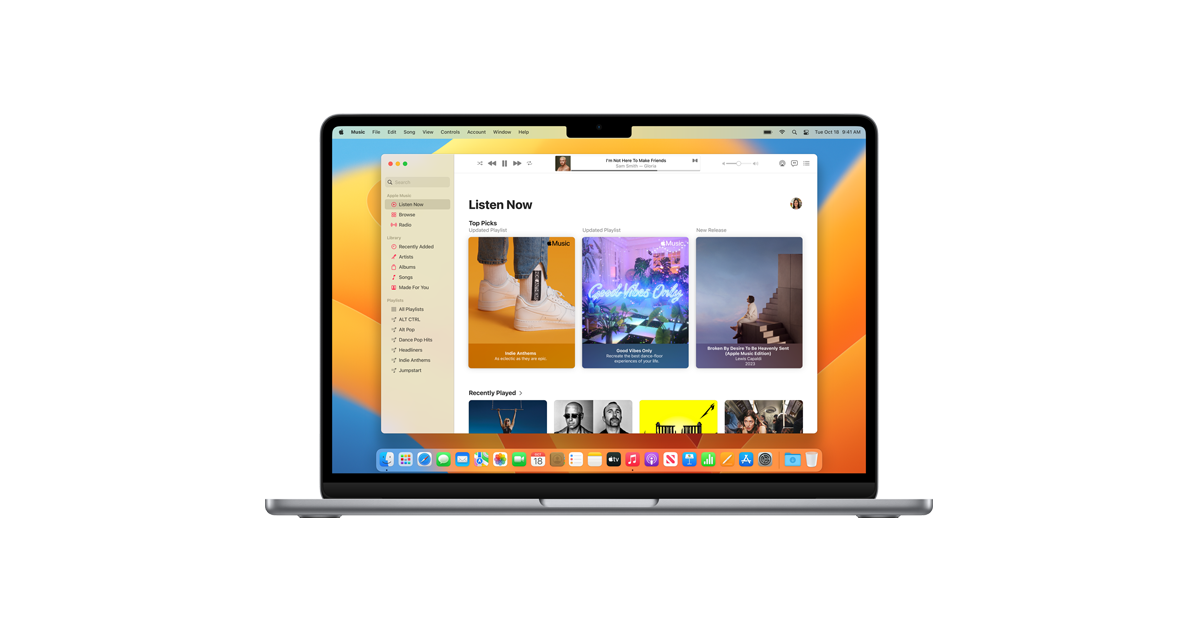
How Do You Reset iTunes On a Mac?
To reset iTunes on a Mac, you need to follow these steps:
1. Close iTunes: Make sure iTunes is not running on your Mac. If it is open, go to the iTunes menu and choose Quit iTunes.
2. Navigate to the Library folder: Open a new Finder window, and from the top menu bar, click on “Go.” Then, select “Go to Folder.” Alternatively, you can use the shortcut Command + Shift + G on your keyboard.
3. Remove preference files: In the “Go to Folder” window, type or paste the following path: ~/Library/Preferences/. This will take you to the Preferences folder in your Library directory.
4. Locate iTunes preference files: Look for files that start with “com.apple.itunes” in the Preferences folder. These files store various settings and preferences for iTunes.
5. Remove iTunes preference files: Select all the files that begin with “com.apple.itunes” and move them to the trash. You can either drag them to the trash icon in the dock or use the shortcut Command + Delete.
6. Empty the trash: To completely remove the preference files, right-click on the trash icon in the dock and choose “Empty Trash.” Alternatively, you can also use the shortcut Command + Shift + Delete to empty the trash.
7. Restart your Mac: Once the trash is emptied, restart your Mac to ensure that the changes take effect.
After restarting, the preference files for iTunes will be reset to their default settings. When you open iTunes again, it will be as if you are launching it for the first time, and you may need to reconfigure your preferences and settings.
How to Force iTunes to Open on Your Mac?
To force iTunes to open on your Mac, you can follow these steps:
1. First, ensure that the iTunes app is not already running. Even if you don’t see the user interface, it might still be open in the background. To close it, go to the Apple menu () on the top left of your screen and click on “Force Quit.” In the Force Quit Applications window, select iTunes and click on the “Force Quit” button.
2. Once you have confirmed that iTunes is not running, you should restart your Mac. To do this, go to the Apple menu () again and click on “Restart.” Allow your Mac to shut down and start up again.
3. After your Mac has restarted, open iTunes. To ensure that iTunes opens without any conflicts or issues, hold down the “Shift” key on your keyboard while clicking on the iTunes app. This will prevent any active or background processes from interfering with the startup.
4. By holding down the “Shift” key, you are essentially starting iTunes in a safe mode. This can help resolve any problems that may have caused the previous issue of iTunes not opening correctly.
5. Once iTunes has opened, check if it is still indicating that it is updating. If it is, try waiting for a few minutes to see if the update completes. If it doesn’t, you may need to troubleshoot further or contact Apple support for assistance.
In summary, to force iTunes to open on your Mac, make sure it’s not running, restart your Mac, hold down the “Shift” key while opening iTunes, and then observe if the update issue persists.
Conclusion
If you are experiencing issues with iTunes on your Mac, there are several steps you can take to resolve the problem. Firstly, navigate to the Library > Preferences folder on your Mac and remove any files that begin with “com.apple.itunes”. This will help clear any corrupted or outdated files that may be causing the issue.
After removing these files, it is important to restart your Mac to ensure any changes take effect. Apple discontinued iTunes for macOS in 2019, so it is crucial to make sure that the iTunes app is not running in the background, even if it is not launching the user interface.
To restart your Mac, simply click on the Apple menu and select Restart. Once your Mac has restarted, you can then try opening iTunes again. It is recommended to hold down the shift key on your keyboard while opening iTunes to prevent any potential update issues.
By following these steps, you can troubleshoot and potentially resolve any problems you may be encountering with iTunes on your Mac. If the issue persists, it may be worth considering seeking further technical assistance or exploring alternative music player options available for macOS.


