Are you looking to extend the display on your MacBook Air? With the right setup, it’s easy to connect your Macbook Air to a second display and have one larger workspace. Whether you’re working from home or in an office, having an extended display can make multitasking easier and increase your productivity.
In this blog post, we’ll discuss how to use the extended display on a Macbook Air. We’ll go over what cables and adapters are needed, how to configure the displays and provide troubleshooting tips if something goes wrong.
What You’ll Need
Before you can get started with setting up your extended display, there are some items you’ll need in order to do so:
• A Macbook Air
• An external display
• An HDMI cable or Thunderbolt/USB-C cable
• A USB-C Digital AV Multiport Adapter (for HDMI displays) or USB-C VGA Multiport Adapter (for VGA displays)
• Power cables for both the Macbook Air and the external display
How To Set Up Extended Display on Macbook Air
Once you have all of these items ready, setting up an extended display is relatively simple:
1. Connect the external monitor to its power source. Then connect one end of the HDMI/Thunderbolt/USB-C cable or adapter to the port on your MacBook Air and the other end to the port on your external monitor. If using an adapter, make sure that it’s securely connected to both devices.
2. On your MacBook Air, open System Preferences > Displays > Arrangement tab and select “Mirror Displays” if you want both screens to show exactly the same content or select “Extend Desktop” if you want each screen to show different content. You may also adjust the resolution of each screen as desired.
3. To move windows between screens, simply drag them from one screen onto another by clicking and dragging them with your mouse cursor until they appear on the other screen. You can also rearrange where each window appears by dragging its window title bar around between screens as well as resizing windows accordingly for the best viewing experience depending on the size of each screen.
Troubleshooting Tips for Extended Display Set-Up Issues
If you encounter any issues while setting up an extended display on your Macbook Air, here are some troubleshooting tips that may help:
1. Check that all cables are securely connected to both devices as well as ensure that power cords for both devices are plugged in properly at their respective outlets (e.g., wall sockets).
2 . Reboot both devices by unplugging them from their power sources for a few seconds before plugging them back in again—this may help resolve any software glitches causing issues with the setup process itself or simply resetting connections between devices so they can sync properly together again once powered back up again after reboot process completes successfully (which should take no more than a few minutes).
3 . Be sure that the correct type of cable is being used (e.g., HDMI vs Thunderbolt/USB-C) depending upon which ports are available on each device—using the incorrect type of cable could cause issues with compatibility between devices (or even damage either device if the wrong type of cable is used).
By following these steps carefully and keeping these troubleshooting tips in mind, you should be able to set up an extended display on your Macbook Air without much difficulty!
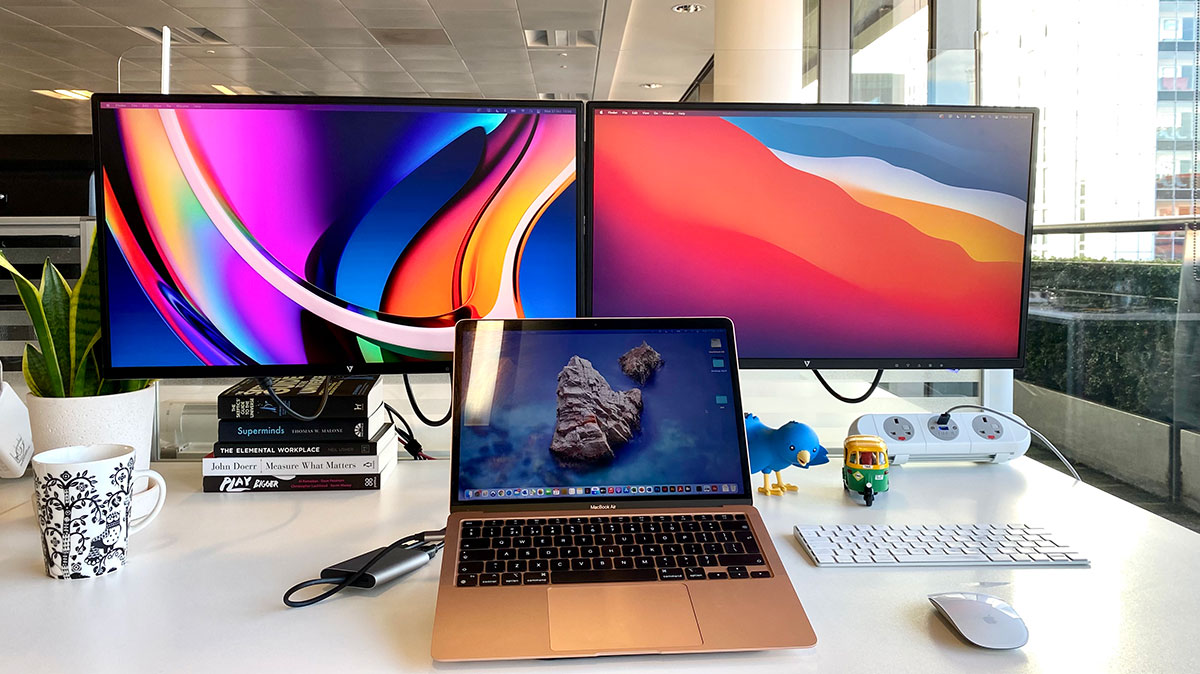
Connecting a MacBook Air to an Extended Monitor
To connect your MacBook Air to an extended monitor, you will need to use a USB-C Digital AV Multiport Adapter. This adapter will allow you to plug in an HDMI display or HDTV into a Thunderbolt / USB 4 port on your MacBook Air. From there, you can extend your display across multiple screens for a larger viewing area. You may also need to adjust the settings on your laptop and/or monitor to ensure that the extended display is working properly.
Can the MacBook Air Support Two Monitors?
No, the M1 models of the MacBook Air and MacBook Pro do not support extending to two external monitors. However, the M1 Mac Mini does natively support up to two external monitors—one via the HDMI port and a second via USB-C. But this is only applicable to the Mac Mini; other M1 models such as the MacBook Air and MacBook Pro are limited to just one external monitor.
Connecting an Extended Monitor to a Mac
Connecting an extended monitor to your Mac is a relatively straightforward process. First, connect the monitor to its external power source. Once it has power, you can use an HDMI cable or Thunderbolt/USB-C cable to connect the monitor to your Mac. Depending on your Mac model, you may need to use an adapter if the port on your Mac does not match the connector of the external monitor. Once everything is connected, you should be able to adjust the settings on your Mac and set up the extended display according to your preference.
Extending Display to Another Monitor on Mac
If you are unable to extend your display to an external monitor on your Mac, it may be because the video cable that connects the two displays is not compatible with the ports on your Mac. To use an external display, you need to make sure that both the monitor and your Mac have compatible ports. If you don’t have compatible ports, you may need to use a USB-C or Thunderbolt adapter. Additionally, if you are using a new monitor and it requires a special driver, you may need to install that driver before attempting to extend your display.
Connecting a MacBook to a Monitor
To display your MacBook on your monitor, you will need to connect the two devices using an appropriate cable. For example, if you have a 14-inch or 16-inch MacBook Pro, you can use an HDMI cable to connect it directly to your monitor’s HDMI port. If you have a 13-inch MacBook Pro, you can use a USB-C Digital AV Multiport Adapter to connect the monitor’s HDMI port to the Thunderbolt / USB 4 port on your laptop. Once connected, you will be able to protect your laptop’s display onto the external monitor.
Connecting a MacBook Air to a Monitor with HDMI
Yes, you can connect your MacBook Air to an external monitor with HDMI. Depending on the model of your MacBook Air, there are several ways to do this. If your MacBook Air has an HDMI port, you can simply connect it directly to the monitor with an HDMI cable. If it has a USB-C port, you’ll need to use an adapter like the Apple USB-C Digital AV Multiport Adapter. Finally, if your Mac has a Mini DisplayPort, you will need to use either a Mini DisplayPort to HDMI adapter or cable.
Can the MacBook Air M1 Support Multiple Monitors?
Yes, the MacBook Air M1 can support up to two external displays. The Thunderbolt 4 (USB-C) and HDMI ports on your Mac allow you to connect up to two additional monitors for a total of three displays. Depending on the resolution of the external monitors, you may need an adapter or special cable for connecting the display to your Mac. If you’re using a 4K monitor, you’ll need an adapter that supports DisplayPort 1.4 or higher.
Using a Monitor as an Extended Display
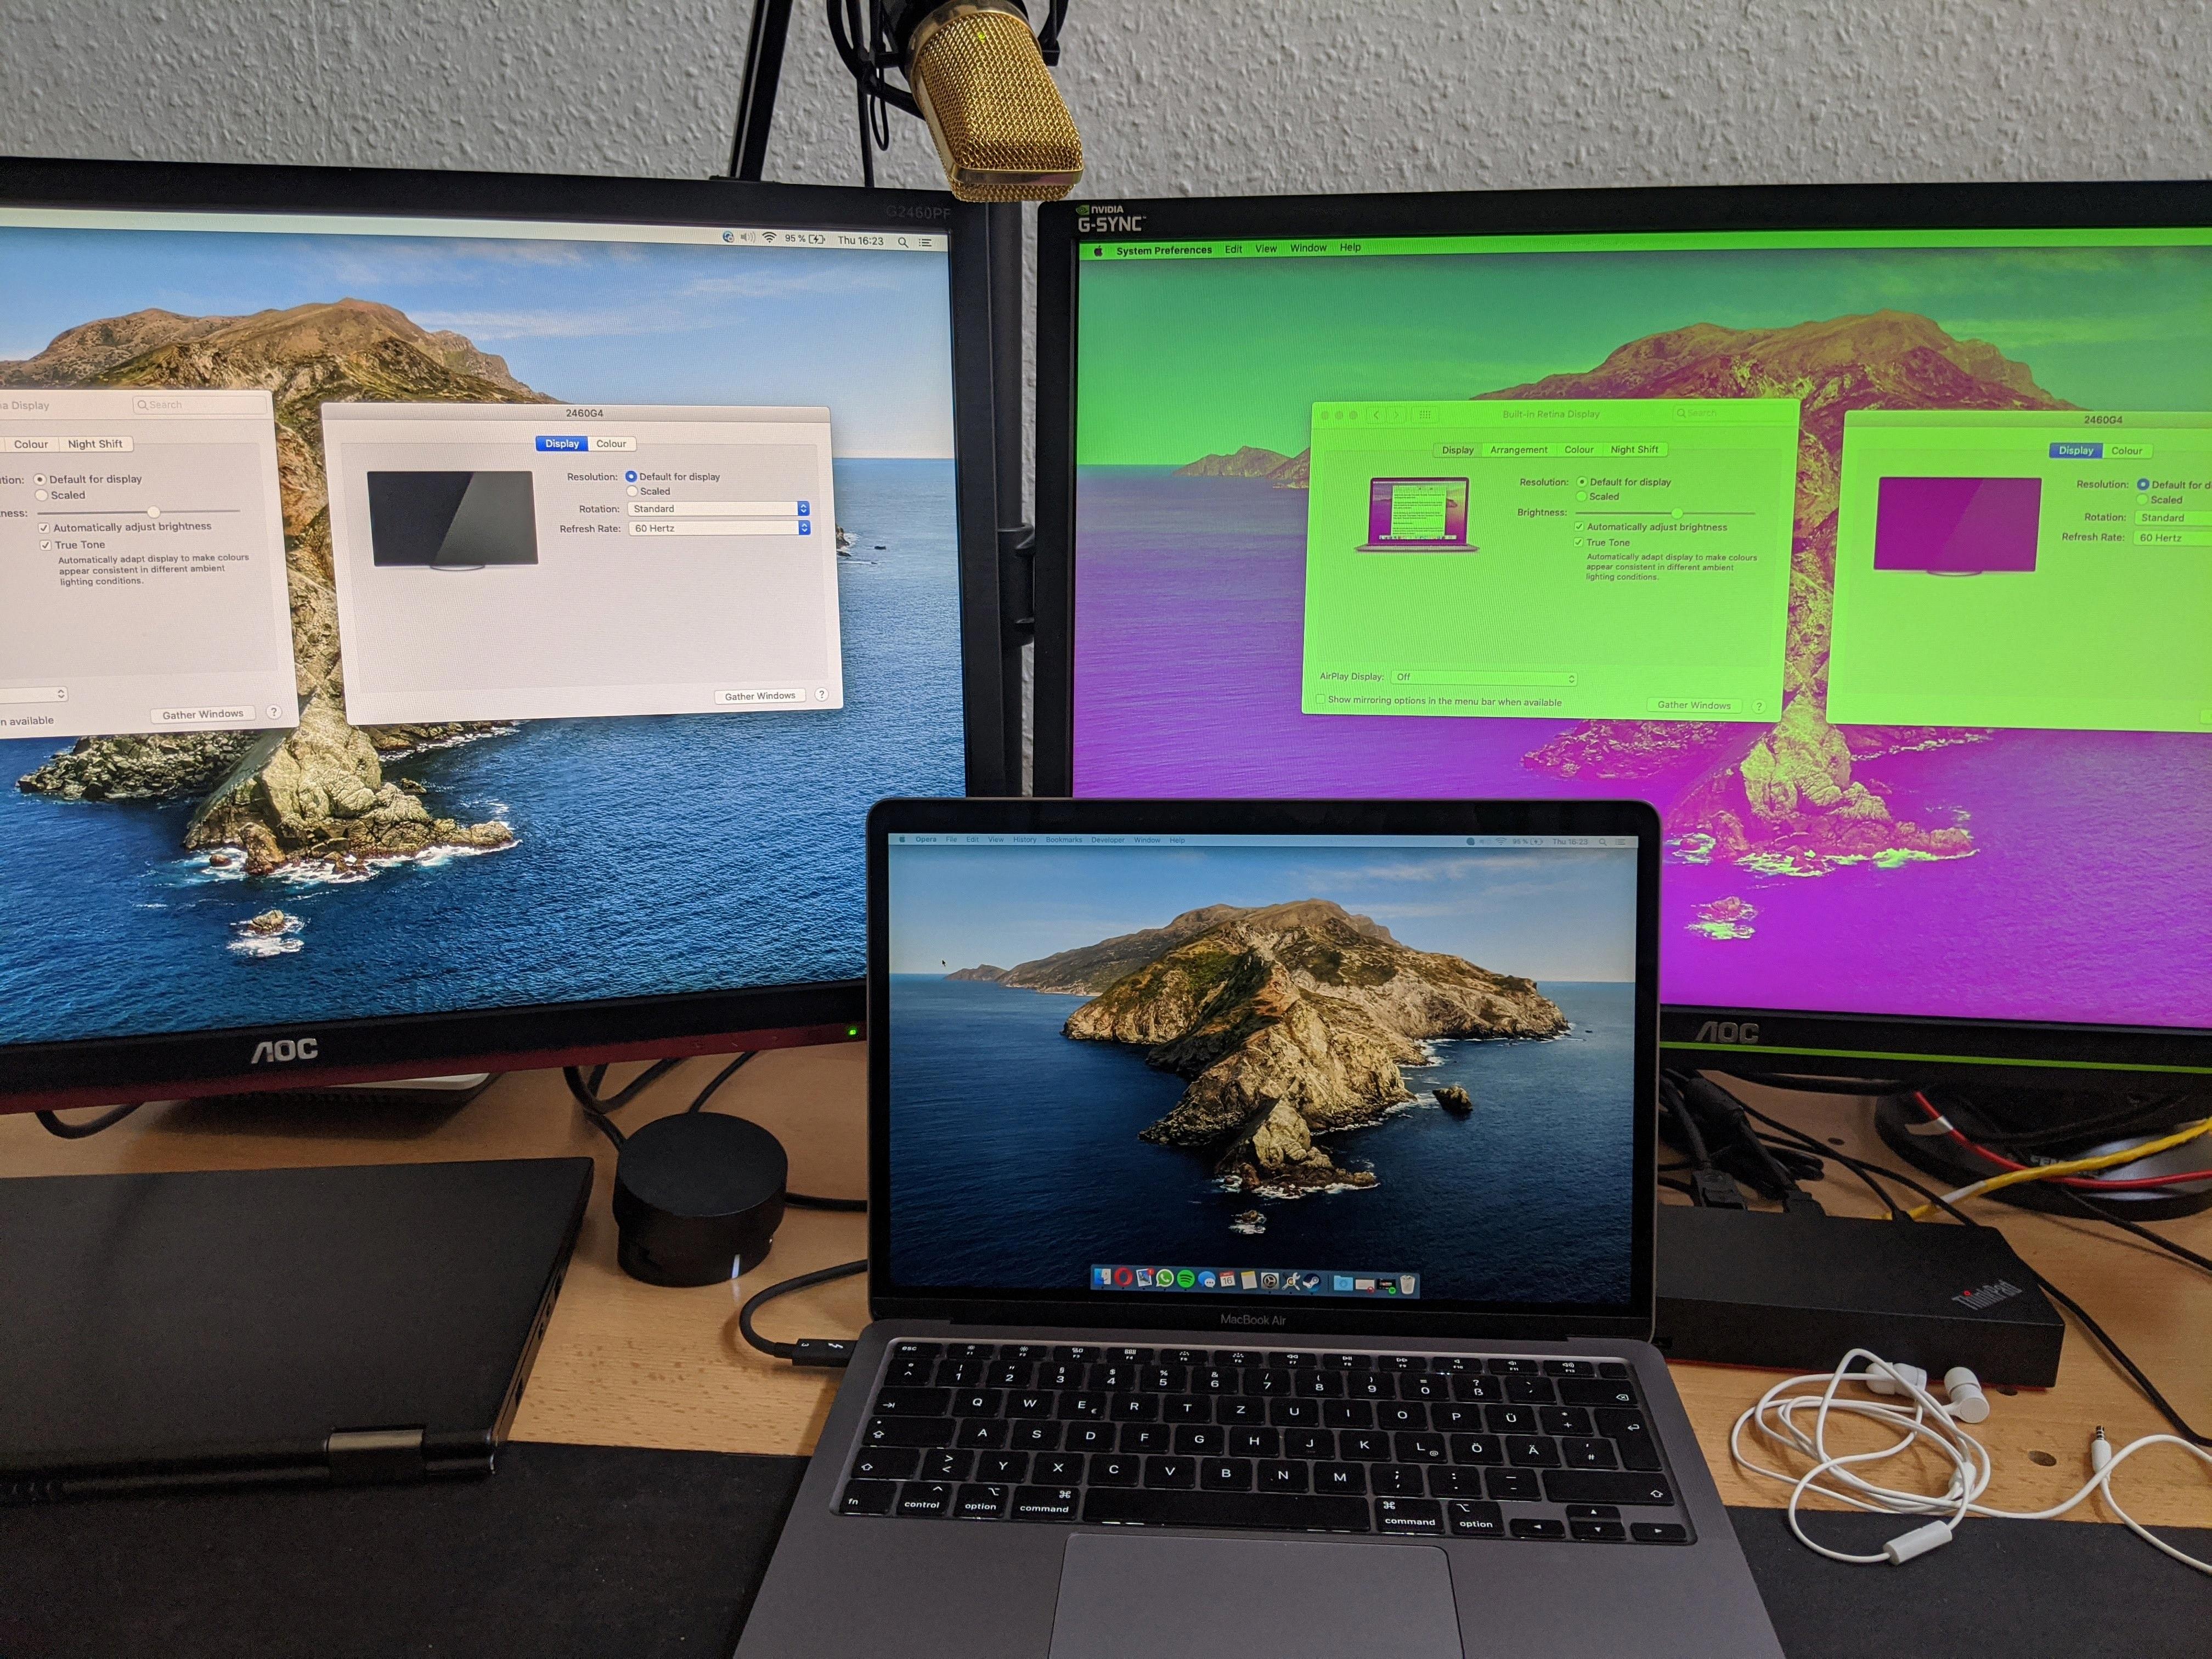
To use a monitor as an extended display, you’ll need to adjust your settings. Start by selecting Start > Settings > System > Display. In the Multiple displays section, select ‘Extend these displays’ from the list. This will allow you to extend your desktop across both screens. You can then customize how each display will be used in the Settings window. Once you’ve made your changes, select ‘Keep changes’ to save them.
Source: discussions.apple.com
Setting Up Dual Monitors on a Mac
To set up dual monitors to work separately on Mac, you first need to make sure both monitors are connected to your Mac. Then, open ‘System Preferences’ and select the ‘Mission Control’ preference pane. In this pane, you’ll find an option labeled ‘Displays have separate Spaces’. When this checkbox is checked, OS X will allow each monitor to display different applications and windows. You can also select the arrangement of the two displays by clicking and dragging them within the same window. Finally, you’ll need to adjust the resolution of each monitor in the ‘Display’ preference pane. With these settings in place, your dual monitors should now be working separately on your Mac!
Troubleshooting Mac Display Issues on Monitor
It is possible that your Mac is not displaying on your monitor because the display settings have not been properly configured. To ensure that the external display is properly connected and the correct settings are being used, please try the following steps:
1. Disconnect all cables from the Mac and external display.
2. Reconnect all cables, making sure to connect them securely.
3. Open System Preferences from the dock or Finder and select Displays from the Hardware section.
4. If necessary, click Detect Displays in the bottom right corner of the window to detect any connected displays.
5. Select one of the resolutions available for your external display, then click Apply to update your settings.
6. Finally, press Command+F2 on your keyboard to toggle between mirroring and extending your display across multiple monitors.
Conclusion
The MacBook Air is a great choice for those looking for a lightweight and portable laptop. It features the latest M1 processor, which offers excellent performance, long battery life, and integrated graphics. The laptop also has several features such as an HD FaceTime camera, Touch ID, and stereo speakers that make it suitable for everyday tasks like web surfing, office work, video conferencing, and light gaming. With its slim design and lightweight body, the MacBook Air is perfect for those who want a powerful machine that they can take with them wherever they go.


