Are you having trouble finding your Nikon camera on your Mac? Don’t worry, we have you covered! With just a few simple steps, you can easily connect and use your Nikon camera with your Mac.
First, make sure that the USB or USB-C cable is properly connected to both your camera and the computer. If your computer has another USB port, try plugging the cable into it. Once that’s done, check to make sure your camera is turned on and set to the correct mode for importing photos. The instructions provided with your camera should help you in this process.
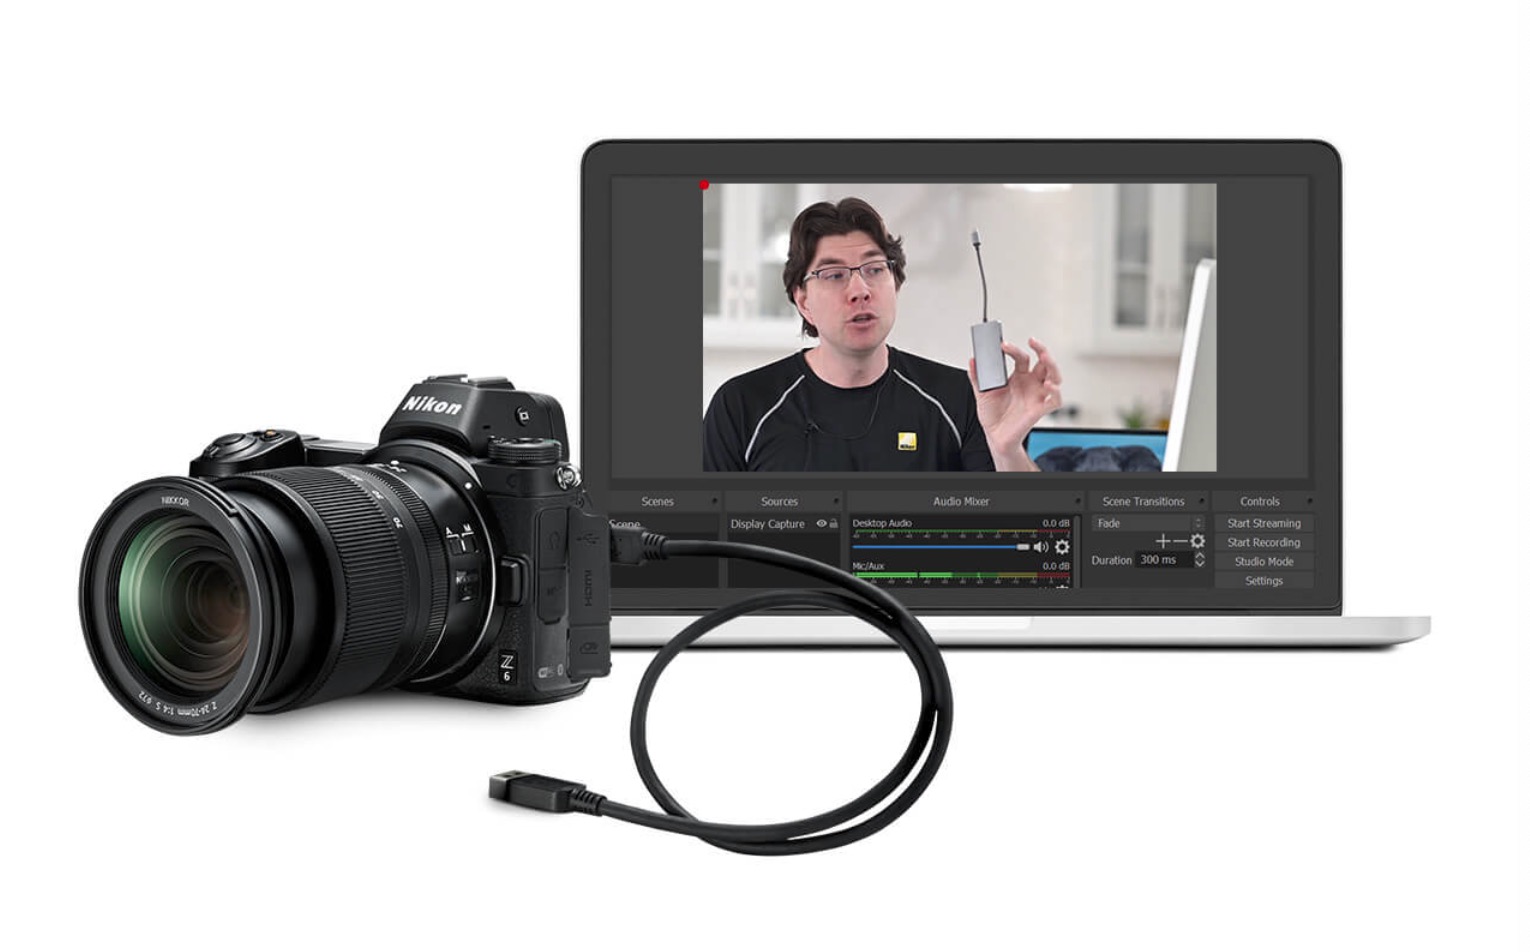
Next, you can use Nikon’s Webcam Utility program (available for both PC and Mac) to set up your Nikon camera as a webcam. After downloading and installing it onto your computer, simply connect the camera via USB plug-and-play method and you’re good to go!
Troubleshooting Nikon Not Showing Up on Mac
If your Nikon camera isn’t showing up on your Mac, it could be due to a few different issues. First, make sure the USB or USB-C cable is securely connected to both the camera and your computer. If you have another available USB port, try plugging the cable into that port in case the current one isn’t working properly. Additionally, check your camera to ensure it’s powered on and set to the correct mode for importing photos. Refer to the instructions provided with your camera for more information. If none of these steps resolve the issue, you may need to install any necessary software or drivers for your camera on your Mac.
Connecting a Nikon Camera to a Mac
To connect your Nikon camera to your Mac, you will need a USB cable and the free Nikon Webcam Utility software.
First, download and install the Nikon Webcam Utility program for Mac. Once installed, connect one end of the USB cable to the port on your camera, and the other end to your computer’s USB port. Your Mac should recognize the camera as a webcam automatically.
If not, open up the Nikon Webcam Utility app and select “Connect Camera” from the menu in the top left corner. Once connected, you can tweak settings like resolution and frame rate in order to get the best quality video stream.
Connecting a Camera to a Mac
In order to get your camera to show up on your Mac, you will first need to open an app that utilizes the camera. This can be done by clicking on the Launchpad icon in your dock and selecting the FaceTime, Photo Booth, Markup, or Head Pointer apps. Once you have opened one of these apps, the camera will automatically turn on and display what it is seeing in a window. If you are having trouble getting your camera to display correctly, make sure that all other applications or windows are closed and that you have granted permission for the app to access your camera if prompted.
Troubleshooting Nikon Camera Connection to Computer
It is possible that your Nikon camera is not connecting to your computer because of a driver issue or a conflict with other USB devices connected to the computer. To troubleshoot this issue, we recommend that you turn off the camera, disconnect it from the computer, and then install Nikon ViewNX-i software which will automatically install Nikon camera drivers to the computer. Once installed, restart the computer to start the connection process again. If this does not resolve the issue, there may be a conflict between other USB devices connected to the computer which could be causing an issue with your camera’s connection.
Troubleshooting Issues with Camera Not Showing Up on Computer
It’s possible that the device driver for your camera is not installed or is out of date. To ensure that you have the latest version of the driver, try scanning for hardware changes. Select the Action menu, then select Scan for hardware changes. Wait for it to scan and reinstall updated drivers, restart your device, then open the Camera app again to test it. If this doesn’t work, check to make sure your camera is plugged in correctly and try different USB ports on your computer.
Source: camerajabber.com
Troubleshooting a ‘No Camera Detected’ Error on a Mac
If your Mac is saying “No Camera Detected,” it means that the application you are trying to use does not have permission to access your camera. To fix this, you need to check the permissions for the application in the system settings. Go to the Apple menu and choose System Settings. Select the Privacy & Security pane. Click Camera in the list, and make sure that there is a checkmark beside the application you want to use. If there isn’t a checkmark, click it and allow access to that application. Once you’ve done this, try using your camera again – it should work now!
Transferring Photos From a Nikon Camera to a Mac
Transferring photos from your Nikon camera to your Mac is simple and quick. First, make sure that your camera is connected to your Mac via a USB cable. If the connection is successful, you should see an image of your camera appear on your desktop. Next, open the Photos app on your Mac. In Photos, choose File > Import. Select the photos or folder that you want to import, then click Review for Import. Here you can review each photo before importing them. Finally, when you’re ready, select the photos or video that you want to import and click Import [number] Selected or Import All. Your selected photos should then be imported into Photos on your Mac!
Downloading Pictures From a Nikon Camera to a Computer
To download pictures from your Nikon camera to your computer, first make sure that the camera is powered off and that a memory card is inserted. Then, connect a USB cable (available separately) to the camera and your computer. After the connection is established, turn on the camera and open the Nikon Transfer 2 component of ViewNX-i on your computer. Finally, click “Start Transfer” to begin downloading your pictures. Once the transfer is complete, disconnect the USB cable and you’re all set!
Connecting a Nikon Camera to a Laptop Wirelessly
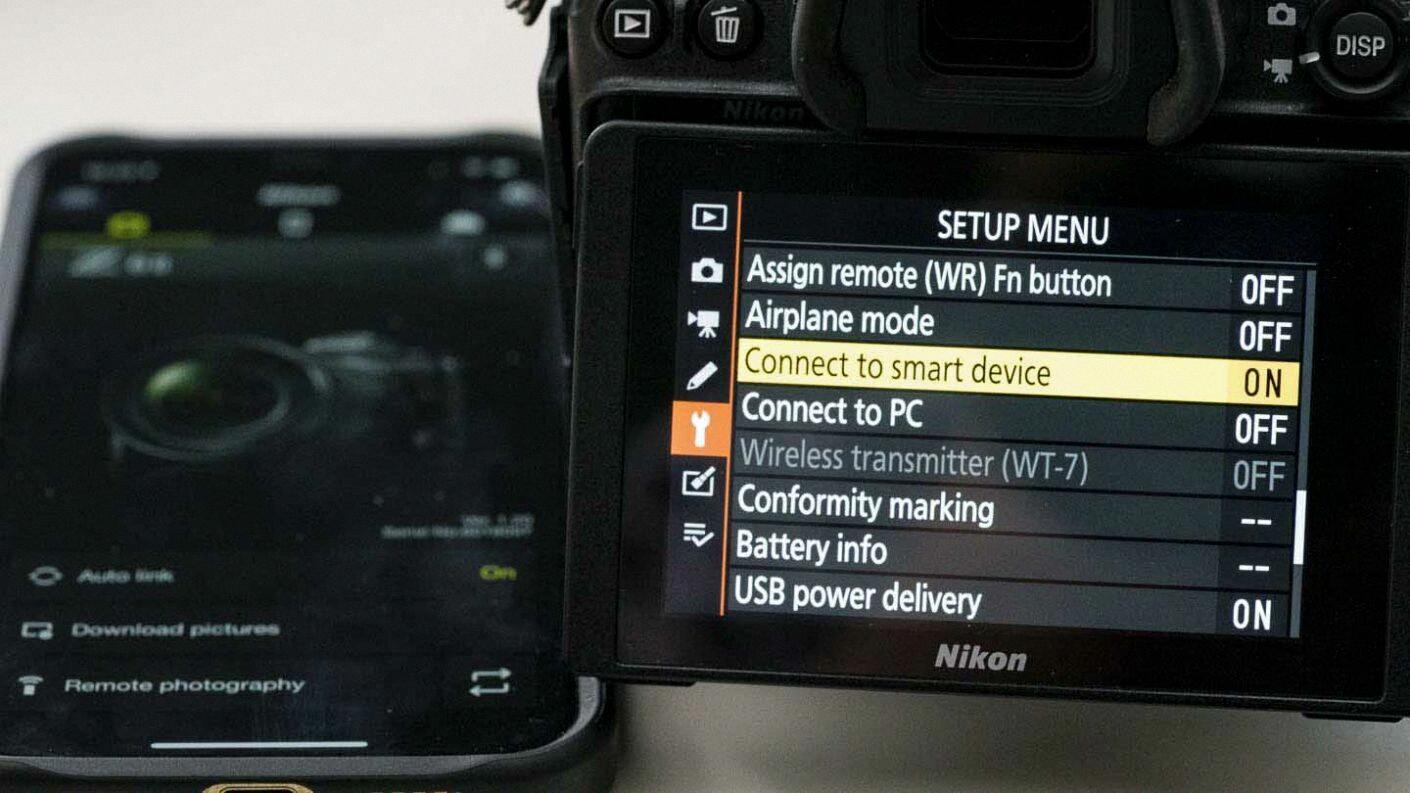
To connect your Nikon camera to your laptop wirelessly, you will need to enable the camera’s built-in Wi-Fi. On newer models, this can be done by pressing the external Wi-Fi button, and on older models, you will need to select Wi-Fi in the setup menu. Once this is done, open the wireless settings on your laptop and search for available networks. Select your camera from the list of available networks and connect it to your laptop. Once connected, you should be able to access all of the photos and videos stored on your camera from your laptop.
Connecting a Nikon Camera to a Computer via USB
To connect your Nikon camera to your computer via USB, you will need to first download and install the Nikon Webcam Utility. Once installed, connect your camera to your computer using the USB cable that was included with your camera. Depending on what type of external microphone you’re using (such as the Nikon ME-1, etc.), plug it into the correct port on your computer. Your computer should recognize the new device and prompt you through any additional steps necessary for installation. Once installed, you should be able to access your camera and its connected devices directly from the Nikon Webcam Utility.

