Background is an important aspect of our digital devices, including Android smartphones. It sets the tone and atmosphere for our user experience. While a black background may seem sleek and stylish, it’s not always the most practical or preferred option for everyone. Fortunately, Android devices offer the flexibility to change the background color to white or any other desired color. In this article, we will delve into the process of changing the black background to a white one on Android.
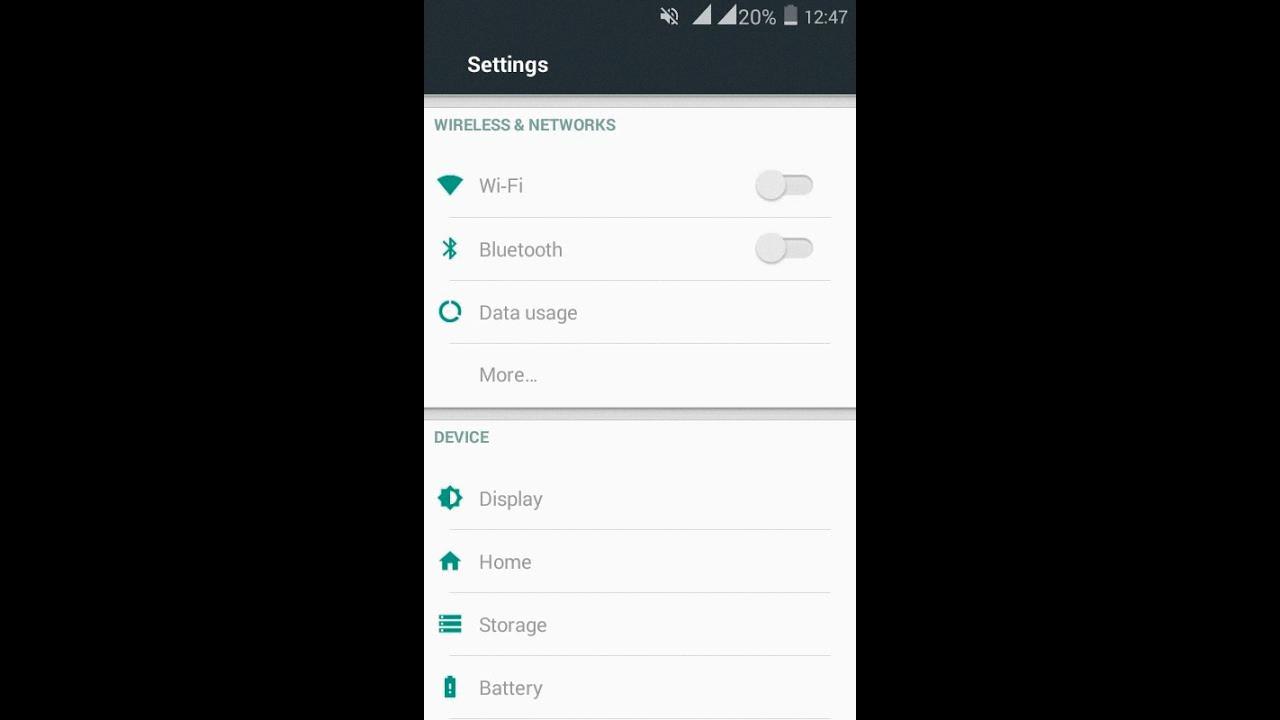
To begin with, let’s navigate to the settings of your Android device. You can do this by swiping down from the top of your screen and tapping on the gear-shaped “Settings” icon. Once you are in the settings menu, scroll down until you find the “Display” option. Tap on it to access the display settings.
Within the display settings, you may find different options depending on the Android version and device manufacturer. Look for an option related to the background theme or color scheme. This may be labeled as “Theme,” “Wallpaper,” or “Display Color.” Tap on it to proceed.
Once you are in the background or theme settings, you should see a variety of color options to choose from. Look for the white or light color option and select it. This should change the background of your Android device from black to white or any other desired color you have chosen.
If you don’t find a specific option to change the background color, don’t worry. Android devices often offer the ability to customize themes using third-party applications. You can search for theme customization apps on the Google Play Store and install one that suits your preferences. These apps usually provide a wide range of themes, including ones with white backgrounds.
In addition to changing the background color, you may also want to adjust the text and icon colors to ensure optimal visibility and readability. Some devices allow you to change these settings within the same display or theme settings menu. Look for options related to font color or icon color and make the necessary adjustments.
It’s worth noting that changing the background color to white or any other light color can have an impact on battery life, especially on devices with OLED or AMOLED screens. Darker backgrounds tend to consume less power on these types of displays. So, if you are concerned about battery life, you might want to consider this aspect before making the change.
Changing the black background to white or any other desired color on your Android device is a simple and straightforward process. By accessing the display or theme settings, you can easily switch to a white background or explore various customization options through third-party apps. Just keep in mind the potential impact on battery life and adjust other display settings accordingly for optimal visibility.

How Do You Change Your Background From Black to White on Your Android Phone?
To change the background from black to white on your Android phone, follow these steps:
1. Unlock your phone and go to the home screen.
2. Swipe down from the top of the screen to open the notification panel.
3. Tap on the gear icon to access the Settings menu.
4. In the Settings menu, scroll down and tap on “Display” or “Display & Brightness.”
5. Look for an option called “Theme” or “Color scheme” and tap on it.
6. In the theme/color scheme options, you should see a “Light” or “White” option. Tap on it to select it.
7. Your phone’s background should now change from black to white.
Note: The exact steps may vary slightly depending on the make and model of your Android phone. If you can’t find the specific options mentioned above, try looking for similar options in the Display or Wallpaper settings.

Why Did Your Background Turn Black on Your Android Phone?
There could be several reasons why the background on your Android phone turned black. Here are some possible causes:
1. Power-saving mode: Some Android devices have a power-saving mode that automatically activates when the battery level is low. This mode can turn off certain features and reduce visual effects to conserve power. As a result, the background may appear black or grayscale to save battery life.
2. Display settings: It’s possible that you accidentally changed the display settings on your Android phone. Check the settings menu to see if the background color or wallpaper has been modified. You can customize the background color or choose a different wallpaper to restore the original appearance.
3. Software update: If you recently updated your Android operating system, it’s possible that the update included changes to the user interface or display settings. These changes could have resulted in a black background. In such cases, you may need to adjust the settings to restore your preferred background color.
4. App-related issues: Certain apps or widgets installed on your Android phone may have caused the black background issue. Try uninstalling any recently downloaded apps or removing widgets from your home screen to see if the problem resolves.
5. System glitch: Occasionally, software glitches or bugs can cause unexpected changes in the appearance of your phone’s background. Restarting your device or performing a factory reset may help resolve such issues.
Please note that these are general suggestions, and the specific cause of the black background on your Android phone may vary. If the issue persists or if you are unable to identify the cause, it’s recommended to contact the manufacturer’s customer support or seek assistance from a professional technician.
How Do You Get Your Android Back to Normal Color?
To get your Android device back to normal color, you can follow these steps:
1. Open the Settings app on your Android device. You can usually find it in your app drawer or by swiping down from the top of the screen and tapping on the gear icon.
2. Scroll down until you find the “Accessibility” option and tap on it. This option is usually located under the “System” or “Personal” section.
3. In the Accessibility settings, scroll down again until you find the “Display” option and tap on it.
4. Look for the “Color correction” option and make sure it is turned off. If it is already off, you can skip to the next step. If it is turned on, tap on it to access the color correction settings.
5. In the color correction settings, you may see different options depending on your device and Android version. Look for an option to disable or reset color correction. This may be labeled as “Off,” “Default,” or “Normal.” Tap on the appropriate option to disable color correction.
6. Once you have turned off color correction, exit the Settings app and check if the colors on your Android device have returned to normal. If not, you may need to restart your device for the changes to take effect.
If you are still experiencing abnormal colors on your Android device after following these steps, there may be other settings or issues causing the problem. In such cases, you may need to further troubleshoot or consult with the manufacturer or a technical expert for assistance.


