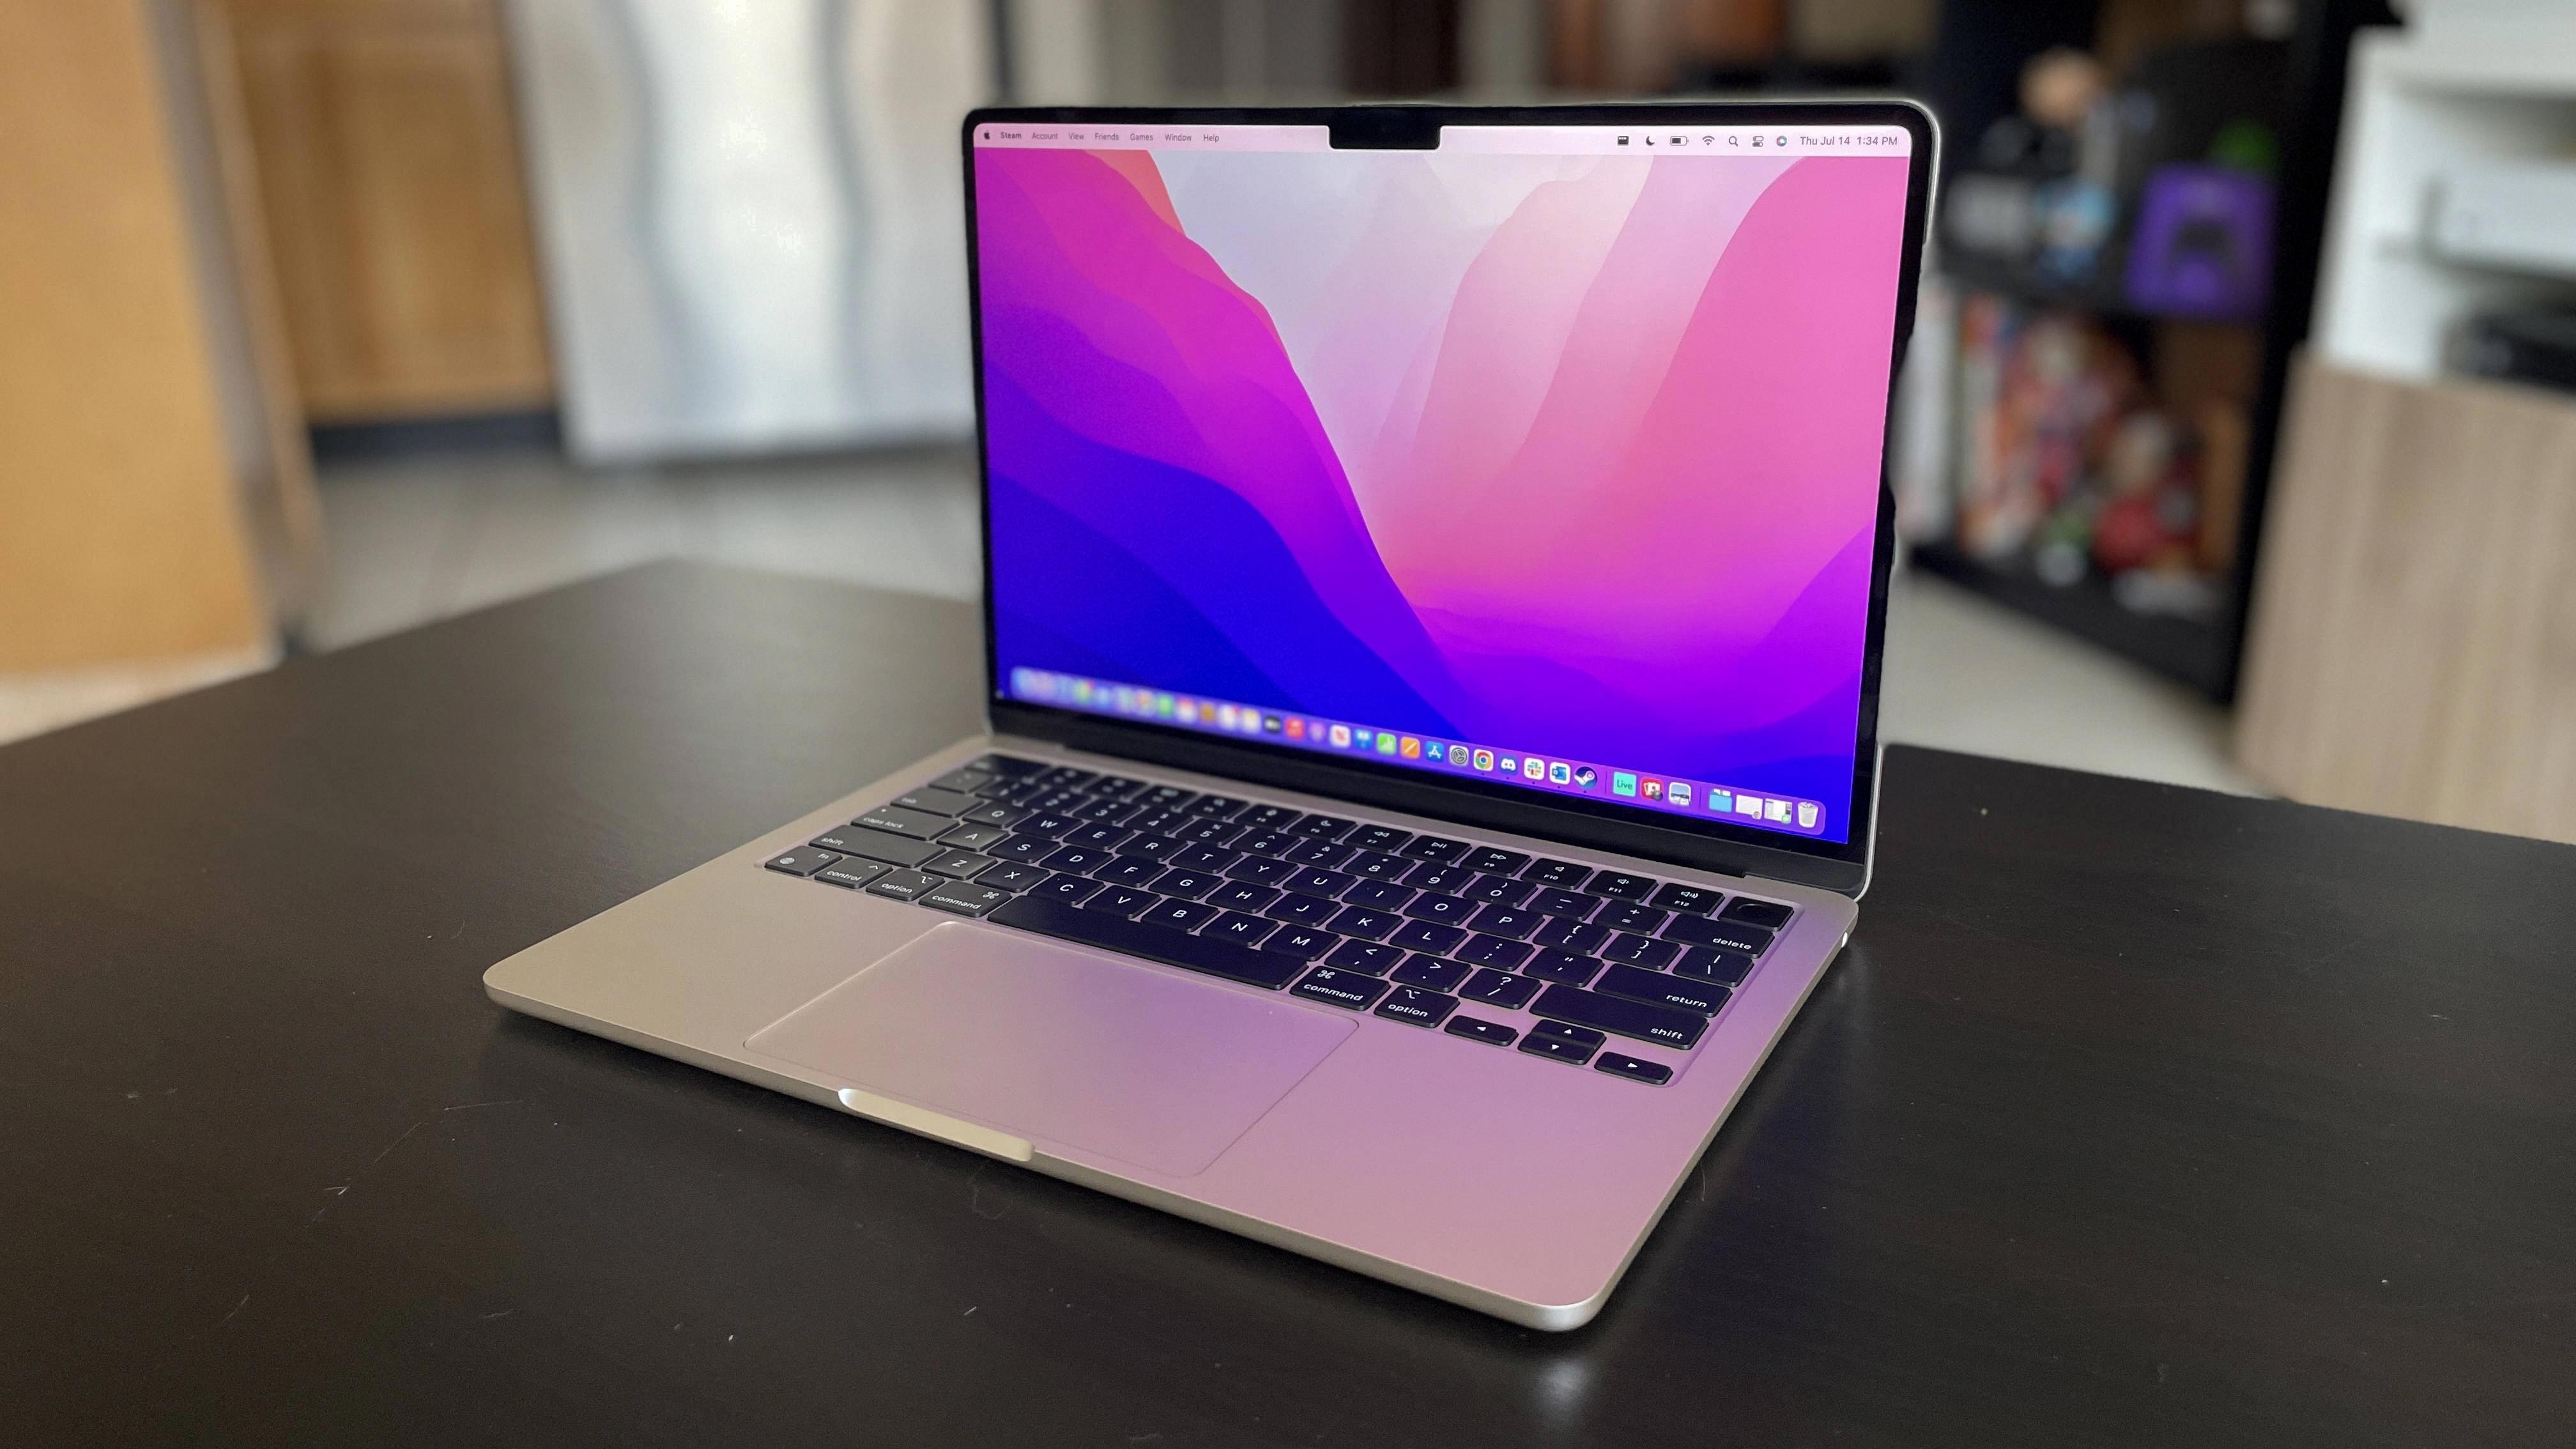
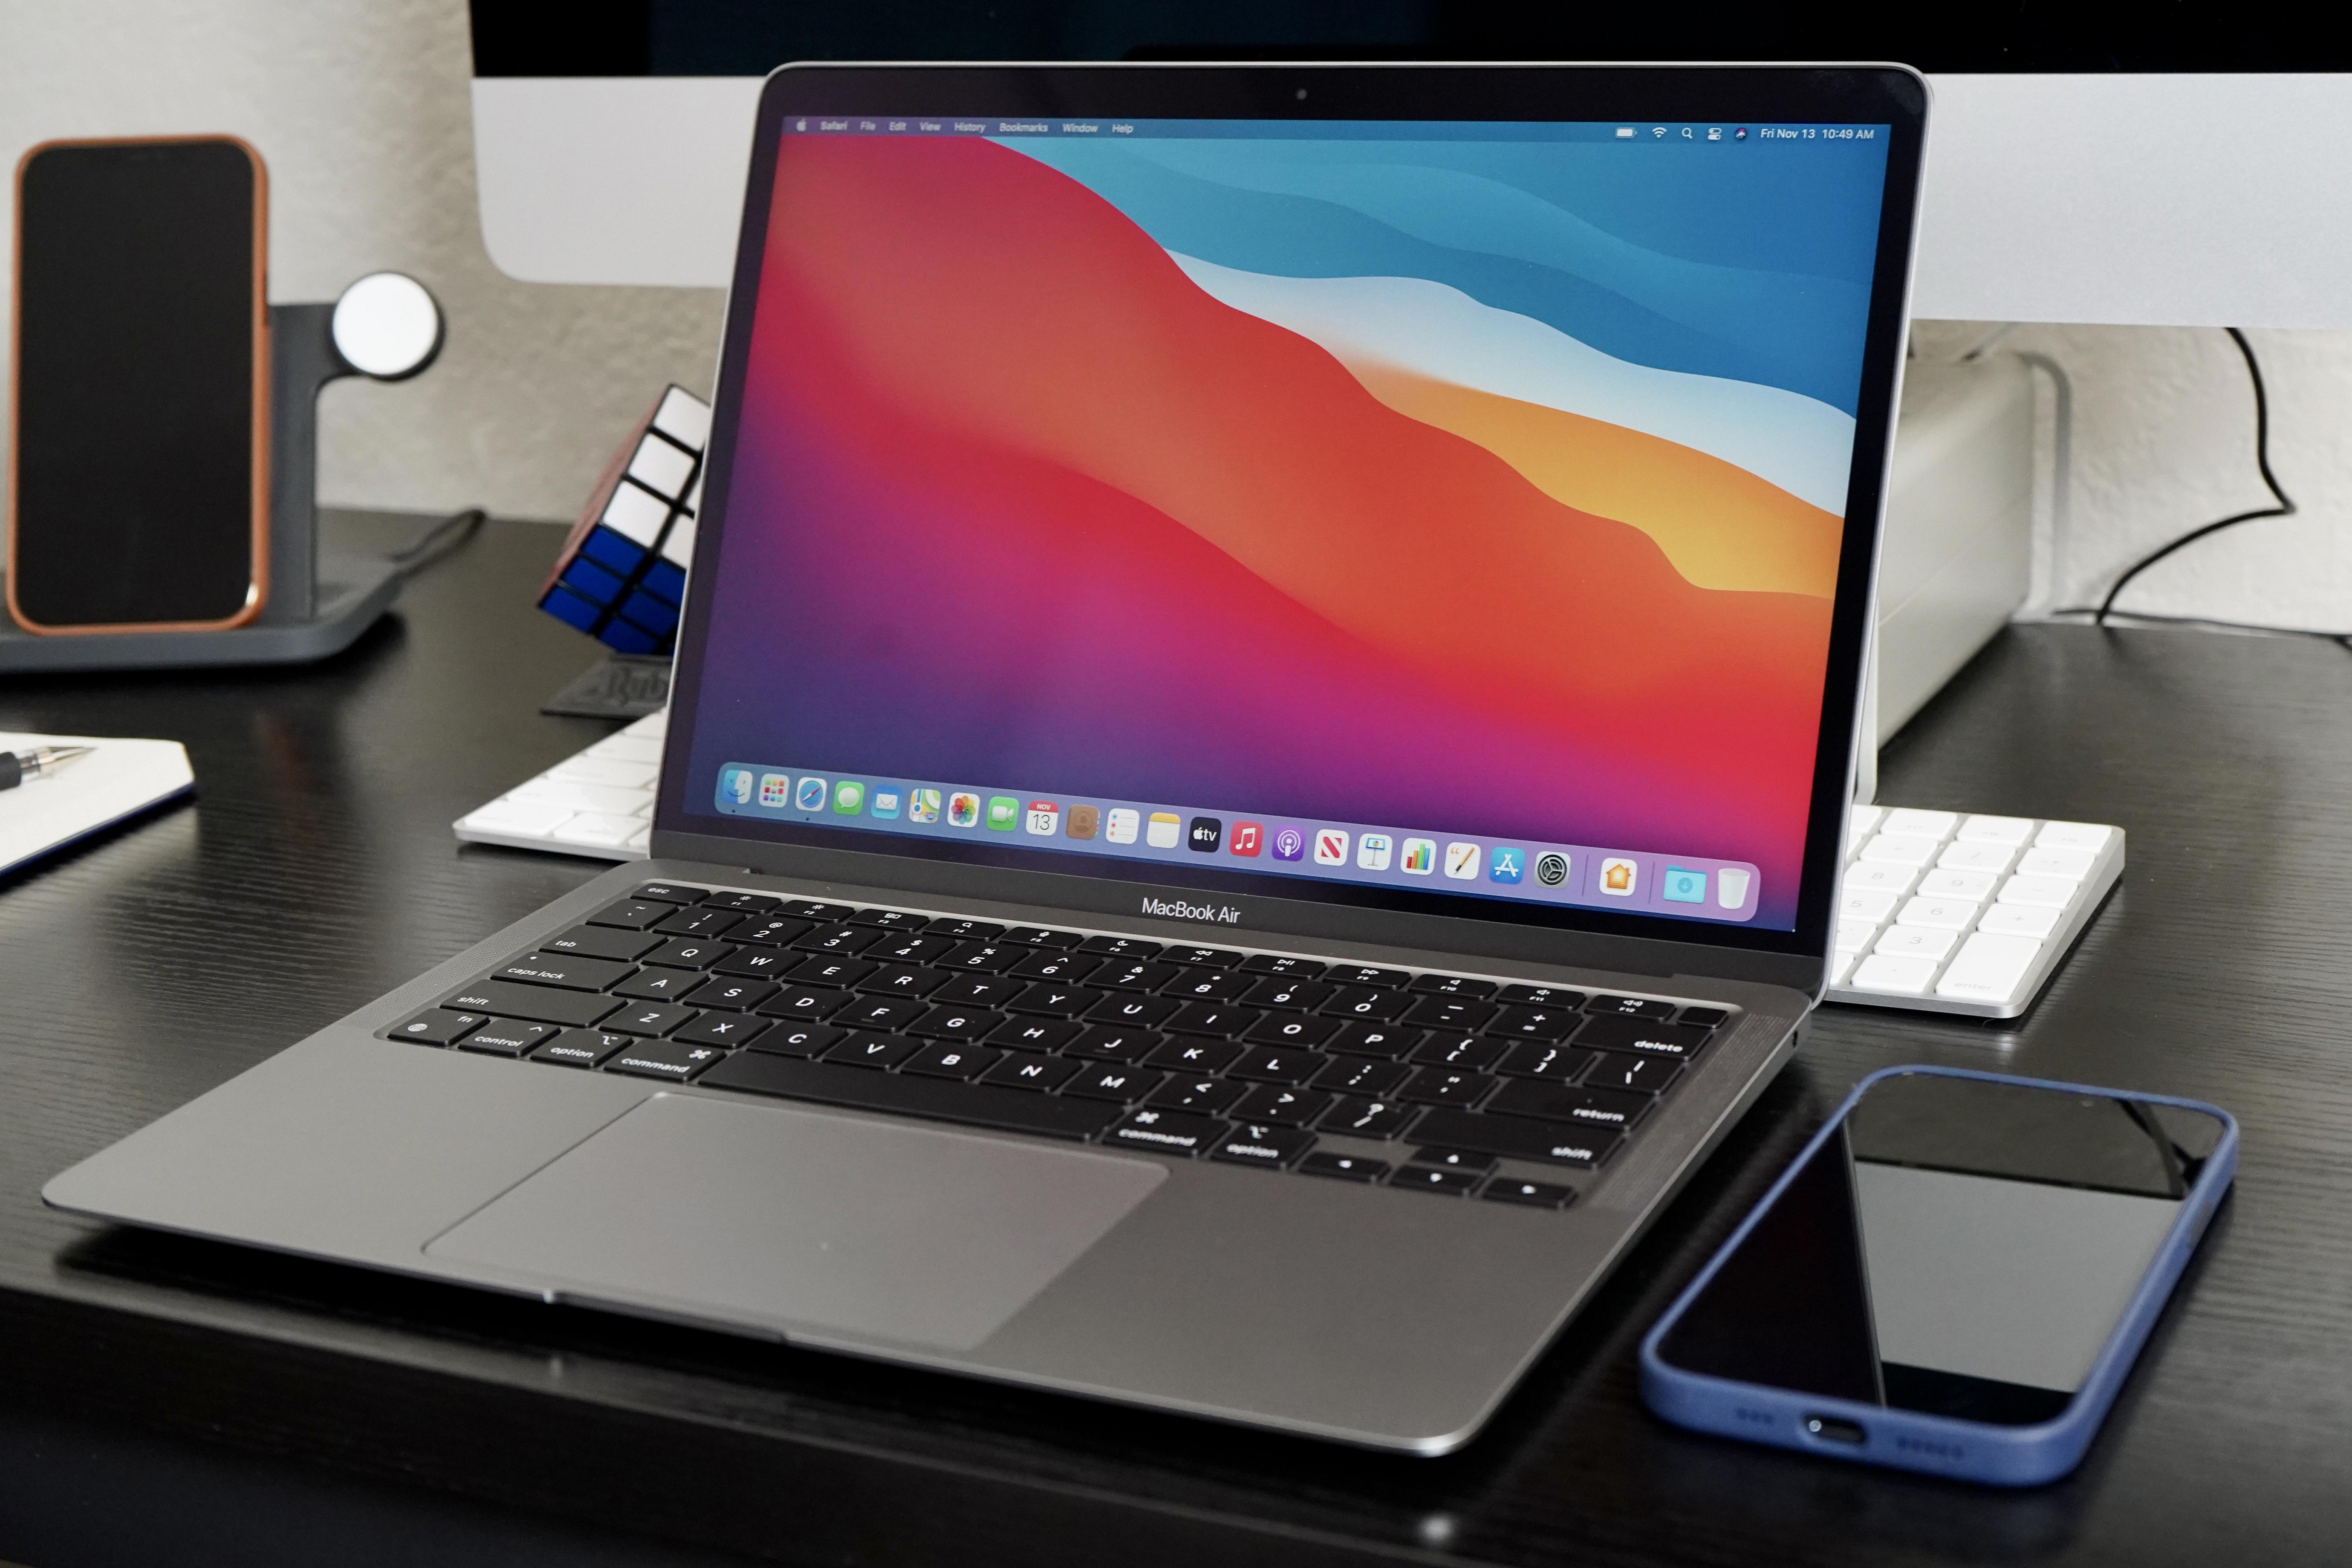
If you’re a Mac user, you’re familiar with the sleek and stylish design of the MacBook Air. But did you know that you can also use it to add multiple email accounts? It’s easy to do and can make managing your emails much simpler.
The frst step is to open the Mail app on your Macbook Air. You will see an option that says “Accounts”. Click on this and then click “Add Account”. Here you can add all of your email accounts one by one. You can add Google, Yahoo, Outlook or any other email provider. Once you have added all of your accounts, they will show up in the Accounts list.
Now that all your accounts are set up, it’s time to access them from one unified inbox. To do this, go to the Mail tab in the upper left corner and select All Accounts from the menu on the left side of the window. Then click on Inbox under All Accounts and you will be able to view emails from all your email accounts at once. If you need to look at emails from just one account, simply click on its Inbox from the list of accounts.
You also have options to create new users or groups for easier organization and access control for each account separately. To do this, go to the New Account pop-up menu and choose a type of account—Administrator, User or Group—and follow instructions indcated by the menu options provided in order to complete setup for each account type accordingly.
Finally, if there are any issues connecting with any of your mail accounts, simply open the Mail app and go to Window in top menu bar and select Connection Doctor which will check for any connection problems with each mail account before allowing access again once issues have been resolved as necessary.
Now that you know how easy it is to manage multiple email accounts through Macbook Air, why not give it a try? You won’t regret it!
Viewing Multiple Email Accounts on Mac
On your Mac, you can easily view multiple email accounts at once. To do this, open the Mail app and select All Accounts from the left-hand menu. This will show a list of all your email accounts in one place. You can then click Inbox under All Accounts to view emails from all your accounts in one unified inbox. If you want to look at emails from a single account, simply click the Inbox under that account’s name. By using this method, you can quickly and easily view emails from multiple accounts without havng to switch back and forth between them.
Unable to Add Mail Account to Mac
There could be a few reasons why you are not able to add a mail account to your Mac. The first thing you should check is if the Mail app is set up correctly with the correct account settings. If this is correct, then it is possible that there may be an issue with the connection settings in the Mail app. To check this, open the Mail app and go to Window in the top menu then click on “Connection Doctor”. This will show whether there are any problems with connecting to the Mail app. If necessary, try deleting and re-adding your mail account to reset this, as well as checking any oter settings that could be causing an issue.
Adding an Additional Email Account to a Macbook Pro
Adding another email account to your Macbook Pro is easy and straightforward. From the menu bar in Mail, select Mail > Add Account. Select your desired email provider from the list, then click Continue. Some accounts, such as Google, might require you to click Open Browser to complete authentication in your web browser. Once you have completed the authentication process, follow any additional prompts from your email provider to finish setting up the account. When finished, you should be able to send and receive messages from your new email address on your Macbook Pro.
Can I Have Multiple Email Accounts on My Macbook Air?
Yes, you can have two emails on your MacBook Air. To get started, open the Mail app and select ‘Mail > Add Account’ from the menu bar. Select an account type (such as Google or iCloud) and enter the necessary account information. Make sure that the Mail checkbox is selected for the account so that it will be added to your list of email accounts. Once you’ve added the second email account, you’ll be able to switch between them in Mail by selecting each one from the left side of the window.
Setting Up Email Manually on a Mac
Setting up email manually on your Mac is a simple process. First, open the Mail app on your Mac. Then, select Mail > Add Account from the menu bar at the top of your screen. A window will open with vaious options, including iCloud, Exchange, and ‘Other Mail Account’. Select ‘Other Mail Account’ and click ‘Continue’.
You will be prompted to enter your Email Address and Password. Enter the relevant information and click ‘Sign In’. Next, you will be taken to a page where you can enter additional information like incoming and outgoing server names, user name, password, etc. Enter all mandatory fields correctly and click the ‘Sign In’ button to finish setting up your email account manually.
Accessing Mail Account Settings on a Mac
To find the Mail Account Settings on your Mac, open the Mail app, then choose Mail > Settings. This will open a window with several differet settings panes. Click on the Accounts pane to edit, add or delete your email accounts in Mail. You can also customize other settings such as how often you check for messages and what kinds of messages are included when you search in Mail in the General pane.
Troubleshooting Email Issues on Mac
There could be a few reasons why your emails aren’t showing up on your Mac. First, check if your account is offline or disabled. If you are missing emails from certain people or groups, it may be because you have blocked messages from them. You can also try quitting Mail and then opening it agan to see if that helps. Finally, use the Connection Doctor option (Window > Connection Doctor) to troubleshoot any connection errors that might be preventing your emails from showing up.
Adding Multiple Email Accounts to a Laptop
Adding multiple email accounts to your laptop is easy! First, open the Settings app, then select Accounts. Under Accounts, select Email & accounts. Click the “Add account” button and you will be presented with a list of available email services like Outlook, Office 365, Google, Yahoo, and iCloud. Choose whichever service you want to add your email account for and follow the on-screen instructions for entering your username and password for that particular service.
Once you have entered all of your information correctly and saved it, you can add another email account by repeating the steps above. You can also add oter accounts using POP or IMAP if you do not want to use one of the listed services. Just click “Advanced setup” at the bottom of the screen while adding an account and follow the instructions from there.
When you are finished adding all of your desired accounts, they should appear in the list under Email & accounts in Settings. Now you can easily access any of these accounts on your laptop wthout having to manually log in each time!
Adding and Removing Email Accounts on Mac
Adding an Email Account on Mac:
1. Open the Mail app on your Mac.
2. Choose Mail > Preferences from the menu bar.
3. Click Accounts.
4. Click the + button at the bottom of the list to add an account.
5. Enter your name, email address, and password for the account you want to add, then click Sign In or Create .
6. If you need to make changs to how your messages are sent and received, click Advanced at the bottom of the window and make changes as needed.
7. When finished, click Done to save your changes and close the window.
Removing an Email Account on Mac:
1. In the Mail app on your Mac, choose Mail > Settings, then click Accounts.
2. Select an account, then click the Remove button .
3. If the account is used by othr apps on your Mac, you’re asked to remove the account in Internet Accounts settings as well if needed before it can be removed from Mail settings .
Adding a Second Email Account to a Laptop
To add a second email account to your laptop, first open the Mail app. If this is the first time you’ve opened the Mail app, you’ll see a Welcome page. Then select Add account and choose the type of the account you want to add. Enter all of the required information and select Sign in. Once your account is successfully added, select Done and you’re ready to start using your new email account!

