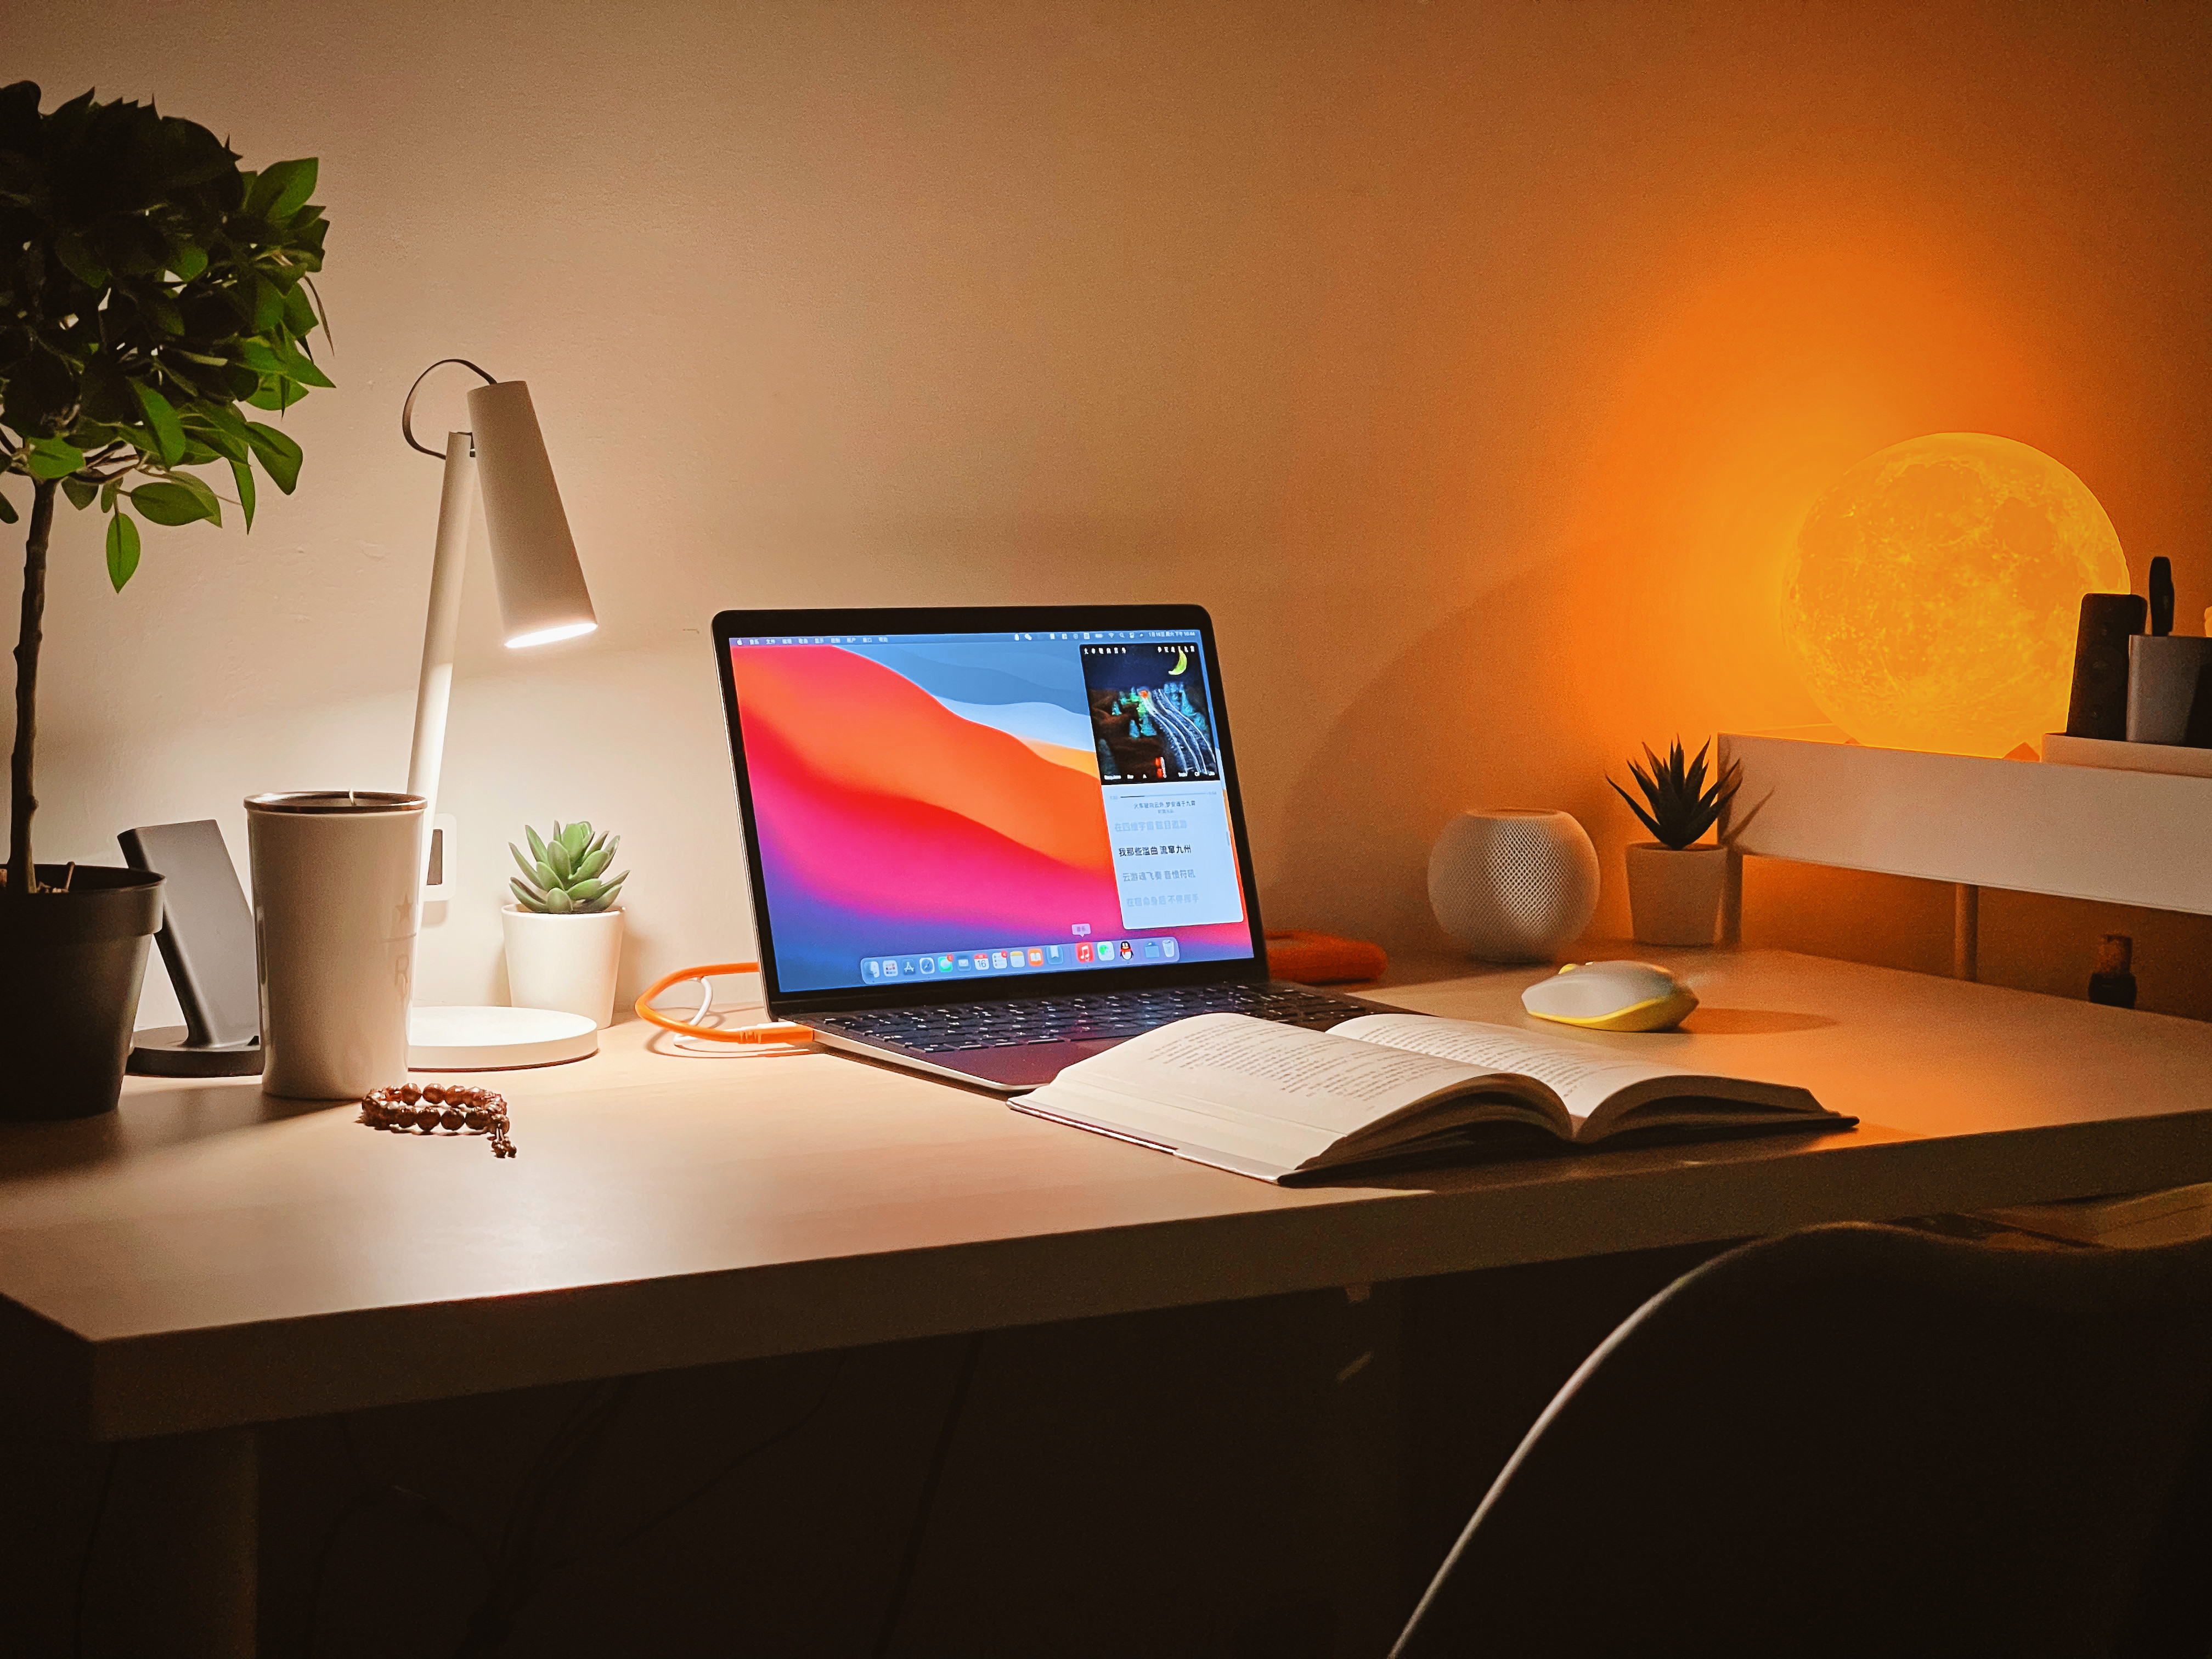
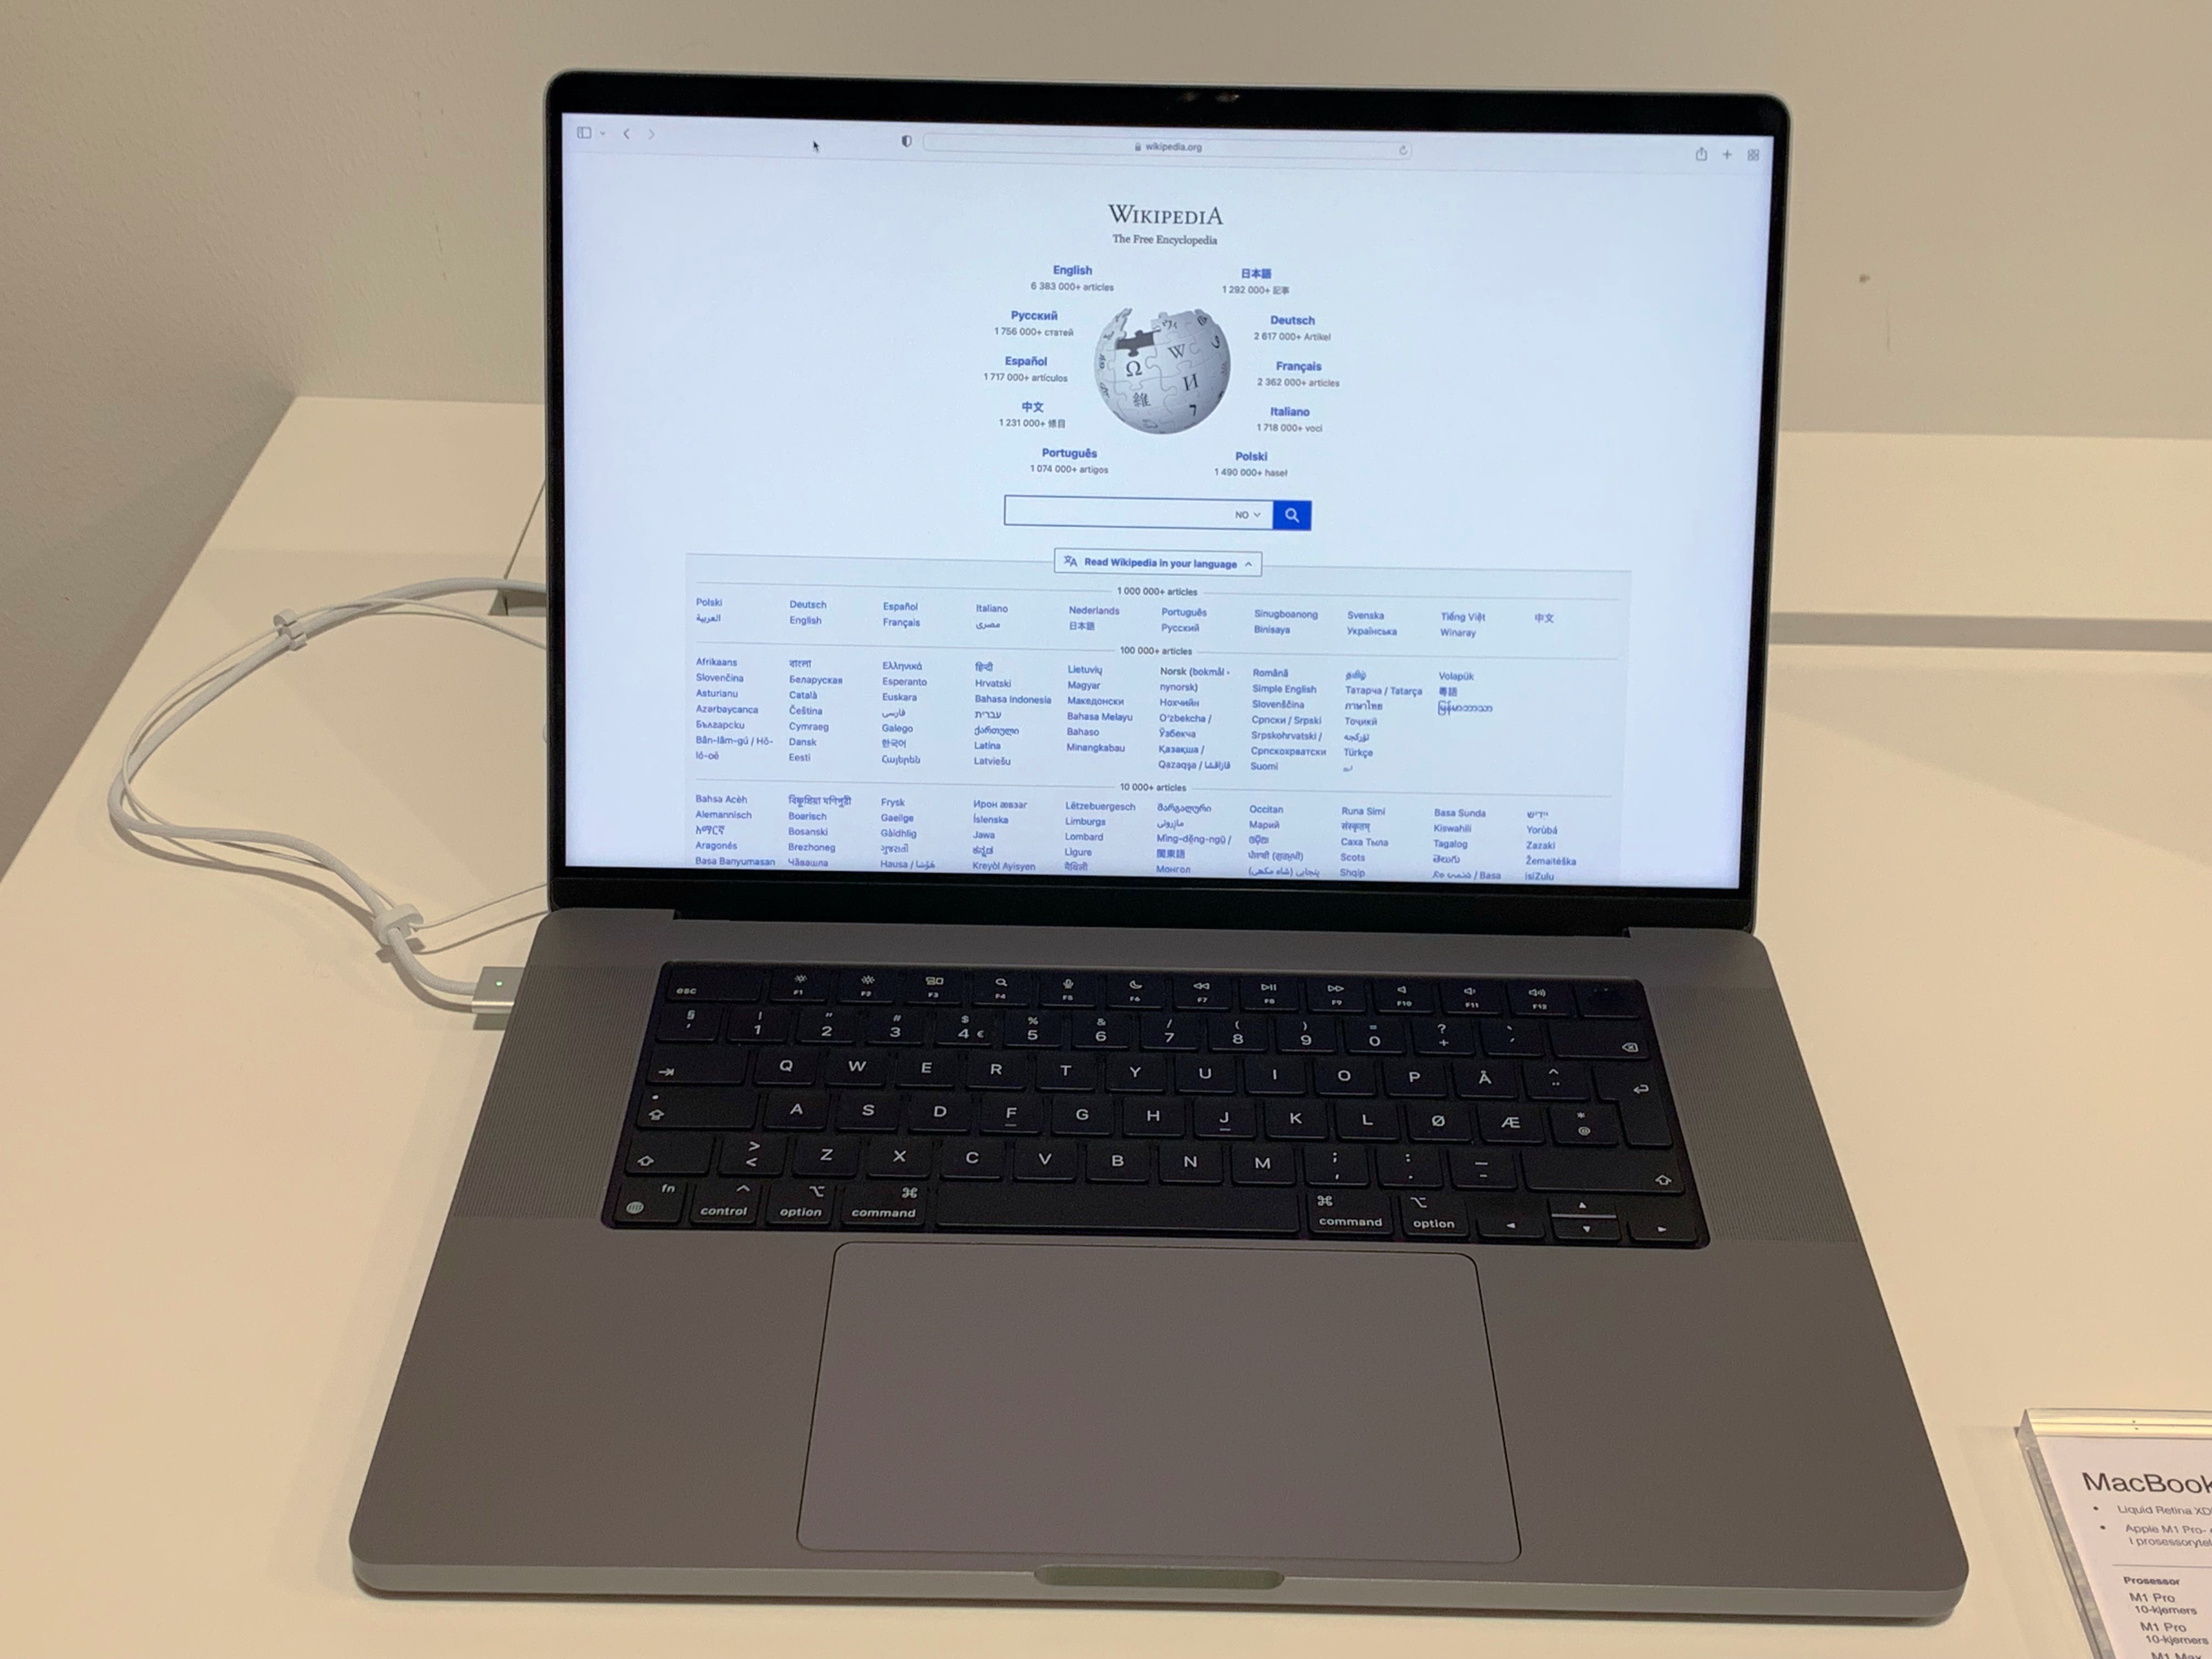
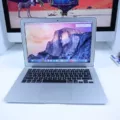
The MacBook Air is a great laptop for everyday use, but did you know you can also use it to capture video with an external webcam? With the rght adapter and setup, you can connect most webcams to your Mac and record stunning video.
The MacBook Air comes with a built-in FaceTime HD camera that’s perfect for video calls and selfies, but if you want to record high-quality video then an external webcam is the way to go. To get started, you’ll need to purchase an adapter that allows you to connect your external webcam to your MacBook Air. Once you have the adapter, simply plug it into one of the USB ports on your MacBook Air and then plug in your webcam.
Once everythig is connected, you’re ready to start recording! Open up QuickTime Player on your Mac and select “New Movie Recording” from the File menu. Select your external camera from the drop-down list of devices next to the red Record button in QuickTime Player and hit Record. You can adjust settings like resolution, frame rate and bitrate within QuickTime Player so make sure they’re all set correctly before hitting Record.
When you’ve finished recording, hit Stop in QuickTime Player and then select Save from File menu. Now you have a beautiful video saved on your Mac ready for editing or sharing online!
Recording with an external webcam is a great way to get more out of your MacBook Air. With the rigt adapter and setup, recording stunning videos has never been easier!
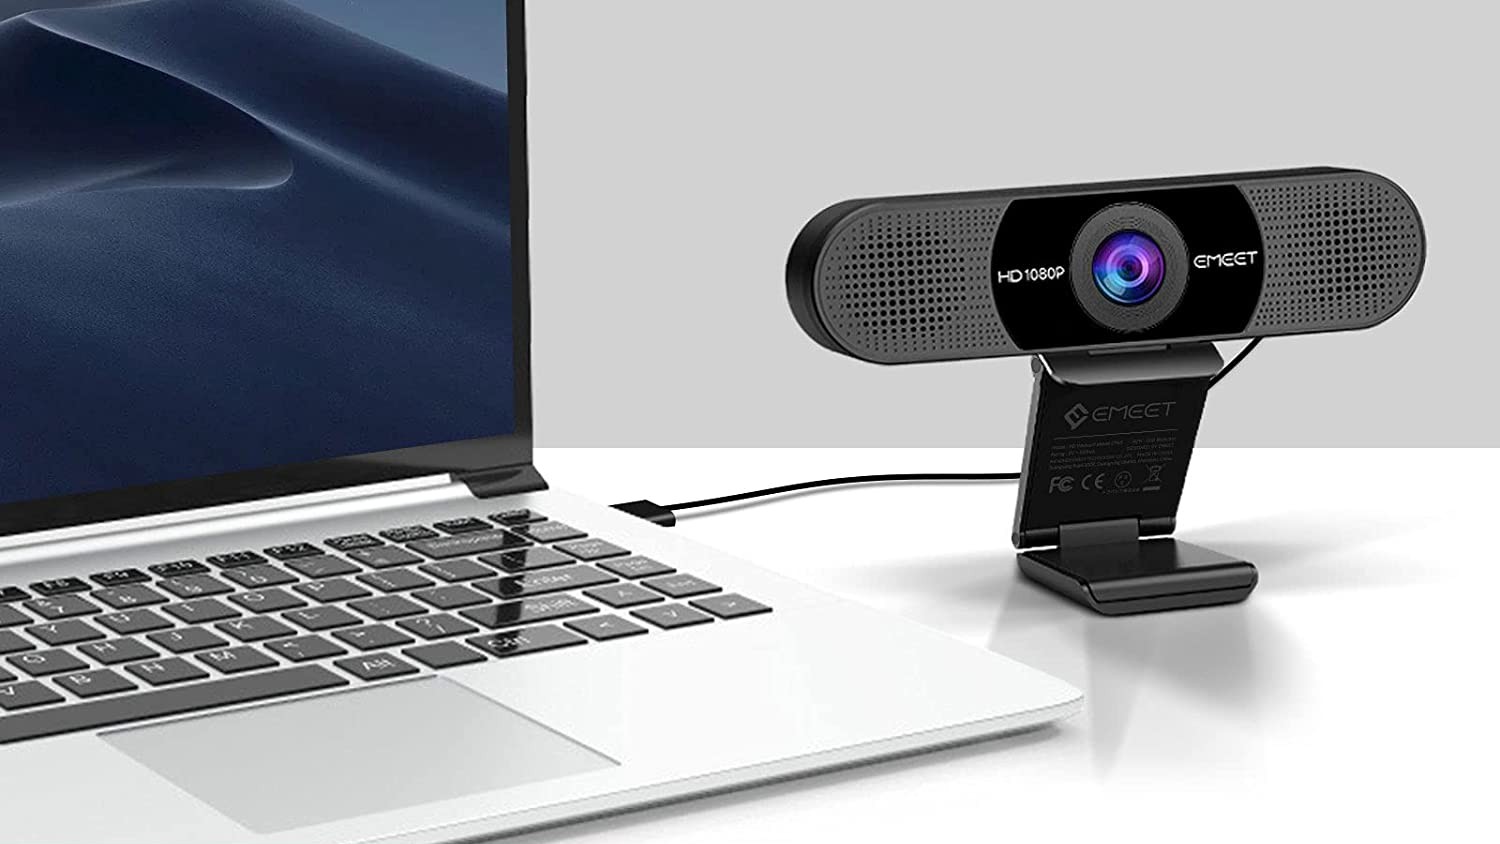
Getting Mac to Recognize Video Camera
To get your Mac to recognize your video camera, start by ensuring that the USB or USB-C cable is properly connected to both the camera and the computer. Then, make sure your camera is turned on and set to the correct mode for importing photos. If you are using a memory card with your camera, check it for any potential damage. Once you have checked all of these connections and settings, try restarting both devices. If that doesn’t work, then you may need to update your Mac’s software or install any additional drivers for your camera.
Using the Video Camera on a MacBook Air
To use the video camera on your MacBook Air, start by opening the app or feature you want to use. Once the app or feature is open, the camera will automatically turn on and you should see a preview window. You can adjust any necessary settings from this window and then click on the record button to begin recording. To stop recording, simply click the same button again. Depending on what app or feature you are using, you may be able to take pictures or save your recordings onto your computer.
Can MacBook Air Use Webcams?
Yes, webcams do work with MacBook Air. The current M1 MacBook Air comes with a 720p webcam, which is capable of taking clear videos and photos. It also has features like automatic exposure and white balance adjustment, so you can get the best possible image quality from your webcam. You can also use external or USB webcams with your MacBook Air; however, you may need to install any necessay drivers or software to get them to work properly.
Recording Video From a Mac Using an External Camera
1. Connect your external camera to your Mac via USB cable.
2. Open QuickTime Player and select New Movie Recording from the File menu.
3. Select your external camera as the source of video in the recording window that appears and click the red Record button to begin recording.
4. When you’re done recording, click on the Stop button and then select Save from the File menu to save your video.
5. If necessary, you can also crop your recording into a shorter one using QuickTime’s editing tools befre saving it to your computer.
Troubleshooting Mac Not Detecting Webcam
It’s possible that your Mac isn’t detecting your webcam due to a few different issues. First, make sure the webcam is plugged in securely, and if it is, unplug it and plug it back in. You may also want to try a different USB port and cord just to make sure neithr of these are causing the issue. If this doesn’t work, you can check to see if your Mac is actually detecting the webcam by going into System Preferences>Security & Privacy>Privacy>Camera and making sure that the box next to your camera is checked. Finally, if none of these steps worked, you may need to reinstall or update any software related to the webcam.
Finding the Best Webcam for Macbook Air
The Logitech C930e is the best webcam for Macbook Air. This webcam offers a sharp, clear image with full 1080p resolution and a wide field of view. The built-in dual omni-directional mics provide great audio quality, and its autofocus ensures your videos always look crisp and clear. It also has H.264 encoding for faster uploads and downloads, plus low light correction that lets you use it in dimly lit rooms. Plus, the adjustable clip makes it easy to attach to any laptop or monitor. All in all, this webcam is an excellent choice for Macbook Air users who want excellent performance from thir video conferencing sessions.
Connecting a Logitech Webcam to a Macbook Air
To connect your Logitech webcam to your MacBook Air, start by plugging the webcam’s USB cable into an available USB port. If your Logitech webcam has a USB-A connector, it should fit directly into the USB port on your MacBook Air. If it has a USB-C connector, you may need an adapter to connect it. Once you’ve plugged in the cable, your Mac should recognize the webcam and install its drivers automatically. After that’s done, you can open any video conferencing or streaming app to start using the webcam!
Connecting a Camera to a Mac Using HDMI
Yes, it is possible to connect a camera to a Mac with HDMI. However, since Macs don’t have an HDMI input, you will need to use an additional piece of hardware called an HDMI encoder or capture device. Popular HDMI capture devices include Elgato’s Cam Link 4K and Blackmagic Design’s UltraStudio Mini Recorder 3G. These devices alow you to connect your camera’s HDMI output directly to your Mac via USB, allowing your Mac to recognize the camera as a video source. Once connected, you’ll be able to view your camera’s output on your Mac screen and record video directly from the camera.
Connecting a USB Camera to a Mac
To connect your USB camera to your Mac, first plug the USB cord into the camera and then into an avaiable USB port on your Mac. Wait 10-20 seconds for your Mac to recognize the external webcam. Once the external webcam is connected, you can open a dedicated camera program to use with it. Alternatively, if you have a video conferencing program, you can use that as well.
Recording Video From an External Camera to a Computer
To record video from an external camera to your computer, you’ll need to first connect the camera to your computer with a USB cable. Once it is connected, you can open the Camera app on your computer. Click on the video camera icon to begin recording. You may have to adjust some settings such as resolution and frames per second before recording so that the video is recorded at the optimal quality. Once finished, you can save your video file to a folder of your choice and it will be ready for playback or frther editing.
Conclusion
In conclusion, the Macbook Air is an excellent choice for anyone loking for a lightweight and powerful laptop. It’s perfect for everyday use, with its long battery life, fast processor and graphics chip, and great display technology. With its sleek design and compact size, it can easily fit into any workspace. The Macbook Air also has plenty of ports to connect to other devices as well as features like Touch ID and the Force Touch trackpad. All of these features make the Macbook Air a great option for users who need a reliable laptop that’s both portable and powerful.

