Are you a fan of recording voice memos on your iPhone? If so, you know that it’s easy to record but can be tricky to export. Fortunately, it’s not impossible and with the right tools and knowledge you can easily transfer your memos off of your device.
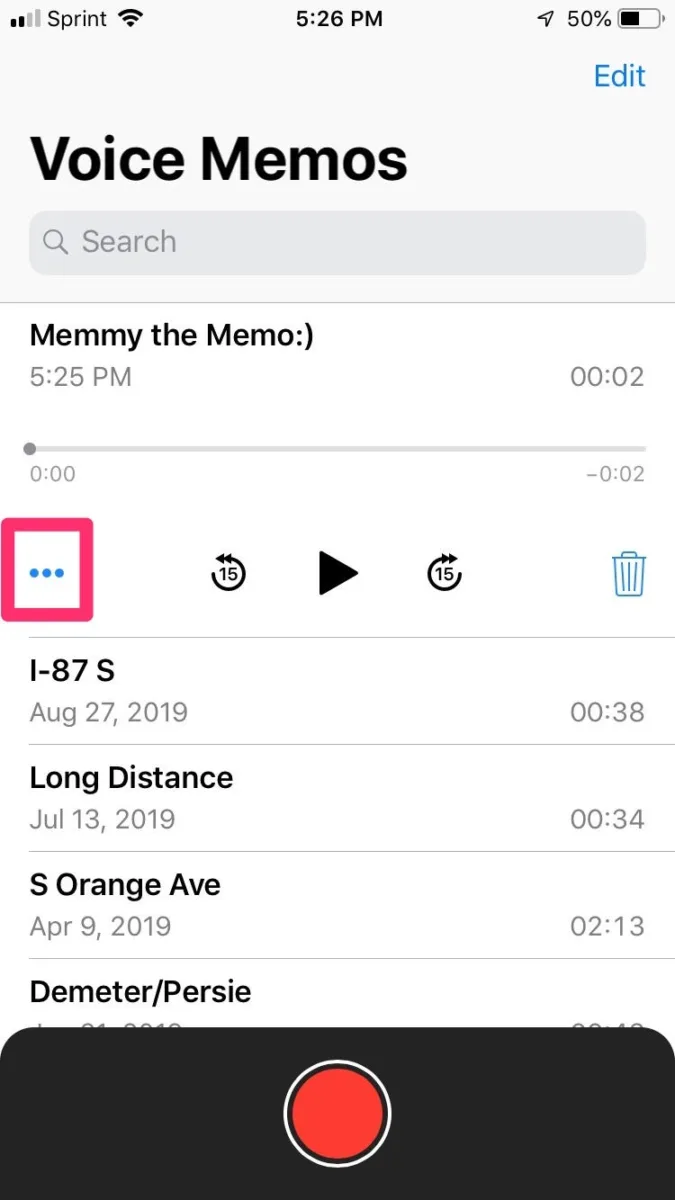
To get started, open up the Voice Memos app on your iPhone. Here you will find all the recordings you’ve made. To export from here, select which memo you want to share by tapping its title. Once selected, tap “Share…” at the top of the pop-up menu. From here, a different pop-up menu will appear with various options for how you want to send your memo. You can choose Mail or Messages to send it as an attachment or copy it for pasting elsewhere.
Exporting voice memos off of an iPhone doesn’t have to be difficult anymore! With these simple steps and helpful tips, anyone can easily transfer their recordings off their device without any hassle!

Exporting Voice Memos from an iPhone
To export voice memos from your iPhone, you will need to open the Voice Memos app. Once inside the app, find and select Notes in the row of apps. To transfer multiple voice memos, click Edit and select all of the audio recordings you want to download. Then click on the Export icon and choose Copy. Open the Notes app, create a new note, and press down until a menu appears. Select Paste to finish transferring the voice memos.
Exporting an Audio Memo
To export an audio memo, you will need to open the Voice Memos app on your iPhone. Once opened, select the memo you would like to export by tapping the title. This will expand the memo, at which point you can tap “Share…” at the top of the pop-up menu. After doing this, a different pop-up menu will appear giving you various options for exporting your audio memo. You can choose from different file formats such as AIFF, MP3, WAV, and M4A as well as several share destinations such as email, AirDrop and Messages. Select whichever option works best for you to complete the export of your audio memo.
Exporting Multiple Voice Memos from an iPhone
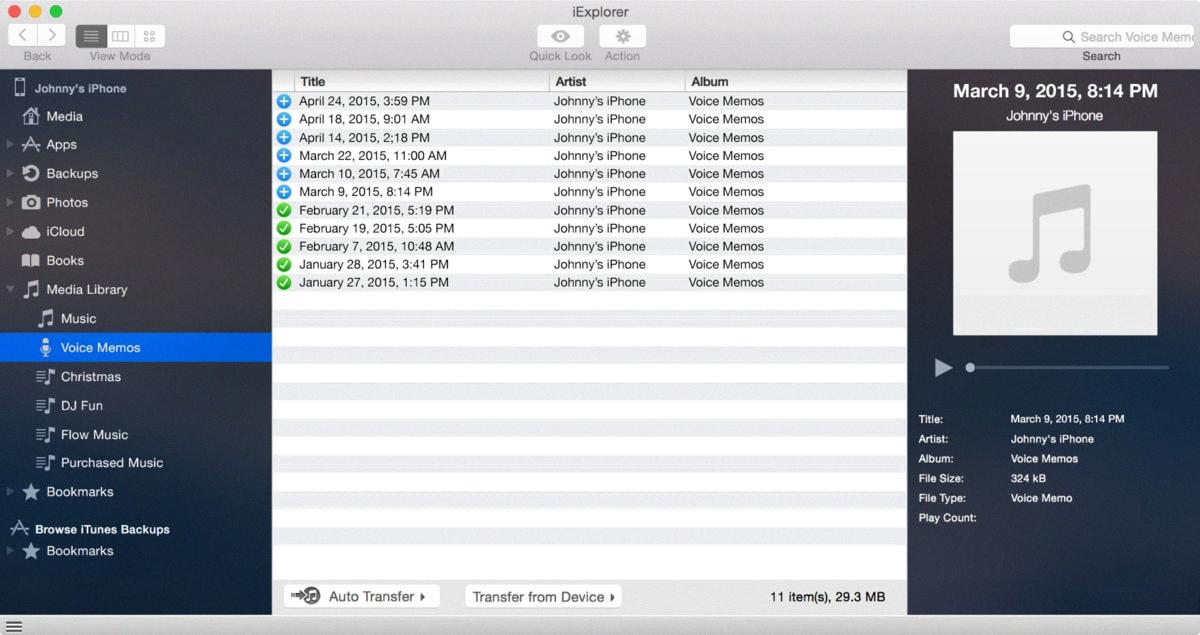
To export multiple voice memos from your iPhone, start by launching iMazing and connecting your device. Then, in the left sidebar, select Voice Memos. From there, select the voice memos that you would like to export. In the bottom toolbar, click ‘Export’, which will open a save panel dialog box. In this dialog box, choose where you would like to export your files and click ‘Choose’ to save them. That’s it! Your voice memos will be exported from your iPhone.
Exporting Voice Memos as MP3
Yes, you can export voice memos as MP3 files. To do so, you need to select all the voice memos that you want to convert to MP3 files, click on the File button in the top left corner of your screen, then select Convert > Create MP3 Version. This will initiate the process of converting those voice memos into MP3 files. Once the conversion is complete, you can check the output folder for the converted MP3 files.
Transferring Voice Memos From iPhone to Computer
To transfer voice memos from iPhone to computer, you will need to first open the Voice Memos app on your iPhone. Tap “All Recordings” and select the recording you would like to access on your computer. Tap the three dots and select “Save to Files” from your Share Sheet. Then, choose “iCloud Drive” as the location for where you would like the file saved. Once saved, log in to iCloud on your computer and download the voice memo file. You can then access it on your computer by opening it in a compatible media player or audio editing software.

Source: macroplant.com
Transferring Voice Recordings from iPhone to PC
Yes, you can transfer voice recordings from your iPhone to your PC. First, connect your iPhone to the computer and open the iTunes app. Tap the iPhone button in the iTunes menu, then navigate to the Music section. Check the boxes for “Sync Music” and “Include voice memos”. This will enable you to sync all of your voice recordings from your iPhone to your PC. Once you’ve synced your voice recordings, they will be available on both devices.
Exporting Audio from iMessage
To export audio from iMessage, you need to tap and hold the audio message, then select “Save”. This will save a copy of the audio file to your device. You can then access it in your device’s file manager or transfer it to another device.
Transferring Voice Memos from iPhone to Computer Without Syncing
Method 1. Transfer Voice Memos from iPhone to Computer without Syncing via iTunes File Sharing
Open the Voice Memos app on your iPhone. Select the memo you want to transfer > Tap the More (three-dot icon) button > Tap Send to iTunes. Then, connect your iPhone to your computer and open iTunes > Select your device in iTunes > Click File Sharing and select Voice Memos app in the left side pane. Select the memo you want to transfer and click Save To to save it as a file on your computer.
Method 2. Transfer Voice Memos from iPhone to Computer without Syncing via Email/AirDrop Launch your Voice Memos app. Select the memo you want to transfer > Tap on the More (three-dot icon) button > Tap on the Share button. Then, you can either choose to send the memos via Email (PC & Mac) or AirDrop (Mac). An email will bring up an email compose window, where you can enter an email address for yourself and hit “Send”. Once received, open up the email message, download it, and save the voice memo file attached to it on your computer. If you choose the AirDrop option, it will automatically detect nearby Apple devices with AirDrop enabled nearby, then tap “Accept” after choosing one of them to receive the audio files on a Mac machine.
Conclusion
In conclusion, Voice Memos is a powerful and convenient way to record audio on your iPhone. It’s easy to use, with intuitive controls and a wide range of features that make it simple to capture and share audio. With the ability to export voice memos as MP3s, you can easily transfer them to other devices or share them with friends and family. Whether you’re recording interviews, lectures, or just snippets of conversations, Voice Memos is an excellent tool for capturing sound on the go.


