Windows XP, though an older operating system, is still used by many individuals and organizations. If you have an old computer that you want to install Windows XP on, creating a bootable USB can be a convenient and efficient way to do so. In this article, we will guide you through the process of creating a bootable USB for Windows XP.
Step 1: Format the USB Stick
Before you can create a bootable USB, you need to format the USB stick. To do this, insert the USB stick into your computer and open the File Explorer. Right-click on the USB stick icon and select “Format”. In the format dialog box, choose FAT32 as the file system and enter a descriptive volume label, such as “SIA FlashDisk”. Click the “Start” button to begin the formatting process.
Step 2: Extract the Windows XP ISO
Next, you will need to extract the Windows XP ISO file. An ISO file is a disc image that contains all the necessary files for installing an operating system. If you don’t have a Windows XP ISO file, you can download it from a reliable source. Once you have the ISO file, use a software like 7-Zip or WinRAR to extract its contents to a folder on your computer.
Step 3: Download and Extract WinSetupFromUSB
To create a bootable USB for Windows XP, you will need to use a tool called WinSetupFromUSB. This tool allows you to prepare the USB install media with the necessary files. Download WinSetupFromUSB from a trusted source and extract its contents to a folder on your computer.
Step 4: Prepare USB Install Media
Now that you have extracted WinSetupFromUSB, open the folder and run the “WinSetupFromUSB.exe” file. In the program interface, select your USB stick from the list of available drives. Make sure to check the option “Auto format it with FBinst” and “Custom menu names for Vista/7/8/Server Source”. Click the “Refresh” button to detect any connected USB sticks.
Step 5: Verify Files
After selecting the USB stick, click the “Advanced options” button. In the “Verification of completed actions” section, check the option “Verify USB disk after formatting”. This will ensure that all files are properly copied to the USB stick and there are no errors. Click the “GO” button to begin the process of creating the bootable USB.
Step 6: Boot from USB Stick, Install Windows XP
Now that you have created the bootable USB, insert it into your old computer. Start the computer and press the F2 or DEL key to enter the BIOS. In the BIOS settings, change the boot order to prioritize the USB stick. Save the changes and exit the BIOS. The computer will now boot from the USB stick. Follow the on-screen instructions to install Windows XP on your old computer.
Step 7: Prepare Disks, Copy Install Files
During the installation process, you may be prompted to prepare the disks and copy installation files. Follow the instructions provided by the Windows XP installation wizard to complete these steps. Make sure to select the correct disk and partition to install Windows XP on.
Step 8: Configure Windows XP
After the installation is complete, you can start configuring Windows XP according to your preferences. Set up user accounts, install necessary drivers, and update the operating system to ensure it is secure and up to date.
Creating a bootable USB for Windows XP is a straightforward process that allows you to install this older operating system on your old computer. By following the steps outlined in this article, you can easily create a bootable USB and install Windows XP hassle-free.
How Do I Create A Bootable USB Drive For Windows XP?
To create a bootable USB drive for Windows XP, follow these step-by-step instructions:
1. Format USB stick:
– Connect the USB stick to your computer.
– Open File Explorer and right-click on the USB drive.
– Select “Format” from the context menu.
– Choose the FAT32 file system and click “Start” to format the USB stick.
2. Extract Windows XP ISO:
– Locate the Windows XP ISO file on your computer.
– Right-click on the ISO file and select “Extract All” or use a third-party software like WinRAR to extract the contents of the ISO file to a folder on your computer.
3. Download and extract WinSetupFromUSB:
– Open your web browser and search for “WinSetupFromUSB” or go to the official website at https://www.winsetupfromusb.com/.
– Download the latest version of WinSetupFromUSB.
– Once downloaded, extract the contents of the ZIP file to a folder on your computer.
4. Prepare USB install media:
– Run the WinSetupFromUSB executable file from the folder where you extracted it.
– In the program window, select your USB drive from the list of available drives.
– Check the box next to “Auto format it with FBinst” and “Force ‘USB-HDD’ as type of drive” options.
– Click on the “Advanced options” button and make sure the “Custom menu names for Vista/7/8/Server Source” box is checked.
– Click on the “Prepare Drive” button to begin the process.
5. Verify files:
– After the preparation process is complete, verify that the necessary files have been copied to the USB drive.
– Open the USB drive in File Explorer and check for the presence of files like “NTLDR”, “ntdetect.com”, and a folder named “i386” or “AMD64” depending on your Windows XP version.
6. Boot from USB stick, install Windows XP:
– Restart your computer and enter the BIOS setup by pressing the designated key (usually F2, F10, or Del) during startup.
– In the BIOS settings, change the boot order to prioritize USB devices.
– Save the changes and exit the BIOS.
– Insert the USB drive into a USB port and restart the computer.
– The computer should now boot from the USB drive and start the Windows XP installation process.
7. Prepare disks, copy install files:
– Follow the on-screen instructions to select the appropriate disk partition and format it for the Windows XP installation.
– Once the partition is prepared, the Windows XP installation files will be copied from the USB drive to the hard drive.
– Follow the remaining prompts to complete the Windows XP installation.
8. Configure Windows XP:
– After the installation is complete, Windows XP will boot up for the first time.
– Follow the on-screen instructions to configure language settings, user accounts, and network settings.
– Install necessary drivers and software to ensure proper functionality.
By following these steps, you should be able to create a bootable USB drive for installing Windows XP on your computer. Remember to backup any important data before proceeding with the installation process.
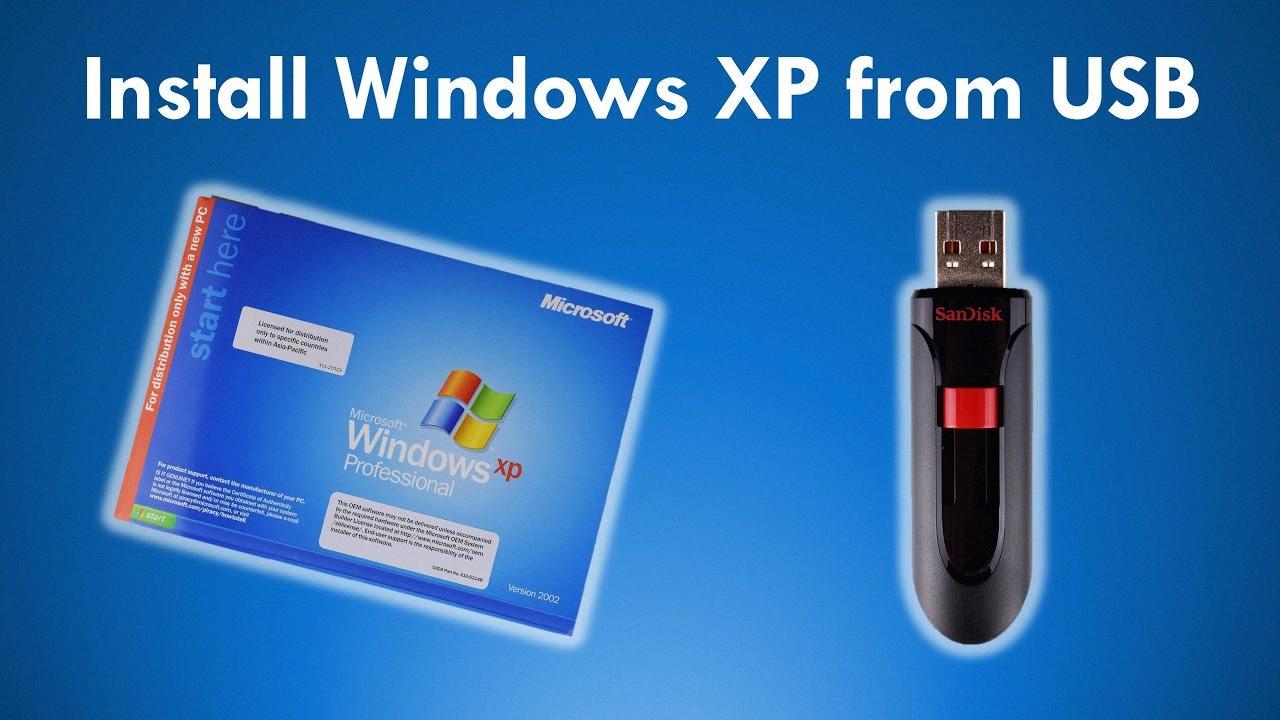
Can I Install Windows XP On A USB Stick?
You cannot install Windows XP directly on a USB stick. Windows XP does not support being installed on a USB drive as a primary operating system. However, you can create a bootable USB drive with Windows XP installation files, which can be used to install Windows XP on a computer.
To create a bootable USB drive for Windows XP installation, you will need the following:
1. Windows XP installation files: You can obtain these from your Windows XP installation disc or an ISO file.
2. USB drive: Make sure you have a USB drive with sufficient storage space (at least 1 GB) that you can format and use for the installation.
Here are the steps to create a bootable USB drive for Windows XP installation:
1. Connect the USB drive to your computer.
2. Format the USB drive: Open File Explorer, right-click on the USB drive, and select “Format.” Choose the file system as “FAT32” and click “Start” to format the drive. This will erase all data on the USB drive, so make sure you have a backup if necessary.
3. Create a bootable USB drive: You can use software like Rufus or WinSetupFromUSB to create a bootable USB drive. These tools will guide you through the process of selecting the Windows XP installation files and creating the bootable USB drive.
4. Once the bootable USB drive is created, safely eject it from your computer.
Now, to install Windows XP on a computer using the bootable USB drive, follow these steps:
1. Insert the bootable USB drive into the computer you want to install Windows XP on.
2. Start the computer and enter the BIOS by pressing the designated key during startup (usually F2 or DEL). The key may vary depending on your computer’s manufacturer.
3. In the BIOS, navigate to the “Boot” or “Boot Priority” section and set the USB drive as the first boot device.
4. Save the BIOS changes and exit. The computer will restart.
5. The Windows XP installation process should now start from the USB drive. Follow the on-screen instructions to complete the installation.
Please note that installing Windows XP is not recommended as it is an outdated operating system with security vulnerabilities. It is highly recommended to use a more modern and supported operating system for better security and compatibility.
How Do You Format A USB Stick For Windows XP?
To format a USB stick for Windows XP, follow these steps:
1. Plug in the USB stick into a USB port on your computer.
2. Open “My Computer” or “This PC” from the desktop or Start menu.
3. Locate the USB stick in the list of hard disk drives. It should be displayed as a removable disk.
4. Right-click on the flashdisk icon in the list of hard disk drives.
5. From the right-click menu, click on the “Format” option. This will open the format dialog box.
6. In the format dialog box, make sure the correct USB stick is selected for formatting.
7. In the “File system” drop-down menu, select “FAT32”. This file system is compatible with Windows XP.
8. Enter a descriptive volume label for the USB stick. This will help identify it later, so choose a name that is easy to remember.
9. Before proceeding, make sure you have backed up any important data from the USB stick, as formatting will erase all existing data.
10. Once you have double-checked the settings, click the “Start” button to begin the formatting process.
11. A warning message will appear, informing you that all data on the USB stick will be deleted. If you have already backed up your data, click “OK” to proceed.
12. Windows XP will now format the USB stick. The process may take a few minutes, depending on the size and speed of your USB stick.
13. Once the formatting is complete, a message will be displayed indicating that the format was successful.
14. Click “OK” to close the format dialog box.
15. You can now safely remove the USB stick from your computer.
Remember to always safely eject the USB stick before physically removing it to prevent data corruption. You can do this by right-clicking on the USB stick icon in “My Computer” or “This PC” and selecting the “Eject” option.
How To Create USB Bootable?
To create a bootable USB flash drive, follow these steps:
1. Insert a USB flash drive into a functioning computer.
2. Open a Command Prompt window with administrator privileges. You can do this by searching for “Command Prompt” in the Start menu, right-clicking on it, and selecting “Run as administrator”.
3. In the Command Prompt window, type “diskpart” and press Enter. This will open the Diskpart command-line utility.
4. Once inside Diskpart, type “list disk” and press Enter. This will display a list of all the disks connected to your computer, including the USB flash drive. Take note of the drive number or drive letter assigned to the USB flash drive.
5. Type “select disk X” (replace X with the appropriate drive number) and press Enter. This will select the USB flash drive as the active disk for further operations.
6. Next, type “clean” and press Enter. This will erase all data on the USB flash drive.
7. After the cleaning process is complete, type “create partition primary” and press Enter. This will create a primary partition on the USB flash drive.
8. Type “select partition 1” and press Enter. This will select the newly created partition.
9. Type “active” and press Enter. This will mark the selected partition as active.
10. Now, you need to format the USB flash drive. Type “format fs=ntfs quick” and press Enter. This will quickly format the partition with the NTFS file system.
11. Once the formatting is done, type “assign” and press Enter. This will assign a drive letter to the USB flash drive.
12. type “exit” and press Enter to exit Diskpart.
Your USB flash drive is now bootable and ready to be used. You can copy the necessary files or the operating system’s installation files onto the USB drive to make it bootable for your specific needs.
Conclusion
Creating a bootable USB for Windows XP is a straightforward process that can be done by following a few simple steps. First, you need to format your USB stick and extract the Windows XP ISO file. Then, download and extract the WinSetupFromUSB tool. Next, prepare the USB install media by using the tool. It is important to verify the files to ensure they are correctly copied onto the USB stick. Once the USB stick is prepared, you can boot your old computer from it by accessing the BIOS settings and selecting the USB as the primary boot device. From there, you can proceed with the installation of Windows XP. After the installation is complete, you can configure Windows XP according to your preferences. Using a bootable USB allows for a convenient and efficient installation of Windows XP on older computers.


