File Explorer is an essential tool in Windows 10 that allows users to navigate through their files and folders. However, there are times when File Explorer can become slow and unresponsive, causing frustration and hindering productivity. In this article, we will explore the reasons behind File Explorer’s slow performance and provide some solutions to fix the issue.
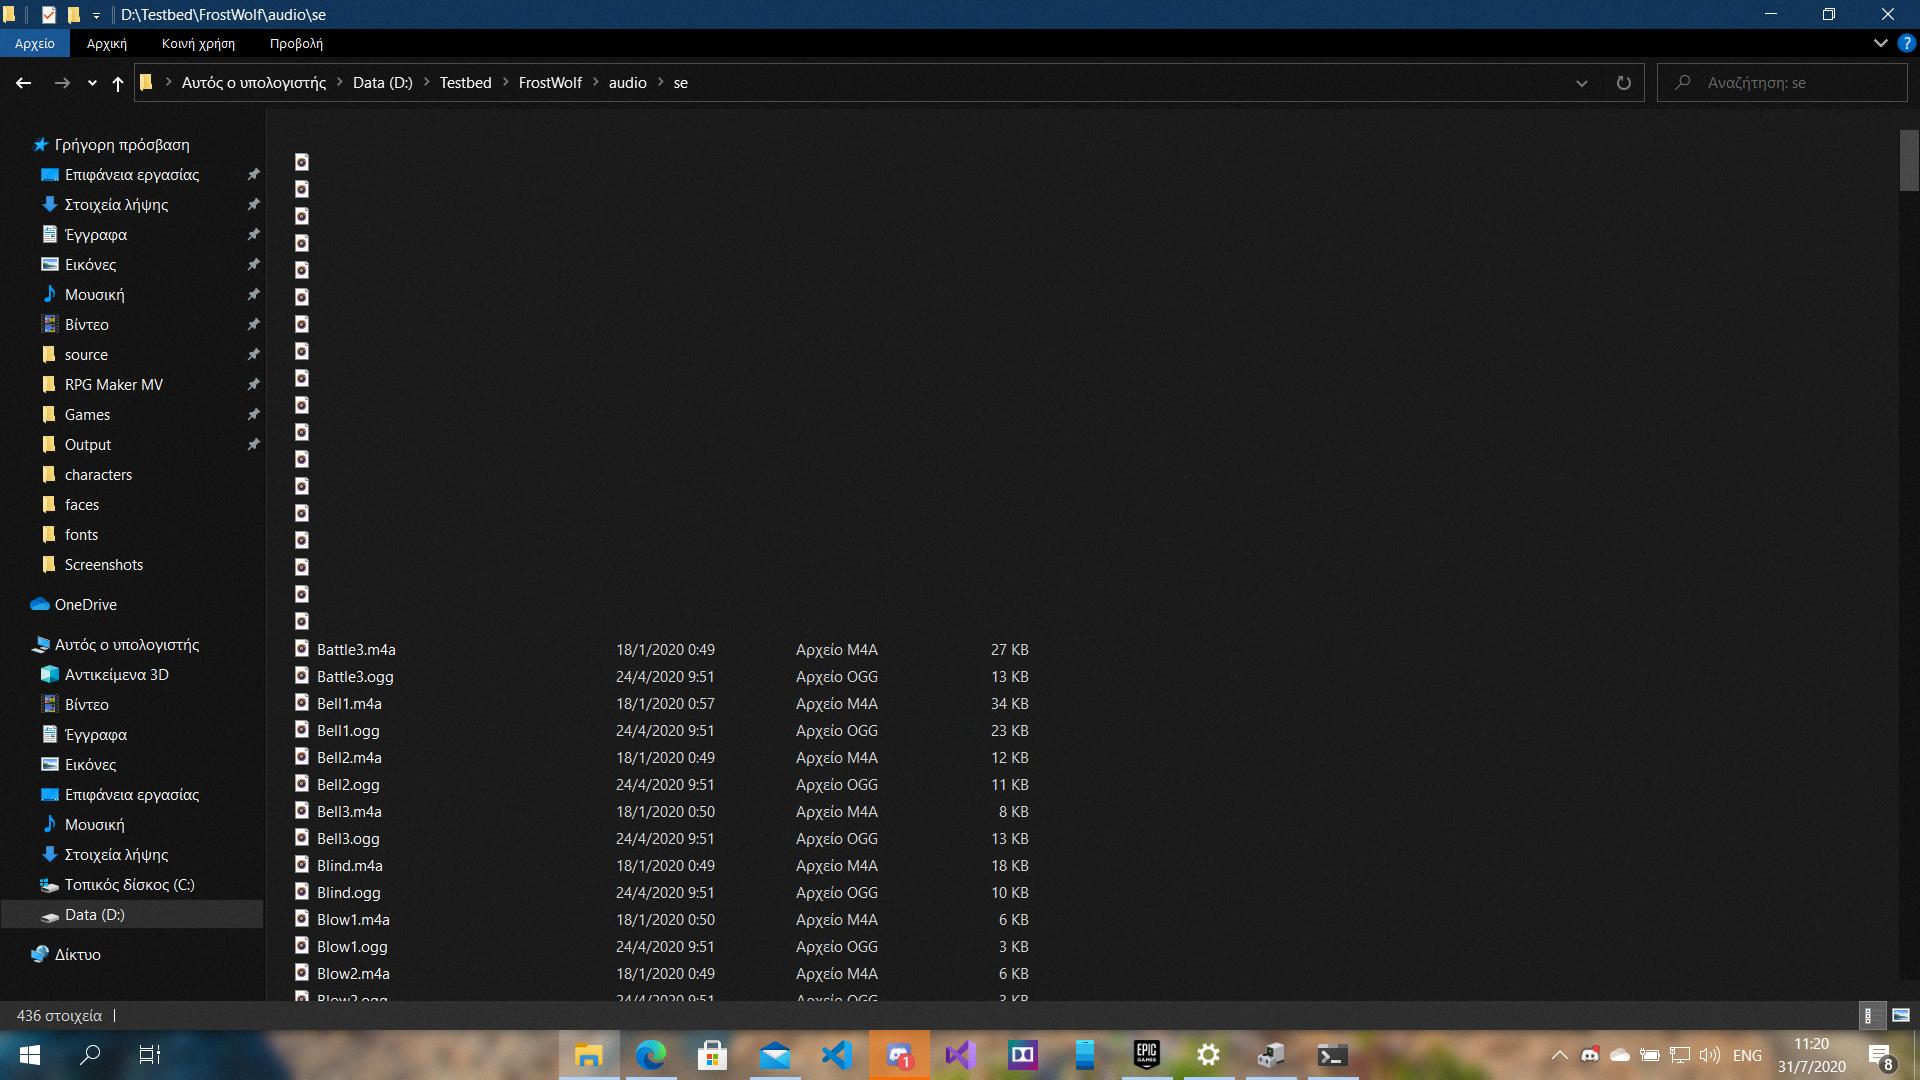
One possible reason for File Explorer’s sluggish behavior is the presence of too many files or folders in a particular directory. When there are a large number of files or folders, File Explorer may take longer to load and display them all. To address this issue, you can try organizing your files into subfolders or using search filters to quickly locate specific files. Additionally, it is recommended to regularly clean up unnecessary files and folders to improve File Explorer’s performance.
Another factor that can contribute to File Explorer’s slow response is the presence of corrupt or damaged system files. These files can cause conflicts and errors, leading to a decrease in performance. To fix this issue, you can run a System File Checker (SFC) scan, which scans for and repairs corrupted system files. To initiate an SFC scan, open Command Prompt as an administrator and type “sfc /scannow” without the quotes. Wait for the scan to complete and restart your computer.
In some cases, the indexing feature in File Explorer may also slow down its performance. Indexing is a process that helps speed up file searches by creating a catalog of file names, properties, and contents. However, if the indexing database becomes too large or corrupted, it can impact File Explorer’s responsiveness. To resolve this issue, you can check the Indexing Options in the Control Panel and exclude unnecessary folders from being indexed. Additionally, you can rebuild the index by going to Indexing Options > Advanced > Rebuild.
It is also worth mentioning that third-party shell extensions can sometimes interfere with File Explorer and cause it to slow down. Shell extensions are add-ons that provide additional functionality to File Explorer, such as context menu options or thumbnail previews. To troubleshoot this issue, you can use the ShellExView tool to disable or remove suspicious shell extensions. Be cautious while modifying shell extensions, as removing essential ones can cause system instability.
Lastly, File Explorer’s slow performance could be attributed to hardware issues, such as a slow hard drive or insufficient RAM. If your computer’s hardware is outdated or underpowered, it may struggle to handle the demands of File Explorer and other resource-intensive tasks. Consider upgrading your hardware components if you frequently experience slow performance in File Explorer.
File Explorer’s slow response can be caused by various factors, including an abundance of files, corrupt system files, indexing issues, problematic shell extensions, or hardware limitations. By implementing the solutions mentioned above, you can improve File Explorer’s performance and enjoy a smoother and more efficient file management experience in Windows 10.
How Do I Make File Explorer Run Faster?
To make File Explorer run faster in Windows 11, you can try the following methods:
1. Clear File Explorer History:
– Open File Explorer and click on the “View” tab.
– In the “Options” section, click on “Options.”
– In the “Privacy” tab, click on “Clear” next to “Clear File Explorer history.”
– Click “OK” to confirm.
2. Disable Quick Access:
– Open File Explorer and click on the “View” tab.
– In the “Show/hide” section, uncheck the option for “Quick Access.”
– This will prevent File Explorer from loading Quick Access every time it opens.
3. Optimize Folder Options:
– Open File Explorer and click on the “View” tab.
– In the “Options” section, click on “Options.”
– In the “General” tab, select “This PC” from the drop-down menu next to “Open File Explorer to.”
– Click “Apply” and then “OK” to save the changes.
4. Disable Automatic Folder Discovery:
– Open File Explorer and click on the “View” tab.
– In the “Options” section, click on “Options.”
– In the “General” tab, uncheck the option for “Show recently used files in Quick Access” and “Show frequently used folders in Quick Access.”
– Click “Apply” and then “OK” to save the changes.
5. Disable Thumbnail Previews:
– Open File Explorer and click on the “View” tab.
– In the “Layout” section, click on “Options.”
– In the “View” tab, check the option for “Always show icons, never thumbnails.”
– Click “Apply” and then “OK” to save the changes.
6. Disable Search Indexing:
– Open the “Indexing Options” by typing it into the Start menu search bar.
– Click on “Modify” and uncheck the drives you don’t want to be indexed.
– Click “OK” to save the changes.
7. Perform Disk Cleanup:
– Open File Explorer and right-click on the drive you want to clean up.
– Select “Properties” and click on the “Disk Cleanup” button.
– Check the boxes for the files you want to delete and click “OK” to proceed.
8. Update Windows and Drivers:
– Make sure your Windows 11 is up to date by going to Settings > Windows Update.
– Check for driver updates by going to Device Manager and right-clicking on each device to select “Update driver.”
9. Disable Third-Party Shell Extensions:
– Use a utility like ShellExView to identify and disable any third-party shell extensions that may be causing File Explorer to slow down.
Note: Before making any changes, it’s recommended to create a system restore point or backup your important files to avoid any potential issues.
By following these steps, you should be able to optimize File Explorer’s performance and make it run faster in Windows 11.

How Do I Fix File Explorer Loading?
To fix File Explorer loading issues in Windows 10, you can try the following solutions:
1. Restart File Explorer in Task Manager:
– Press Ctrl + Shift + Esc to open Task Manager.
– In the Processes or Details tab, locate “Windows Explorer” or “explorer.exe”.
– Right-click on it and select Restart.
2. Manually restart the Explorer.exe process via Command Prompt:
– Press Win + X and select Command Prompt (Admin) or Windows PowerShell (Admin).
– Type “taskkill /f /im explorer.exe” and press Enter.
– Then type “start explorer.exe” and press Enter.
3. Run a System File Checker scan:
– Open Command Prompt as an administrator.
– Type “sfc /scannow” and press Enter.
– Wait for the scan to complete and follow any instructions if issues are found.
4. Clear File Explorer history:
– Open File Explorer and click on the “View” tab.
– Click on the “Options” button and select “Change folder and search options”.
– In the Folder Options window, go to the General tab.
– Under the Privacy section, click on the “Clear” button next to “Clear File Explorer history”.
5. Change display settings:
– Right-click on the desktop and select Display Settings.
– Try changing the resolution or scaling settings to see if it resolves the issue.
6. Extend system partition if it is full:
– Press Win + X and select Disk Management.
– Right-click on the system partition (usually C:) and select Extend Volume.
– Follow the instructions in the Extend Volume Wizard to extend the partition size.
7. Create a new user account:
– Press Win + I to open Settings.
– Go to Accounts and select Family & other users.
– Under Other users, click on “Add someone else to this PC”.
– Follow the instructions to create a new user account.
– Log in with the new account and see if File Explorer works correctly.
If none of these solutions work, you may need to consider performing a system repair or seeking further assistance from Microsoft support or a technical professional.
How Do I Quickly Open File Explorer?
To quickly open File Explorer in Windows 10, there are several methods you can try:
1. Click on the File Explorer icon: Look for the File Explorer icon on your taskbar, which looks like a yellow folder. Simply click on it to open File Explorer.
2. Use the Start menu: Click on the Start button located at the bottom-left corner of your screen. In the search bar, type “File Explorer” and click on the result that appears.
3. Use the keyboard shortcut: Press the Windows logo key + E on your keyboard. This will instantly open File Explorer.
4. Use the Run dialog box: Press the Windows logo key + R on your keyboard to open the Run dialog box. Then, type “explorer” and press Enter. This will open File Explorer.
5. Pin File Explorer to the taskbar: Right-click on the File Explorer icon in your taskbar. From the context menu, select “Pin to taskbar.” Now, you can simply click on the pinned icon to open File Explorer quickly.
Remember, File Explorer is a powerful tool that allows you to navigate through your files and folders on your computer. By using these quick methods, you can access File Explorer more efficiently and save time in your daily tasks.
Conclusion
File Explorer is an essential tool for navigating and managing files and folders in Windows 11. However, it is not uncommon for users to encounter issues with File Explorer, such as slow response times or freezing.
To troubleshoot these problems, there are several methods you can try. One option is to create a new File Explorer shortcut, as the existing one may be corrupted. Additionally, checking the Indexing Options and disabling indexing for drives can help improve performance. Rebuilding the index can also resolve any indexing-related issues.
Performing an SFC scan can help identify and repair any corrupted system files that may be causing problems with File Explorer. If necessary, removing or repairing these files may be necessary.
In some cases, restarting File Explorer through Task Manager or the command prompt can resolve issues. Clearing File Explorer history and adjusting display settings may also help improve performance.
If all else fails, creating a new user account can help determine if the problem is specific to your user profile.
Troubleshooting File Explorer issues may require a combination of these methods. It’s important to remember that every situation is unique, and what works for one person may not work for another. However, by following these troubleshooting steps, you should be able to resolve most common File Explorer problems and improve its performance in Windows 11.


