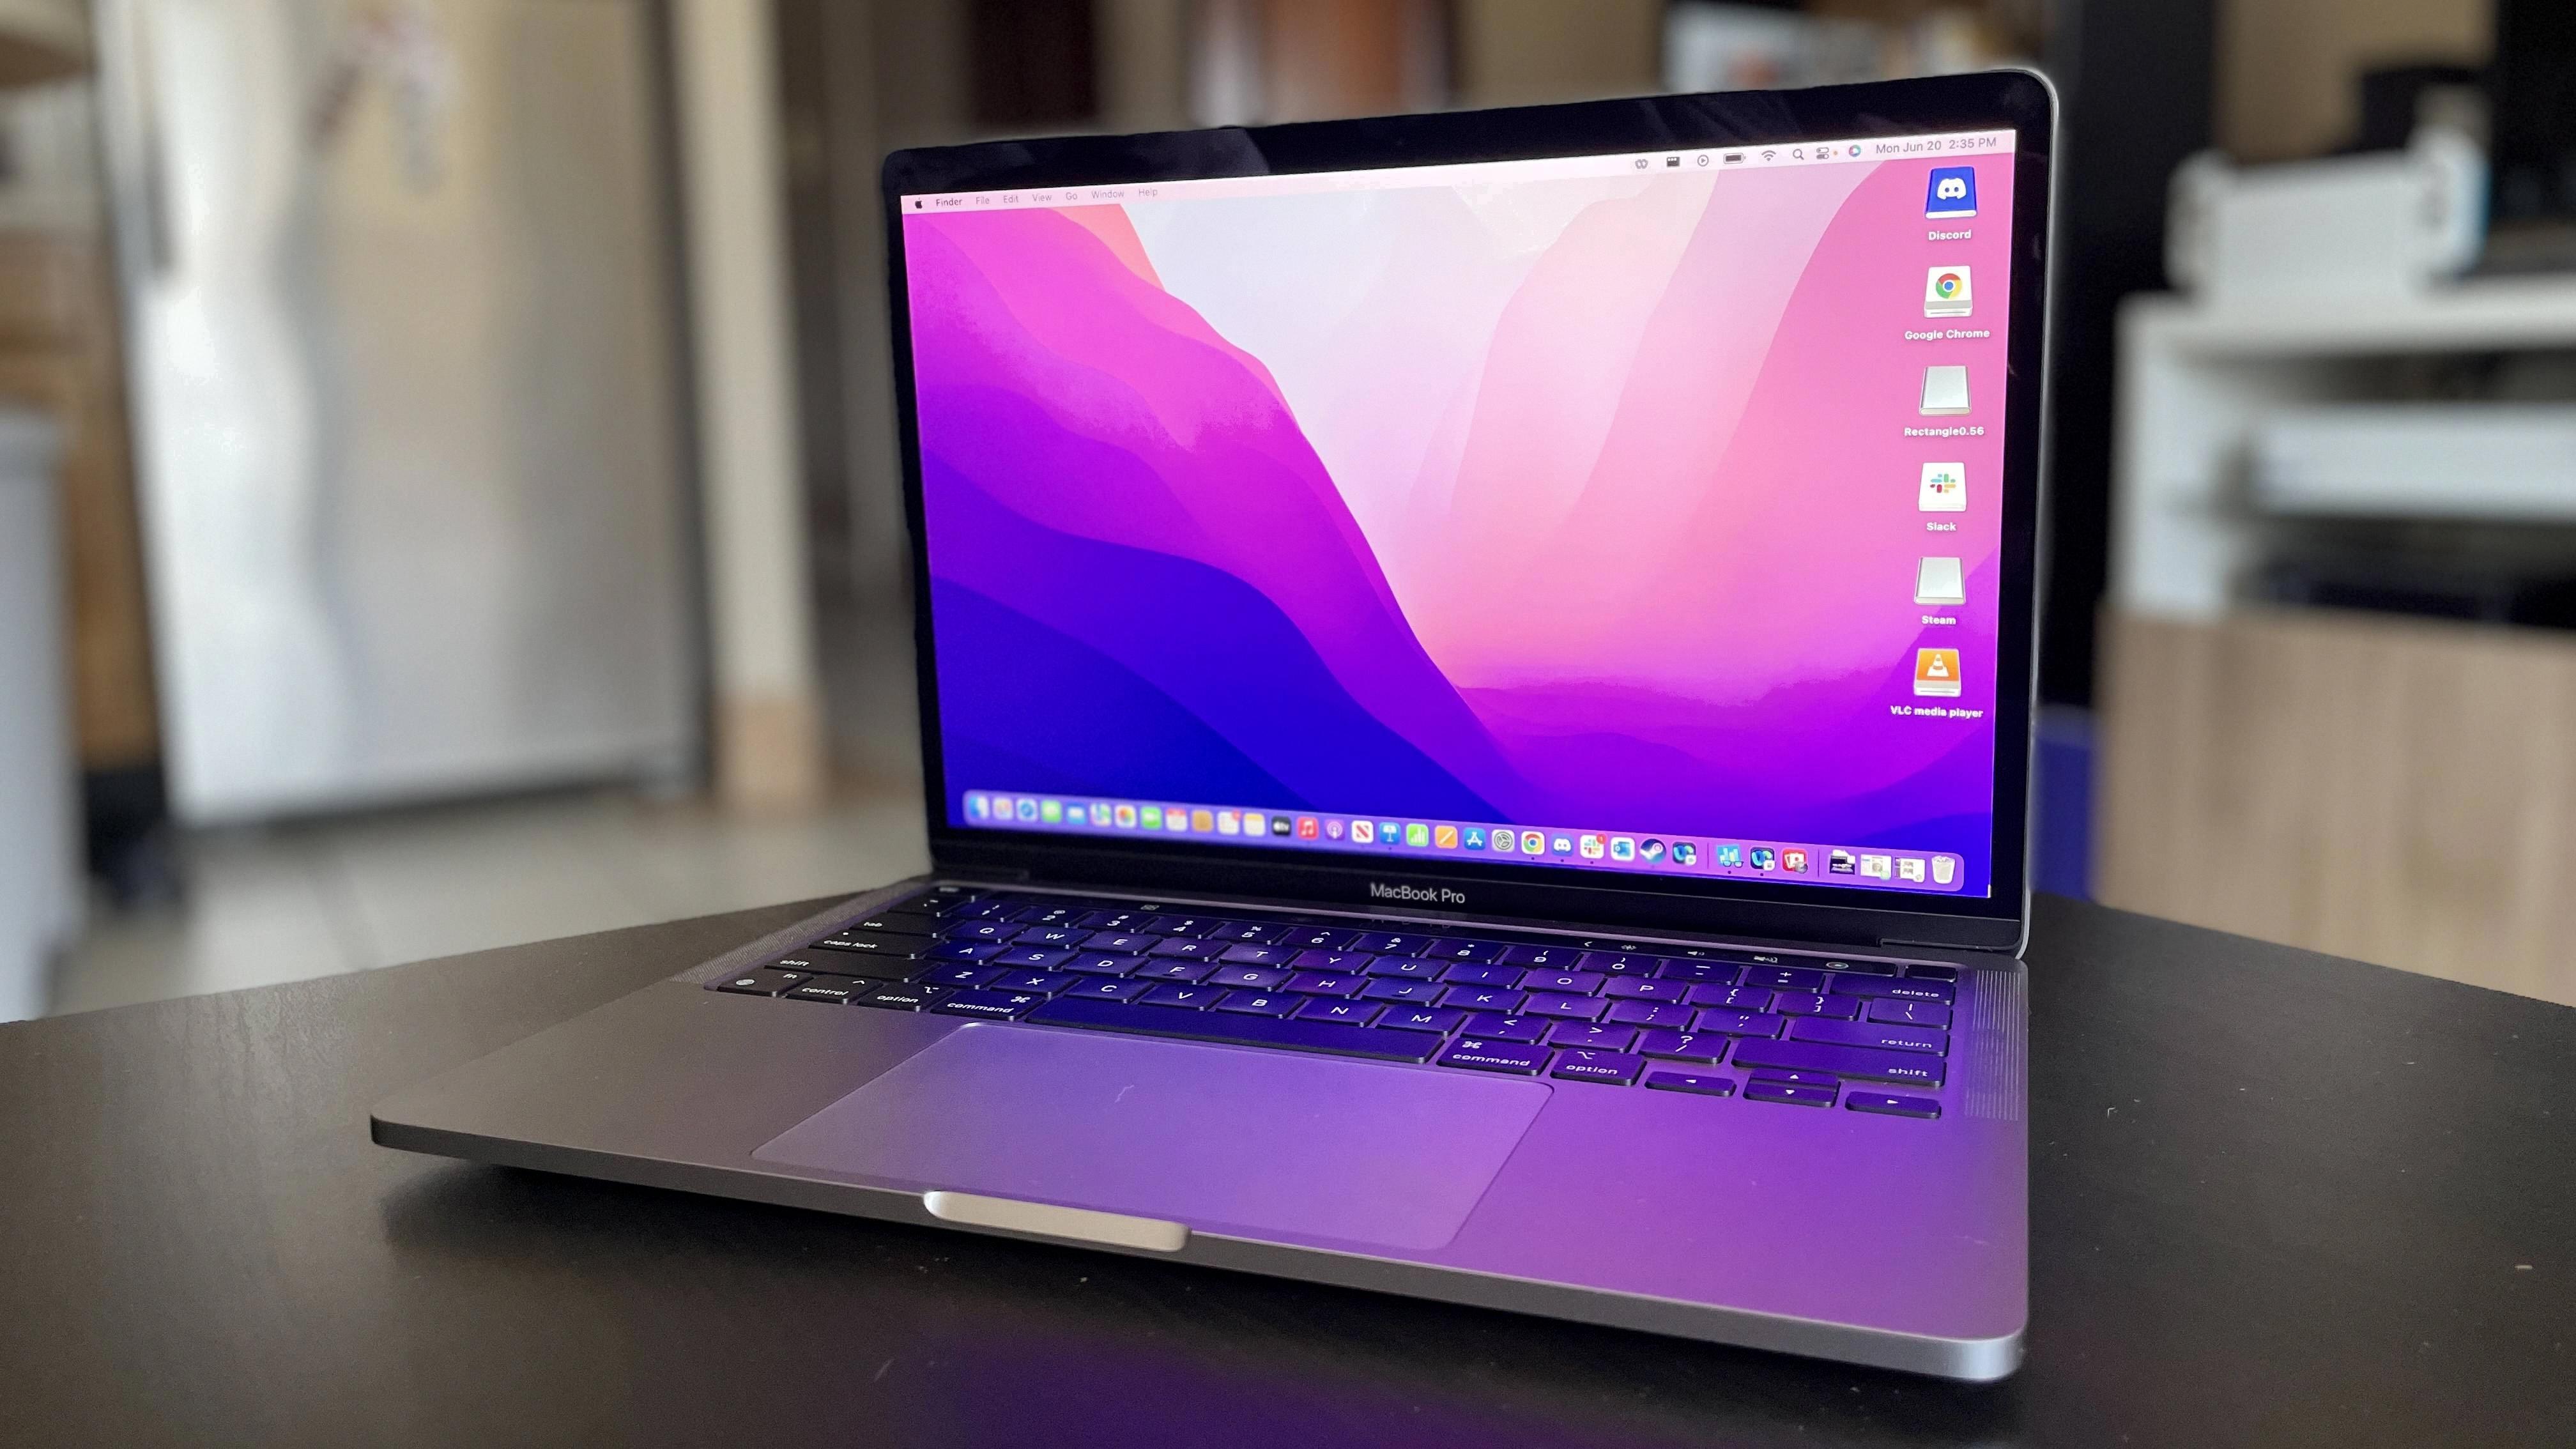
Are you planning on transferring your Macbook Pro to a new owner? The process of transferring a Macbook Pro can be daunting, but it doesn’t have to be! With a few simple steps, you can easily transfer your Macbook Pro and all its associated data and files to the new owner.
Before starting the transfer process, there are a few important things to do. First, make sure you have the AppleCare agreement number, the serial number of the device, and proof of coverage for the AppleCare plan. It is also helpful to have the original sales receipt for the device. Finally, get the new owner’s name, address, email address, and phone number.
Once you have all of this information ready, it is time to start transferring your Macbook Pro. The first step is to sign in to My Support on Apple’s website in order to get access to the AppleCare agreement number, serial number, and proof of coverage for the AppleCare plan. Once that is done, open System Preferences on your Macbook Pro and select Users & Groups from within System Preferences. From here you can add a user account for the new owner or delete an existing one if necessary.
Next up is transferring all your data and files from your Macbook Pro onto an external hard drive or USB drive so that they can be transferred to the new owner’s computer as well. To do this go into Finder > File > Export Items > Save As > Name Your File (e.g., “MyMacBookPro Data Transfer”). This will save all of your data onto an external hard drive or USB drive which can then be given or sent to the new owner so they can import it into their own computer easily and quickly.
Finally, make sure that you securely erase all of your personal data from your Macbook Pro before handing it over or sending it off with its new owner. To do this go into Finder > Applications > Utilities > Disk Utility > Erase tab and securely erase all data from your hard drive using either 7-pass secure erasure or 35-pass secure erasure depending on what security level you would like for your personal data removed from your Macbook Pro before handing it off or sending it away with its new owner.
By following these steps closely you should be able to successfully transfer ownership of your Macbook Pro without any problems!
Removing the Previous Owner from MacBook Pro
To remove the previous owner from your MacBook Pro, you will need to delete the user account associated with that person. To do this, first open System Preferences by clicking on the Apple menu and then selecting System Preferences. Next, click on Users & Groups in the sidebar. You may need to scroll down to find it. Then click on the Info button next to the user account you want to delete and select Delete Account. Finally, confirm by clicking Delete Account again and entering your administrator name and password when prompted. This should successfully remove the previous owner from your MacBook Pro.

Source: cnn.com
Transferring Ownership of an Apple Product
Transferring ownership of an Apple product is a simple process. First, you will need to sign in to My Support to get the AppleCare agreement number, the serial number of the device, and the proof of coverage for the AppleCare plan. Next, you will need to find the original sales receipt for the device. Lastly, you will need to get the new owner’s name, address, email address, and phone number. Once this information has been gathered, contact Apple Support with all of this information and they will be able to assist you in transferring ownership of your product.
Removing a Previous Owner’s Apple ID
In order to remove a previous owner’s Apple ID from a device, you will need to sign in to iCloud.com with their Apple ID. Once you are signed into their account, go to Find My iPhone and click All Devices at the top of the screen. Select the device that you want to remove from iCloud and click Erase [device]. Finally, click Remove from Account which will fully remove the device from the previous owner’s Apple ID.
Factory Resetting a MacBook Pro
To factory reset your MacBook Pro, you’ll need to open the System Settings. From the Apple menu? in the corner of your screen, choose System Settings. In the sidebar, click General. On the right side of the window, click Transfer or Reset. Select Erase All Content and Settings from the list of options. This will erase all of your data and return your MacBook Pro to its original factory settings.


