Are you seeing red lines across your Macbook Pro screen? This is, unfortunately, a common issue among Macbook Pro users, and can be caused by a variety of different issues. In this blog post, we’ll explain what’s causing these red lines, how to fix them, and how to prevent them from occurring in the future.
The most common cause of red lines on a Macbook Pro screen is an issue with the display. If the temperature in the room you’re in is too high or you hear Mac’s fans blowing hard, shut it down and let it cool for a while before booting it back up. Additionally, if you recently connected a new display or other accessories to your computer, make sure all connections are properly secured.
In some cases, resetting your Mac’s NVRAM or SMC can help fix the issue as well. To reset NVRAM or SMC, you should shut down your Macbook Pro and then hold down the keys Command + Option + P + R for 20 seconds until you hear two startup chimes.
If the problem persists, it may be time to replace the display assembly itself. The red line and gray/black edge are signs of a damaged T-CON board which is the circuit board connected by ribbon cables and the rest of the display assembly. Replacing this part will fix most cases of red lines on your Macbook Pro screen.
Finally, there are some other steps you can take to prevent red lines from appearing again in the future. Make sure your laptop isn’t overheating – if it gets too hot during extended use, turn it off and let it cool down before using it again. Additionally, if possible lower your display resolution settings so that the graphics card doesn’t have to work as hard (which often causes overheating). Finally, make sure all connections between external displays or accessories are properly secured so they don’t become loose after extended use.
If you’re seeing red lines across your Macbook Pro screen then we hope this article has been helpful! By following the steps above you should be able to get rid of those annoying red lines and get back to work without any distractions!
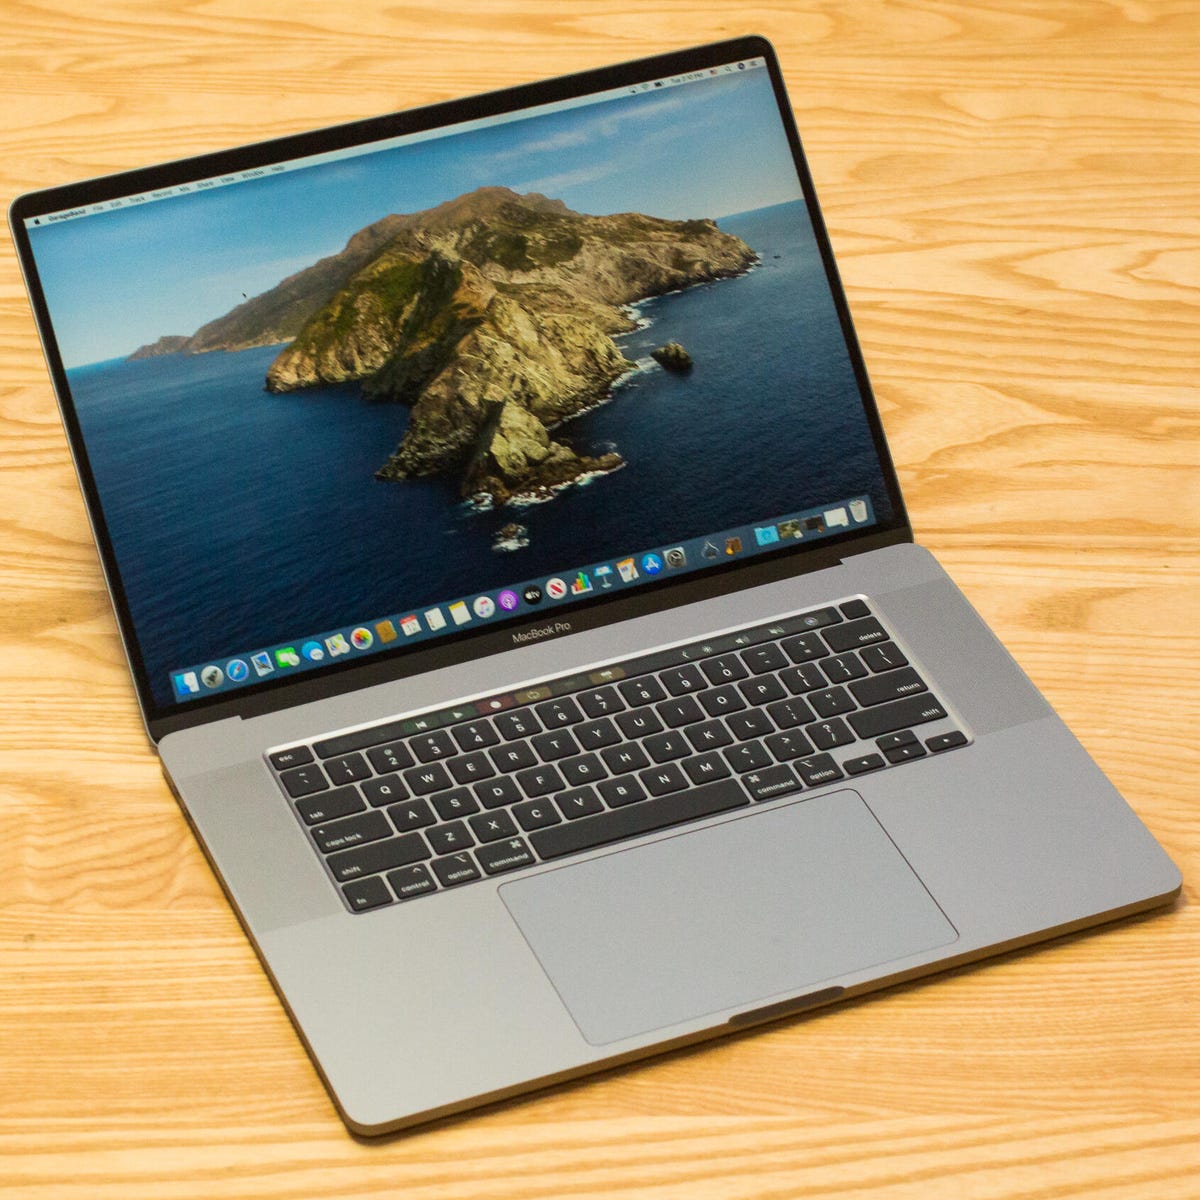
Fixing the Red Line on a MacBook Pro
If you are experiencing red lines on your MacBook Pro screen, there are a few steps you can take to try and fix the issue. First, try cooling down your device. If the temperature in the room is too high or your Mac’s fans are blowing hard, shut it down and let it cool for a while before booting it back up. Secondly, run any maintenance scripts that you may have to ensure that all of your software is up-to-date. Thirdly, check the connections between your monitor and computer to make sure everything is secure. If this doesn’t work, try using a different display with your Mac to see if that helps resolve the issue. Finally, if none of these steps work, resetting the System Management Controller (SMC) on your MacBook Pro might help as this helps reset all power functions on the device.
Investigating the Cause of Red Lines on a MacBook
The red lines on your MacBook are likely caused by a damaged T-CON board, which is the circuit board connected to the display via ribbon cables. The T-CON board is responsible for controlling the image display and any damage to it can result in a distorted or discolored image, including red lines. In order to correct this issue, the T-CON board will need to be replaced with a new one.
Fixing Colored Lines on a Mac Screen
Colored lines on your Mac screen may be caused by a variety of issues, such as a defective display cable, a graphics card driver issue, or a faulty graphics processing unit (GPU). Here are some steps you can take to try and fix the issue:
1. Reset the NVRAM and SMC on your Mac, which will reset the system management controller and non-volatile RAM. To do this, turn off your computer and press and hold the following keys: Option + Command + P + R for about 20 seconds.
2. Cool down your Mac by placing it in front of a fan or in an air-conditioned environment for at least 30 minutes.
3. Change the angle of your Mac’s display to different positions to see if the lines disappear when viewing from different angles.
4. Wake up your Mac from sleep mode if it is currently sleeping, as this could help reset any temporary issues with graphical output that may be causing the colored lines on your screen.
5. Make sure that all drivers related to your GPU are up-to-date by using Apple’s software update tool or downloading drivers directly from the manufacturer of your GPU model.
6. Lower the resolution of your Mac’s display—if you are already running at a lower resolution but still have colored lines on the screen, try switching to a higher resolution setting instead to see if it helps fix the problem.
7. Switch from HDMI/DVI cable to DisplayPort (or vice versa) as some older cables may not support high resolutions properly and can cause graphical artifacts like colored lines onscreen.
8. Enable color filters in System Preferences > Accessibility > Display > Color Filters—this might help reduce any artifacts caused by video feed processing algorithms used within macOS itself that could be causing colored lines onscreen when viewing certain colors or shades of grey/black/white colors in particular applications or video games etc..
Removing Lines from a MacBook Screen
If you are experiencing flickering or strobing lines on your MacBook screen, the best solution is to shut down the laptop and let it cool for a few hours. This may completely remove the lines, as this issue tends to increase over time when the laptop is used intensively for long periods of time. If this doesn’t work, you may need to contact Apple Support for further assistance.
Removing Pink Lines from a Mac
If you are seeing pink lines on your Mac, there are several steps you can take to try and address the issue. First, try restarting your Mac (by pressing the Apple logo and then selecting ‘Restart’). If that does not resolve the issue, then you may need to reset the System Management Controller (SMC) of your Mac. To do this, shut down your computer and then press and hold the left-side Shift-Control-Option keys along with the power button for 10 seconds, then release all keys simultaneously. Additionally, you may need to reset the NVRAM of your Mac by shutting down your computer and then pressing and holding Command-Option-P-R for 20 seconds before releasing all keys simultaneously. If these steps do not resolve the issue, try connecting your Mac to an external monitor as this may help identify any hardware issues that are causing it.
Conclusion
In conclusion, the Macbook Pro screen is a very reliable product. However, sometimes the screen may appear to have lines or flickering if it has been used for long hours. If this occurs, it is recommended that the laptop be powered off and allowed to cool for a few hours. Additionally, resetting the NVRAM and SMC can also help resolve any issues with the display. There are also other methods such as lowering the resolution or switching to DisplayPort that can be used to reduce the likelihood of lines appearing on the screen. All in all, with proper care and maintenance, users can enjoy a smooth display experience with their Macbook Pro.

