In this article, we will delve into the process of restoring an iPhone using macOS Big Sur. Whether you’re experiencing software issues, want to start fresh, or simply need to transfer your data to a new device, restoring your iPhone to its factory settings can be a useful solution. We will guide you step-by-step through the process, ensuring a seamless experience.
To begin, make sure your iPhone is connected to your Mac using a lightning cable. Open Finder on your Mac, and you should see your device listed in the sidebar. Click on the device to select it.
Once your device is selected, click on the “General” tab in the button bar. Here, you will find various options related to your device’s settings. Look for and click on the “Restore Backup” button. This will initiate the restoration process.
A pop-up menu will appear, displaying the available backups. Choose the backup you want to restore to your device. It’s important to select the correct backup that contains the data you want to restore. Once you’ve made your selection, click on the “Restore” button.
The restoration process will now begin, and it may take some time depending on the size of the backup and the speed of your Mac. It’s crucial to keep your device connected throughout the entire process to ensure a successful restoration.
While your iPhone is being restored, it’s important not to disconnect it or interrupt the process. Doing so may result in data loss or other issues. Stay patient and let the restoration complete.
Once the restoration is finished, your iPhone will restart, and you’ll be prompted to set it up as a new device or restore from a backup. If you chose to restore from a backup, follow the on-screen instructions to complete the setup process.
If you encounter any issues during the restoration process or need further assistance, you can refer to Apple’s support documentation or reach out to their customer support for personalized guidance.
Restoring your iPhone using macOS Big Sur is a straightforward process that can help resolve various software-related issues or transfer data between devices. By following the steps outlined in this article, you can ensure a successful restoration and get your iPhone back to its optimal state.
How Do You Restore Your iPhone to Your Mac Big Sur?
To restore your iPhone to your Mac running Big Sur, follow these step-by-step instructions:
1. Connect your iPhone to your Mac using a USB cable.
2. On your Mac, open Finder. You can do this by clicking on the Finder icon in the dock or by clicking on the desktop and selecting “Go” from the menu bar, then choosing “Utilities” and clicking on “Finder”.
3. In the Finder sidebar, you will see a list of devices. Select your iPhone from the list.
4. Once your iPhone is selected, click on the “General” tab in the top toolbar of Finder.
5. In the General tab, you will see various options related to your iPhone. Look for the “Restore Backup” button and click on it.
6. A pop-up window will appear, showing a list of available backups. Choose the backup you want to restore to your iPhone.
7. After selecting the backup, click on the “Restore” button.
8. The restore process will begin, and your iPhone will be restored to the selected backup. This may take some time depending on the size of the backup and the speed of your Mac.
9. Make sure to keep your iPhone connected to your Mac until the restore process is complete.
Important notes:
– Restoring your iPhone from a backup will erase all the existing data on your iPhone and replace it with the data from the selected backup. Therefore, it is vital to have a recent backup to avoid losing any important data.
– It’s recommended to have the latest version of macOS Big Sur installed on your Mac for a smooth restore process.
– Ensure that your Mac has enough free space to accommodate the backup size and any additional data that will be restored.
– During the restore process, your iPhone may restart multiple times. Do not disconnect it from your Mac until the restore is finished.
By following these steps, you should be able to restore your iPhone to your Mac running Big Sur successfully.
How Do You Restore Your iPhone to Factory Settings On Your Mac?
To restore your iPhone to factory settings on your Mac running macOS Catalina or later, follow these steps:
1. Open the Finder on your Mac.
2. Connect your iPhone to your computer using a USB cable.
3. If prompted, enter your device passcode on the iPhone and select “Trust This Computer” to establish a connection.
4. Once your iPhone is connected, it should appear in the Finder window.
5. Click on your iPhone’s name to select it.
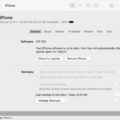
6. In the Summary tab, you will see an option labeled “Restore [device].”
7. Click on the “Restore [device]” button.
8. A dialog box will appear asking if you want to back up your iPhone before restoring. If you want to create a backup, select the “Back up” option; otherwise, choose “Don’t Back Up.” Keep in mind that restoring to factory settings erases all data on your iPhone.
9. Click on the “Restore” button to confirm your choice.
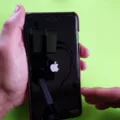
10. The restoration process will now begin, and your iPhone’s screen will display the Apple logo with a progress bar. Do not disconnect your iPhone during this process.
11. After the restoration is complete, your iPhone will restart and display the “Hello” screen, indicating that it has been restored to factory settings.
12. Follow the onscreen instructions on your iPhone to set it up as a new device or restore it from a backup.
By following these steps, you can easily restore your iPhone to its original factory settings using your Mac.
How Do You Restore Your iPhone On Monterey?
To restore your iPhone on macOS Monterey, follow these steps:
1. Connect your iPhone to your Mac using a Lightning cable.
2. Launch Finder on your Mac. You can do this by clicking on the Finder icon located in the Dock or by searching for “Finder” using Spotlight.
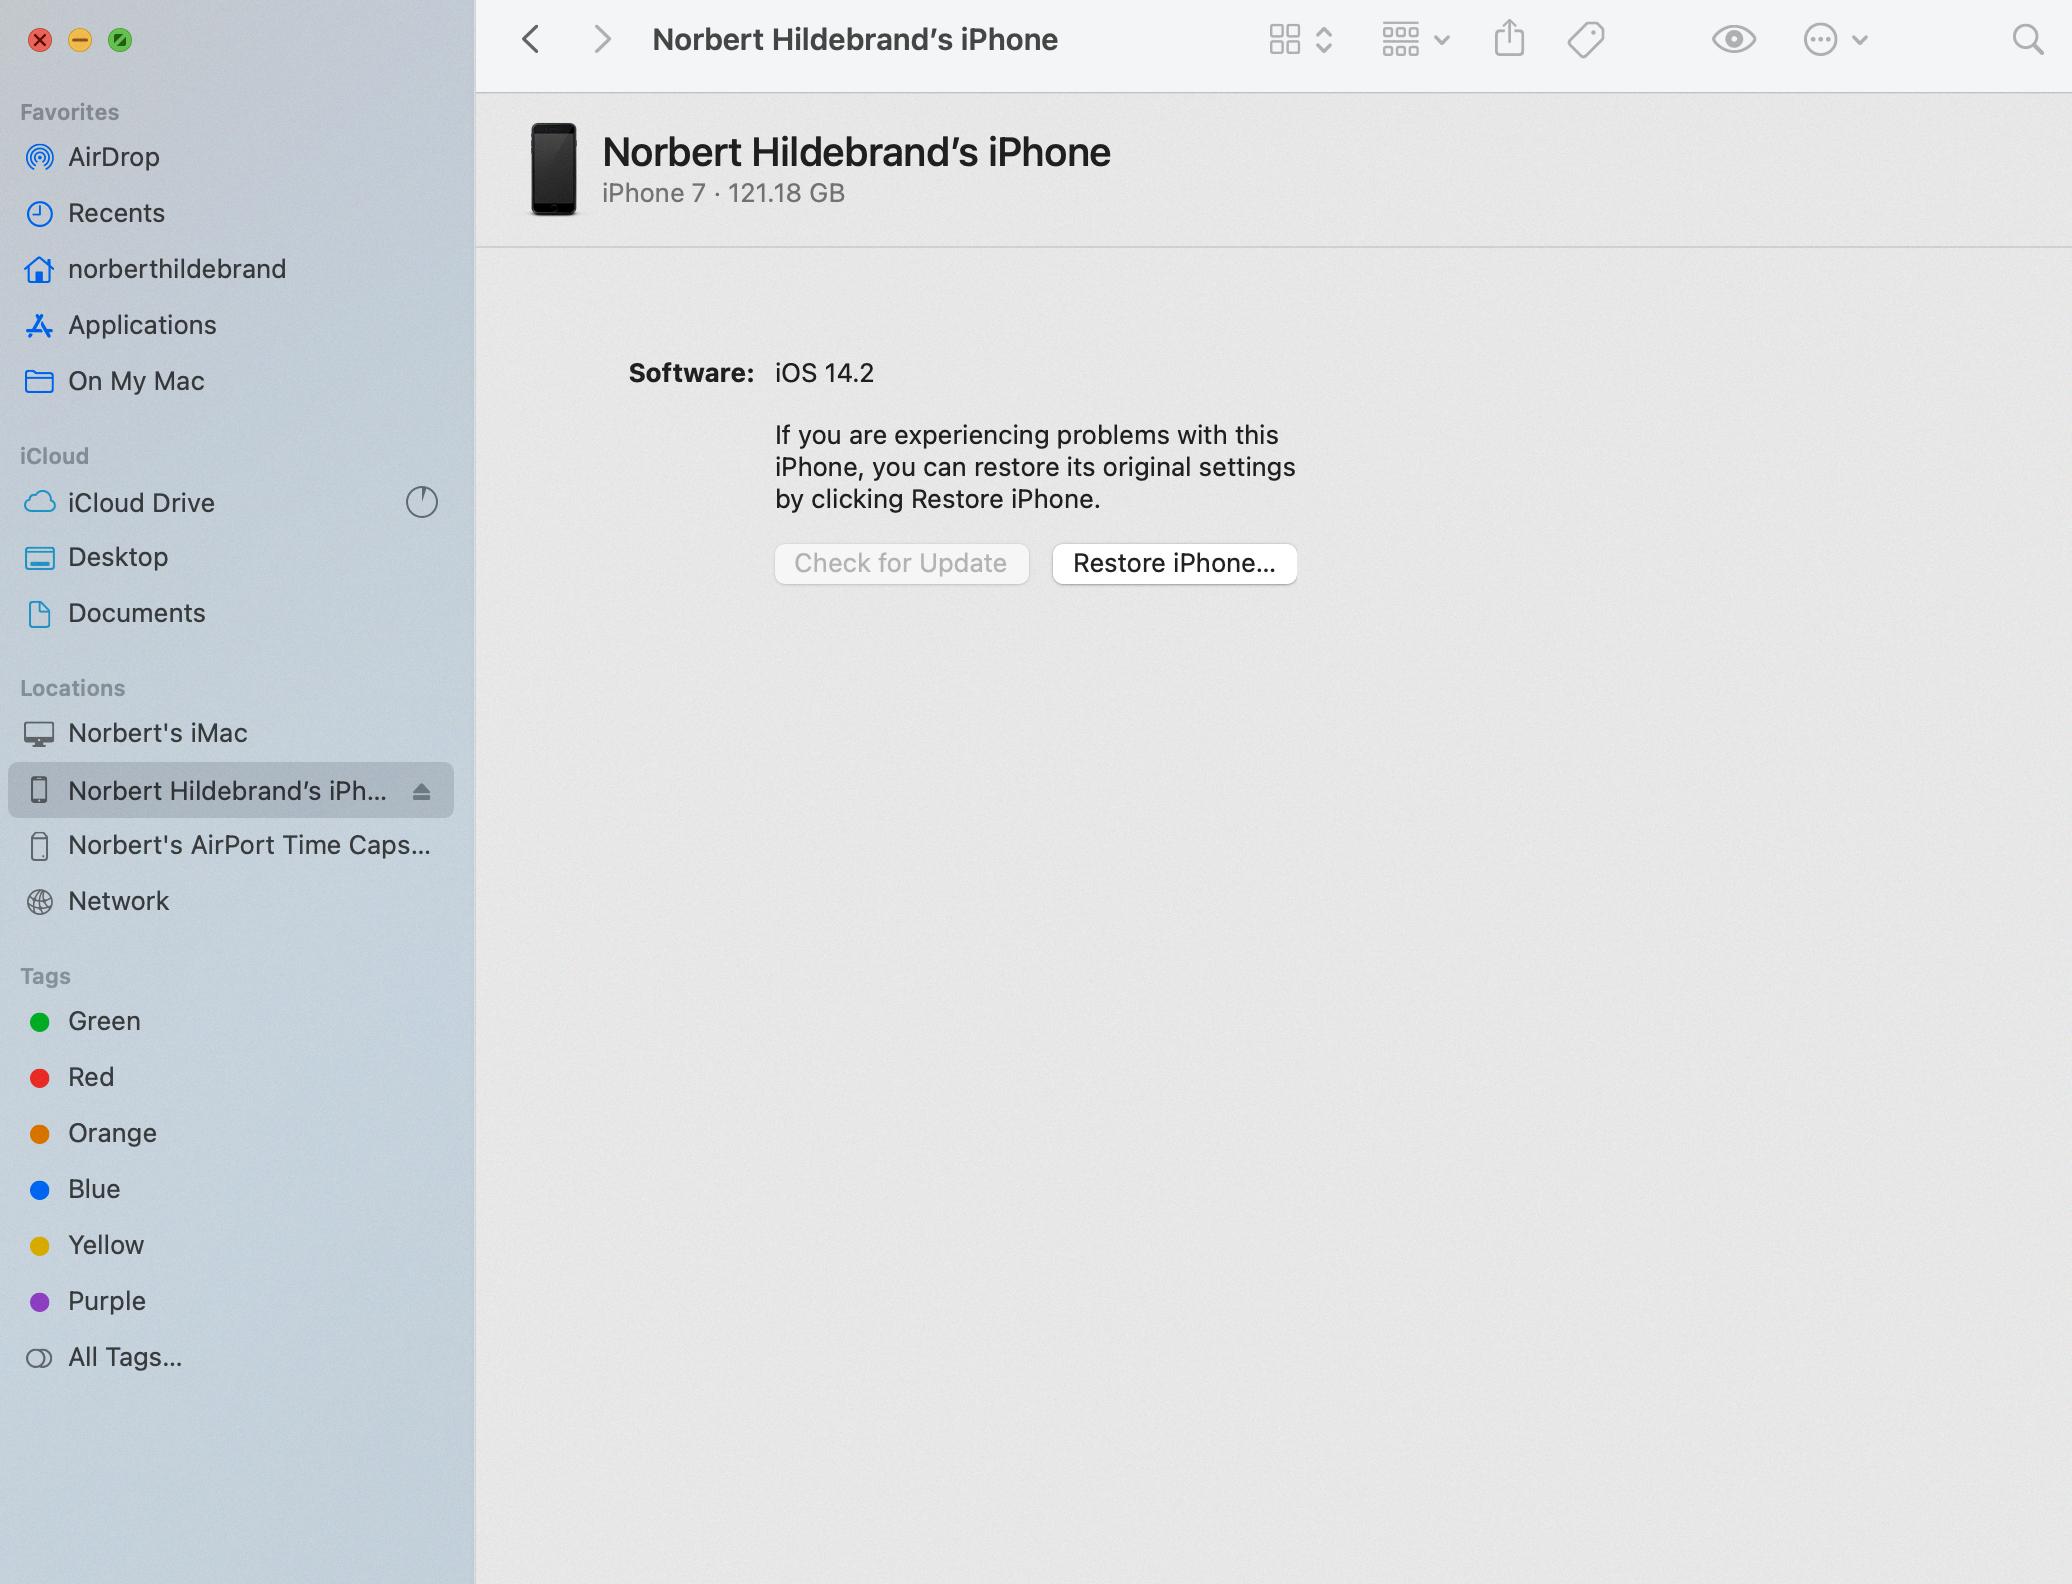
3. In Finder, you will see your connected iPhone listed under the Locations section in the sidebar. Click on your device name to select it.
4. Once your iPhone is selected, you will see various options and information about your device displayed in the main Finder window.
5. Look for the “General” tab in the top navigation menu and click on it.
6. In the General tab, you will find a button labeled “Restore iPhone.” Click on this button to initiate the restoration process.
7. A pop-up window will appear, asking you to confirm the restoration. Read the information carefully and make sure you have a recent backup of your iPhone data, as restoring your device will erase all its contents.
8. If you have a backup, click on the “Restore” button in the pop-up window. If you don’t have a backup, consider creating one before proceeding.
9. Your Mac will now download the latest version of iOS or iPadOS (depending on your device) and restore your iPhone to its factory settings.
10. Follow the on-screen instructions to complete the restoration process. You may be prompted to enter your Apple ID and password, as well as set up your device as new or restore from a backup.
11. Once the restoration is complete, your iPhone will restart, and you can begin setting it up as desired.
It’s important to note that restoring your iPhone will erase all data and settings on your device. Therefore, it’s crucial to have a backup of your important data before proceeding with the restoration process.
Where is Your iPhone Backup Stored On Your Mac Big Sur?
The iPhone backups on your Mac running Big Sur are typically stored in a specific folder. To locate this folder, follow these steps:
1. Click on the magnifying glass icon located in the menu bar at the top of your screen. This will open Spotlight Search.
2. In the Spotlight Search bar, type or copy and paste the following directory path: ~/Library/Application Support/MobileSync/Backup/
3. Press Enter or click on the “Library” folder that appears in the search results. This will open the Backup folder containing your iPhone backups.
Alternatively, you can navigate to the Backup folder manually by following these steps:
1. Open a new Finder window by clicking on the Finder icon in the Dock or by selecting File > New Finder Window from the menu bar.
2. In the menu bar at the top of your screen, click on the “Go” option and then select “Go to Folder…” from the dropdown menu.
3. A small window will appear. In the text field, enter the following directory path: ~/Library/Application Support/MobileSync/Backup/
4. Click on the “Go” button or press Enter. This will take you directly to the Backup folder on your Mac.
Once you are inside the Backup folder, you will see a list of folders with unique names, each representing a different iPhone backup. These folders contain the backup data for your respective devices.
It’s important to note that the tilde (~) symbol in the directory path represents your Mac’s home folder. So, the full path starting with the tilde (~) will automatically adjust based on the username of your Mac.
Conclusion
Restoring an iPhone using macOS Big Sur is a straightforward process that can be done through the Finder. Whether you want to restore your device from a backup or perform a factory reset, the steps are easy to follow.
To restore your device from a backup, simply connect your iPhone to your Mac and open the Finder. From there, select your device in the sidebar and click on the “General” tab. Then, choose the “Restore Backup” option and select the backup you want to restore from the dropdown menu. Click “Restore” and let the process complete.
If you prefer to restore your device to factory settings, the steps are similar. Connect your iPhone to your Mac, open the Finder, and select your device. Then, click on the “Restore iPhone” option and confirm your decision. This will erase all data and settings on your device, returning it to its original state.
In both cases, it’s important to have a backup of your device before proceeding with the restore to ensure you don’t lose any important data. You can find a list of your backups by clicking on the magnifier in the menu bar and typing or pasting “~/Library/Application Support/MobileSync/Backup/” in the search bar. This will display the Backup folder where your backups are stored.
Restoring an iPhone using macOS Big Sur is a simple and effective way to solve various issues or start fresh with your device. Just make sure to follow the instructions carefully and have a backup in case anything goes wrong.

