Installing npm on macOS is a breeze thanks to the Homebrew package manager. Homebrew allows you to quickly and easily install npm packages without having to worry about complicated configuration steps or command line options. In this tutorial, we’ll walk through how to install npm on macOS using Homebrew.
Before getting started, make sure that you have Homebrew installed on your system. If not, you can get it from the official website or if you’re feeling adventurous, you can use the command line:
/usr/bin/ruby -e “$(curl -fsSL https://raw.githubusercontent.com/Homebrew/install/master/install)”
Once installed, open up your Terminal window and enter the following command:
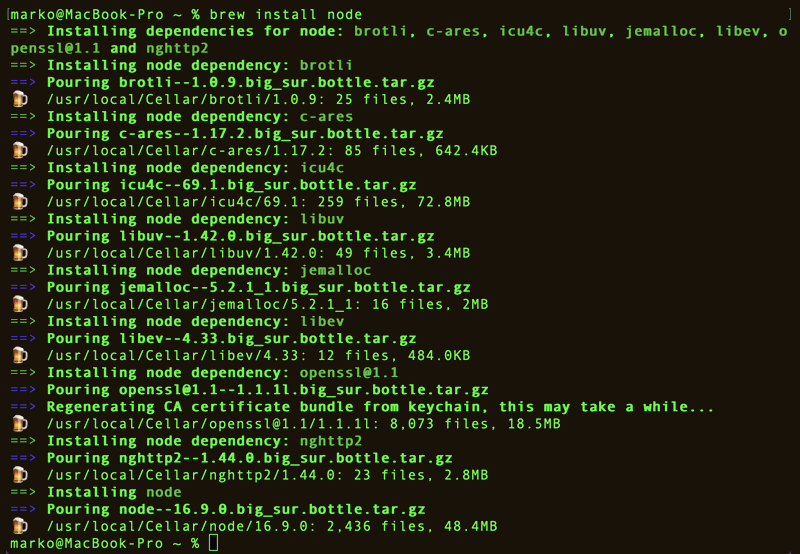
brew install node
This will install both Node.js and npm on your system. Once completed, you can check to see if they are properly installed by entering one of the following commands:
node –version
npm –version
This should return information about the version of Node and npm that is installed on your system. If successful, you’re all set! You can now use npm to manage packages for your projects.
If for some reason the installation fails or if you want to upgrade an existing version of Node and npm, simply run the same command again with an additional parameter: brew upgrade node. This will upgrade Node and any associated packages (such as npm).
That’s all there is to it! Installing npm on macOS is easy thanks to the Homebrew package manager. Now that everything is set up, you can start using Node and npm in your projects right away!
Does NPM Install Work on Mac?
Yes, NPM can be installed on Mac. To install NPM on a Mac, you’ll need to have the latest version of Node.js installed. Once Node.js is installed, open up the Terminal application and use the command ‘npm install’ to install NPM on your machine. After the installation is complete, you should be able to use NPM to manage packages and dependencies for your projects.
Installing Node on MacOS
Installing Node.js on a macOS computer is a straightforward process that can be completed in a few simple steps. First, go to the Node.js Downloads page and select the version of Node.js that you would like to install. Once the download is complete, double-click on the downloaded file and follow the instructions on the installer window. Make sure to accept the license agreement, choose your desired destination folder, and authenticate with your computer’s password so that the installation can complete properly. When finished, you are ready to use Node.js!
Does Mac Have NPM?
Yes, Mac does have NPM! NPM is a package manager for JavaScript, and it is installed alongside Node.js as a recommended feature when you install Node.js on your Mac. With NPM, you can easily install and manage packages from the command line, as well as publish your own packages to the NPM registry. Using the Homebrew package manager, you can easily install both Node.js and NPM on Mac with just a few simple commands.
Installing NPM in Terminal
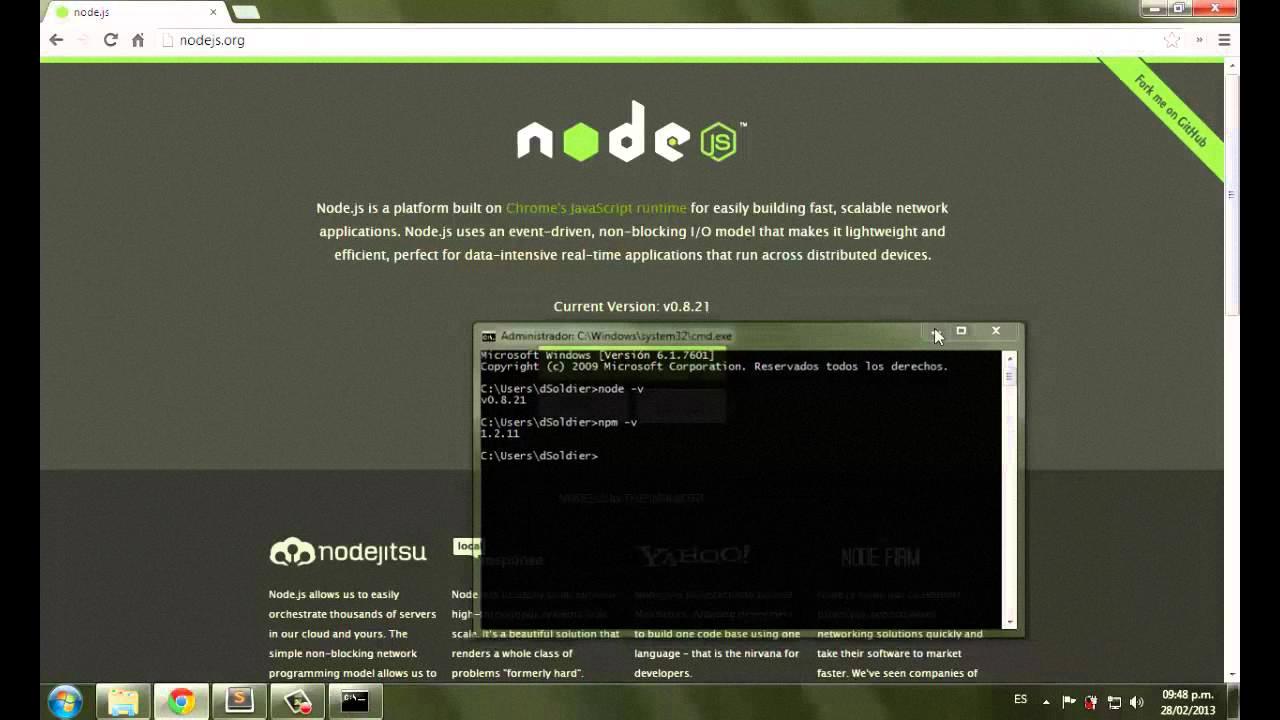
To install npm in the terminal, you will need to first make sure that Node.js is installed. This can be done by typing “node -v” in the terminal, which will output the version number of Node.js if it’s installed. If it’s not installed, you can download and install it from https://nodejs.org/.
Once Node.js is installed, you can install npm by typing “npm install” in the terminal. This will download and install the latest version of npm. Once installation is complete, you can verify the installation by typing “npm -v”. This should output the current version of npm that is installed on your system.
Enabling NPM Install
Enabling npm install is a simple process that can be done by running the command ‘npm install’ in the package directory of the project you are working on. This command will read through your package.json file and install all of the dependencies listed there into your local node_modules folder. Additionally, you can use npm install to install packages from a tarball file, specify a particular version or range of versions using an alias, or even install from a specific scope or name. For further information on how to execute these commands, please consult the npm documentation for more details.
Installing NPM on Mac Using Brew
Installing npm on Mac using Homebrew is a simple process. To get started, you first need to install Homebrew, the missing package manager for macOS. To do this, paste the following command into your macOS Terminal prompt:
/usr/bin/ruby -e “$(curl -fsSL https://raw.githubusercontent.com/Homebrew/install/master/install)”
Once Homebrew is installed, you can use it to install Node and npm. To do this, type the following command into your Terminal:
brew install node
This will download and install both Node and npm on your Mac computer. To check if they have been successfully installed, you can run the following commands to print out their versions:
node -v
npm -v
And that’s it! You have now successfully installed Node and npm on your Mac using Homebrew.
Installing Node on Mac M1
Installing Node on your Mac with an M1 chip is easy! First, make sure you have NVM (node version manager) installed. You can do this by running the following command in your terminal window: curl -o- https://raw.githubusercontent.com/nvm-sh/nvm/v0.37.2/install.sh | bash. Once you have NVM installed, use it to install the latest Node version with this command: nvm install node –latest-npm. Finally, confirm that everything works properly by running the node command in your terminal window and ensuring that it reports back the correct version number for Node and NVM.
Source: youtube.com
Installing NPM with Homebrew
To install npm with Homebrew, open a Terminal window on your Mac and enter the following command: $ brew install npm. This will download and install the latest version of npm from Homebrew’s repositories. Once the installation is complete, you can verify it by running the command: npm -v to check for the installed version of npm. You can also use this command to upgrade to a newer version of npm if desired.
Checking if NPM is Installed on Mac
On a Mac, you can check to see if you have NPM installed by typing npm -v in the Terminal. This will print out the version number of the NPM package that is currently installed. If nothing prints out, then it is likely that NPM is not installed on your system. You can also check to see if the NPM package folder exists in your root directory by typing ls /usr/local/lib/node_modules into the Terminal. If this folder exists, then you have NPM installed on your system.
Conclusion
Installing NPM on MacOS is a relatively straightforward process. With the Homebrew package manager, you can easily download and install both Node.js and NPM in just a few steps. Additionally, since NPM is installed alongside Node.js as a recommended feature, you don’t have to worry about downloading and installing it separately. The whole process should only take a couple of minutes or so, and once it’s done you can start using both Node.js and NPM to create powerful applications with ease!


