Transferring photos from your Android device to an external hard drive can be a convenient way to free up storage space and keep your precious memories safe. In this article, we will guide you through the process of connecting an external hard drive to your Android phone and transferring photos to it.
Before we begin, it’s important to check if your Android phone supports USB On-The-Go (OTG) functionality. This feature allows you to connect external devices, like a hard drive, to your phone. Once you’ve confirmed that your phone is OTG compatible, you can proceed with the following steps:
Step 1: Select a suitable external hard drive for your phone. Make sure it has enough storage capacity to accommodate your photo collection. Consider factors like portability, durability, and compatibility with your phone’s operating system.
Step 2: Ensure that your phone has enough power to support larger capacity external drives. Some phones may require an additional power source, such as a powered USB hub, to connect and power the hard drive.
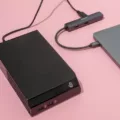
Step 3: Connect the external hard drive to your phone using a USB OTG cable or adapter. Plug one end of the cable into your phone’s charging port, and the other end into the USB port of the external hard drive.
Step 4: Once connected, your phone should recognize the external hard drive as a storage device. You can now access the File Manager on your Android device. Navigate to the DCIM folder and locate the Camera folder, where your photos are typically stored.
Step 5: Select the desired photos that you want to transfer to the external hard drive. Tap on the Copy button or option available in your File Manager.
Step 6: Go back to the File Manager and open the external hard drive. Create a new folder if needed and navigate to it. Paste the copied photos into this folder.
Congratulations! You have successfully transferred your photos from your Android device to an external hard drive. This process allows you to create a backup of your photos and free up valuable space on your phone.
In addition to manually transferring photos, you can also set up automatic photo backup using various apps. For example, the Seagate Media app allows you to enable auto-upload, which automatically transfers your photos from your Android device to your external hard drive whenever it is connected.
To enable auto-upload, open the Seagate Media app on your phone. Tap the menu icon and go to Settings. Locate the Auto Upload option and turn it on. You will have the choice to select whether to upload photos or videos. This feature ensures that your photos are automatically backed up to the external hard drive without manual intervention.
Transferring photos from your Android device to an external hard drive is a simple and effective way to free up storage space and safeguard your memories. By following the steps mentioned above and considering auto-upload options, you can easily manage your photo collection and keep it organized across different devices.
How To Transfer Photos From Android Phone To External Hard Drive Directly?
To transfer photos from your Android phone to an external hard drive directly, follow these steps:
1. Enable USB Debugging:
– Go to Settings on your Android device.
– Scroll down and tap on About phone (or About device).
– Find the Build number and tap on it repeatedly (around 7 times) until you see the message “You are now a developer”.
– Go back to the main Settings menu and tap on Developer options.
– Scroll down and find USB debugging, then toggle it on.
2. Connect your Android phone to the external hard drive:
– Connect your Android phone to the external hard drive using a USB cable or an OTG (On-The-Go) adapter cable.
3. Open the File Manager on your Android device:
– Go to your app drawer and find the File Manager app (sometimes called File Explorer or My Files).
– Tap to open the app.
4. Navigate to the DCIM folder:
– In the File Manager, locate and open the DCIM folder. This folder usually contains your camera photos.
5. Choose the desired photos:
– Inside the DCIM folder, you should see a folder named Camera. Tap on it to open it.
– Browse through the photos and select the ones you want to transfer to the external hard drive. You can tap and hold to select multiple photos.
6. Copy the selected photos:
– Once you have selected the desired photos, look for the Copy button or option (usually represented by two overlapping squares or a menu icon).
– Tap on the Copy button to copy the selected photos.
7. Paste the photos to the external hard drive:
– Go back to the File Manager and navigate to the external hard drive. It may appear as a separate storage device or under a folder named “Removable Storage” or similar.
– Open the desired folder on the external hard drive where you want to transfer the photos.
– Tap on the Paste button or option to paste the copied photos from your Android phone to the external hard drive.
8. Wait for the transfer to complete:
– The transfer process may take some time, depending on the size of the photos and the speed of the connection between your phone and the external hard drive.
– Once the transfer is complete, you can safely disconnect the USB cable or OTG adapter from your Android phone and the external hard drive.
By following these steps, you should be able to transfer your photos directly from your Android phone to an external hard drive without the need for a computer or any additional software.
How To Transfer Photos From Android To Seagate External Hard Drive?
To transfer photos from your Android device to a Seagate external hard drive, you can follow these steps:
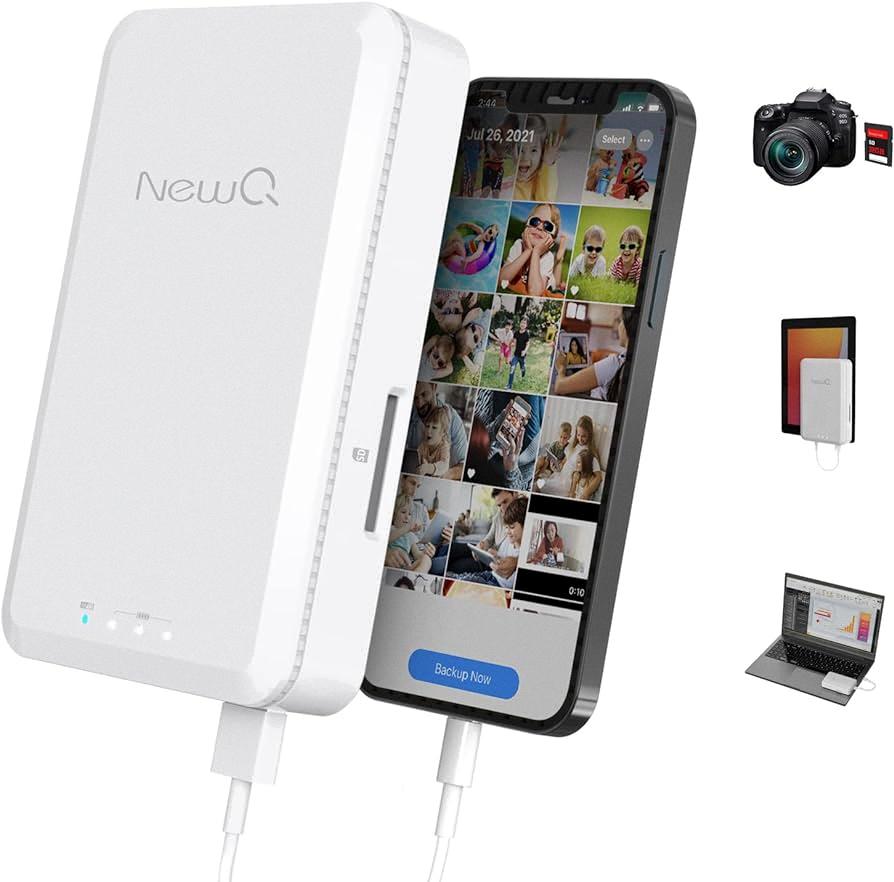
1. Connect your Seagate external hard drive to your Android device using a USB cable or an adapter, depending on the type of connection available.
2. On your Android device, open the File Manager app or any other file management app that you have installed.
3. Navigate to the location where your photos are saved on your Android device. This could be in the “Pictures” folder or any other folder where you have stored your images.
4. Select the photos you want to transfer to the Seagate external hard drive. You can do this by tapping and holding on one photo, then selecting additional photos by tapping on them.
5. Once you have selected the photos, tap on the “Share” or “Send” option, usually represented by an icon that looks like an arrow pointing upwards or a three-dot menu.
6. From the sharing options that appear, select the option to “Copy” or “Move” the selected photos.
7. In the file manager, navigate to the Seagate external hard drive. This will typically be listed as a separate storage device or under a “Removable Storage” section.
8. Once you have reached the Seagate external hard drive, navigate to the desired location where you want to transfer the photos. You can create a new folder if needed.
9. Paste the photos into the desired location on the Seagate external hard drive by tapping on the “Paste” or “Move Here” option.
10. The selected photos will now be transferred from your Android device to the Seagate external hard drive. The time taken for the transfer will depend on the number and size of the photos.
Please note that the process may vary slightly depending on the file manager app you are using, as different apps may have different interface layouts. However, the general steps mentioned above should apply to most Android devices.
Can I Connect An External Hard Drive To My Android Phone?
It is possible to connect an external hard drive to an Android phone. However, there are a few steps you need to follow to ensure compatibility and a successful connection.
1. Check USB OTG compatibility: Firstly, you need to verify if your Android phone supports USB On-The-Go (OTG) functionality. This feature allows your phone to act as a host and connect to external USB devices such as hard drives. You can check your phone’s specifications or do a quick online search to determine if it supports USB OTG.
2. Select a suitable external hard drive: Once you confirm your phone’s compatibility, you need to choose an external hard drive that is compatible with Android devices. Make sure it has a USB connection, as most Android phones have a USB Type-C or Micro USB port. Additionally, consider the capacity and speed of the hard drive based on your storage needs and usage requirements.
3. Power considerations: It’s essential to ensure that your Android phone has enough power to support larger capacity external hard drives. Some hard drives may require more power than your phone can provide, leading to connection issues or insufficient power for the drive to function properly. In such cases, you may need to use a powered USB hub or external power source to support the hard drive.
4. Connect the external hard drive: Once you have chosen a compatible hard drive and addressed the power requirements, you can connect the external hard drive to your Android phone using a USB OTG adapter or cable. Plug one end of the adapter into your phone’s charging port or USB port, and connect the external hard drive to the other end of the adapter. Your phone should detect the external drive and allow you to access its contents through a file manager app or the device’s native file explorer.
It’s important to note that the steps may vary slightly depending on the specific Android phone model and operating system version you are using. Always refer to your device’s user manual or consult the manufacturer’s website for detailed instructions if needed.
How Do I Backup My Entire Android Phone To An External Hard Drive?
To backup your entire Android phone to an external hard drive, you will need to follow these steps:
1. Connect your external hard drive to your Android phone using a USB OTG (On-The-Go) cable. Make sure the external hard drive has enough free storage space to accommodate your phone’s data.
2. On your Android phone, go to “Settings” and scroll down to find the “Storage” option. Tap on it to open the storage settings.
3. In the storage settings, look for the option called “USB Storage” or “External Storage.” Tap on it to access the external hard drive.
4. Once you open the external hard drive, you will see its contents displayed on your phone’s screen. Create a new folder on the external hard drive where you want to store your phone’s backup.
5. Go back to the main settings menu and find the “Backup & Reset” option. Tap on it to open the backup settings.
6. Inside the backup settings, you should see an option called “Backup My Data” or something similar. Enable this option to activate the backup feature.
7. Now, tap on the option labeled “Backup Account” or “Backup to Google Drive” and sign in with your Google account. This will ensure that your app data, contacts, and other important information are backed up to your Google Drive account.
8. Return to the backup settings menu and tap on the option labeled “Backup Now” or “Start Backup.” This will initiate the backup process for your entire Android phone.
9. Wait for the backup process to complete. The time it takes will depend on the size of your phone’s data and the speed of your external hard drive.
10. Once the backup is finished, you can safely disconnect the external hard drive from your Android phone.
By following these steps, you can backup your entire Android phone’s data, including apps, contacts, settings, and multimedia files, to an external hard drive. This backup will ensure that your data is safe and can be easily restored if needed in the future.
Conclusion
Transferring photos from your Android device to an external hard drive is a simple and straightforward process. By enabling USB debugging on your Android device and using the File Manager, you can easily copy and paste your desired photos from the DCIM folder to the external hard drive.
Additionally, if you prefer an automatic upload option, you can use the Seagate Media app and enable the Auto Upload feature. This allows for seamless and convenient backup of your photos to the external hard drive.
When connecting an external hard drive to your phone, it is important to ensure that your phone is USB OTG compatible. Select a suitable external hard drive and make sure your phone has enough power to support larger capacity drives. Once connected, you can proceed with the transfer or backup process.
Backing up and transferring photos from your Android device to an external hard drive is a reliable and efficient way to ensure the safety and accessibility of your precious memories. Whether you choose to manually transfer or opt for automatic upload, these methods provide peace of mind and convenience for managing your photo collection.

