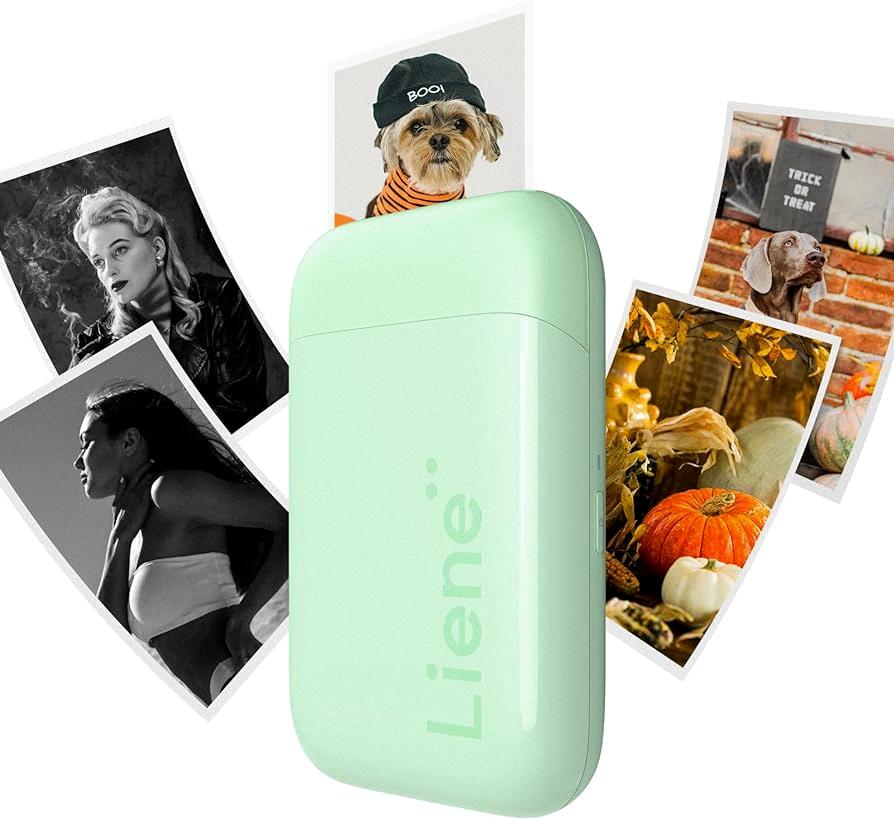
Printing photos from your iPhone can be a convenient way to preserve your memories and share them with others. Whether you want to print standard sizes or smaller pictures, there are a few methods you can use to achieve the desired results. In this article, we will explore the process of printing smaller pictures from your iPhone and provide step-by-step instructions.
To begin, open the Photos app on your iPhone and select the image you wish to print. Once you have chosen the photo, tap on the Edit button located at the bottom of the screen. In the Edit menu, you will find various editing options including the crop tool.
Tap on the crop tool, which looks like a square icon with diagonal lines. This will allow you to adjust the dimensions of the photo. By default, the crop tool is set to the original dimensions of the image. However, you can change this by selecting the Custom option.
In the Custom menu, you will be able to manually input the desired dimensions for your print. You can choose from a variety of pre-defined sizes or enter your own custom dimensions. Keep in mind that the size of your print will depend on the resolution of the original image. If you try to print a small image at a large size, it may result in a loss of quality.
Once you have set the desired dimensions, tap on the Apply button to save your changes. You can then proceed to print the image. If you are using a wireless printer, make sure it is connected to the same Wi-Fi network as your iPhone. Open the Print menu by tapping on the Share button and selecting the Print option.
In the Print menu, you will find a list of available printers. Choose the printer you wish to use and select the number of copies you want to print. If your printer supports different paper sizes, you can also select the appropriate size for your smaller pictures. tap on the Print button to start the printing process.
If you prefer to print your photos at a professional print shop, you can transfer the image to a computer and adjust the dimensions using photo editing software. Once you have resized the image, you can save it to a USB drive or upload it to an online printing service.
Printing smaller pictures from your iPhone is a straightforward process. By using the crop tool in the Photos app, you can adjust the dimensions of your image to fit your desired print size. Whether you choose to print at home or at a professional print shop, following these steps will help you achieve high-quality prints of your cherished memories.
How Do I Print A Picture Smaller On My IPhone?
To print a picture smaller on your iPhone, you can follow these steps:
1. Open the Photos app on your iPhone.
2. Browse through your photo library and select the picture you want to print.
3. Tap on the “Share” button, which is represented by a square with an arrow pointing upward.
4. In the sharing options, scroll down and tap on the “Print” option. This will open the print settings.
5. On the print settings screen, you will see a preview of the picture.
6. Pinch inwards on the preview with two fingers to zoom out and make the picture smaller. You can repeat this gesture if you want to make it even smaller.
7. If you prefer to specify the exact size you want to print, you can tap on the preview and select the “Custom Size” option. Here, you can enter the desired dimensions for your print.
8. After adjusting the size, you can tap on the “Print” button to proceed.
9. Connect your iPhone to a compatible printer using Wi-Fi or Bluetooth. Make sure the printer is turned on and ready to print.
10. Once your iPhone is connected to the printer, select the printer from the available options.
11. Adjust any additional print settings, such as the number of copies or paper type, if needed.
12. tap on the “Print” button to start printing the picture at the smaller size you have chosen.
By following these steps, you can print a picture smaller on your iPhone and achieve the desired print dimensions.

How Do I Reduce The Size Of A Photo On My IPhone?
To reduce the size of a photo on your iPhone, you can follow these steps:
1. Open the Photos app on your iPhone.
2. Find the photo you want to resize and tap on it to open it.
3. Tap on the Edit button, which looks like three horizontal lines with circles on them.
4. In the Edit menu, you will see various options at the bottom of the screen. Tap on the Crop tool, which looks like two overlapping right angles.
5. By default, the crop tool will be set to “Original,” which maintains the photo’s original size. To resize the photo, you need to select a different option.
6. Tap on the Aspect Ratio button, which looks like two right angles with a lock icon in the middle.
7. You will see three options: Original, Freeform, and Square.
– Original: This option keeps the photo’s original dimensions.
– Freeform: This option allows you to manually adjust the crop box to any size you want. Simply drag the corners of the box to resize it.
– Square: This option resizes the photo to a square shape.
8. Choose the option that suits your needs. If you want to reduce the size of the photo, consider selecting a smaller aspect ratio or choosing the Freeform option to manually adjust the size.
9. Once you have selected the desired aspect ratio, tap on the Done button to apply the changes.
10. tap on the Save button to save the resized photo.
By following these steps, you can easily reduce the size of a photo on your iPhone using the built-in editing tools in the Photos app.
How Do I Print Different Sizes Of Photos From My IPhone?
To print different sizes of photos from your iPhone, follow these steps:
1. Open the Photos app on your iPhone.
2. Select the photo you want to print by tapping on it.
3. Tap the Share button, usually represented by a square with an arrow pointing upwards.
4. Scroll through the options and select “Print.”
5. In the Print menu, you will see a preview of your photo with options for print size and other settings.
6. Tap on the preview to access more detailed print options.
7. Select the “Print Size” option to choose a custom size for your photo.
8. Input the dimensions you desire for your custom print size.
9. After entering the custom size, tap “Done” to save the changes.
10. Now, select the paper size that will accommodate the custom size you’ve chosen.
11. Adjust any other print settings, such as the number of copies or color options, if needed.
12. tap “Print” to send the photo to your printer.
By following these steps, you will be able to print different sizes of photos from your iPhone. Remember to ensure that your printer supports the custom size you choose and that you have the appropriate paper size available.
How Do I Reduce The Size Of My IPhone When Printing?
To reduce the size of your iPhone when printing, you can follow these steps:
1. Open the document or image you want to print on your iPhone.
2. Tap on the “Share” button, which is typically represented by a square with an arrow pointing upwards.
3. Scroll through the options and tap on “Print”. This will open the print settings.
4. On the print settings screen, you may see a preview of the document or image to be printed. Pinch or zoom out on the preview to reduce its size.
5. If you don’t see a preview or the pinch-zoom option, look for a “Options” or “Settings” button. Tap on it to access additional print settings.
6. Within the print settings, look for an option to adjust the print size or scale. The wording may vary depending on the app you’re using to view the document or image. You can try looking for terms like “Scale to Fit” or “Fit to Page”. Adjust this setting to reduce the size of the content.
7. Once you have adjusted the print size or scale, review the preview to ensure the desired reduction has been applied.
8. If necessary, you can also explore other print settings such as paper type or orientation to further optimize the printout.
9. Once you are satisfied with the print settings, tap on the “Print” button to initiate the printing process.
By following these steps and adjusting the print size or scale, you should be able to reduce the size of your iPhone content when printing.
Conclusion
Printing is a versatile and essential process that allows us to bring our digital images and documents into the physical world. Whether you are printing photos, documents, or other materials, there are various methods and options available to ensure you get the desired results.
When printing photos, it is important to consider the size and resolution of the image. By selecting a custom size or using the crop tool, you can adjust the dimensions to fit your desired print size. Additionally, using third-party apps like Image Size can help you further modify the image’s resolution.
For documents, you can also set a custom paper size to accommodate your specific needs. This can be done by accessing the document options and adjusting the width and height values. By selecting the appropriate paper size, you can ensure that your document fits perfectly and is ready for printing.
Printing offers a level of customization and flexibility that allows us to bring our digital creations to life. Whether it’s for personal or professional use, understanding the various options and settings available can help us achieve the best possible results when printing.


