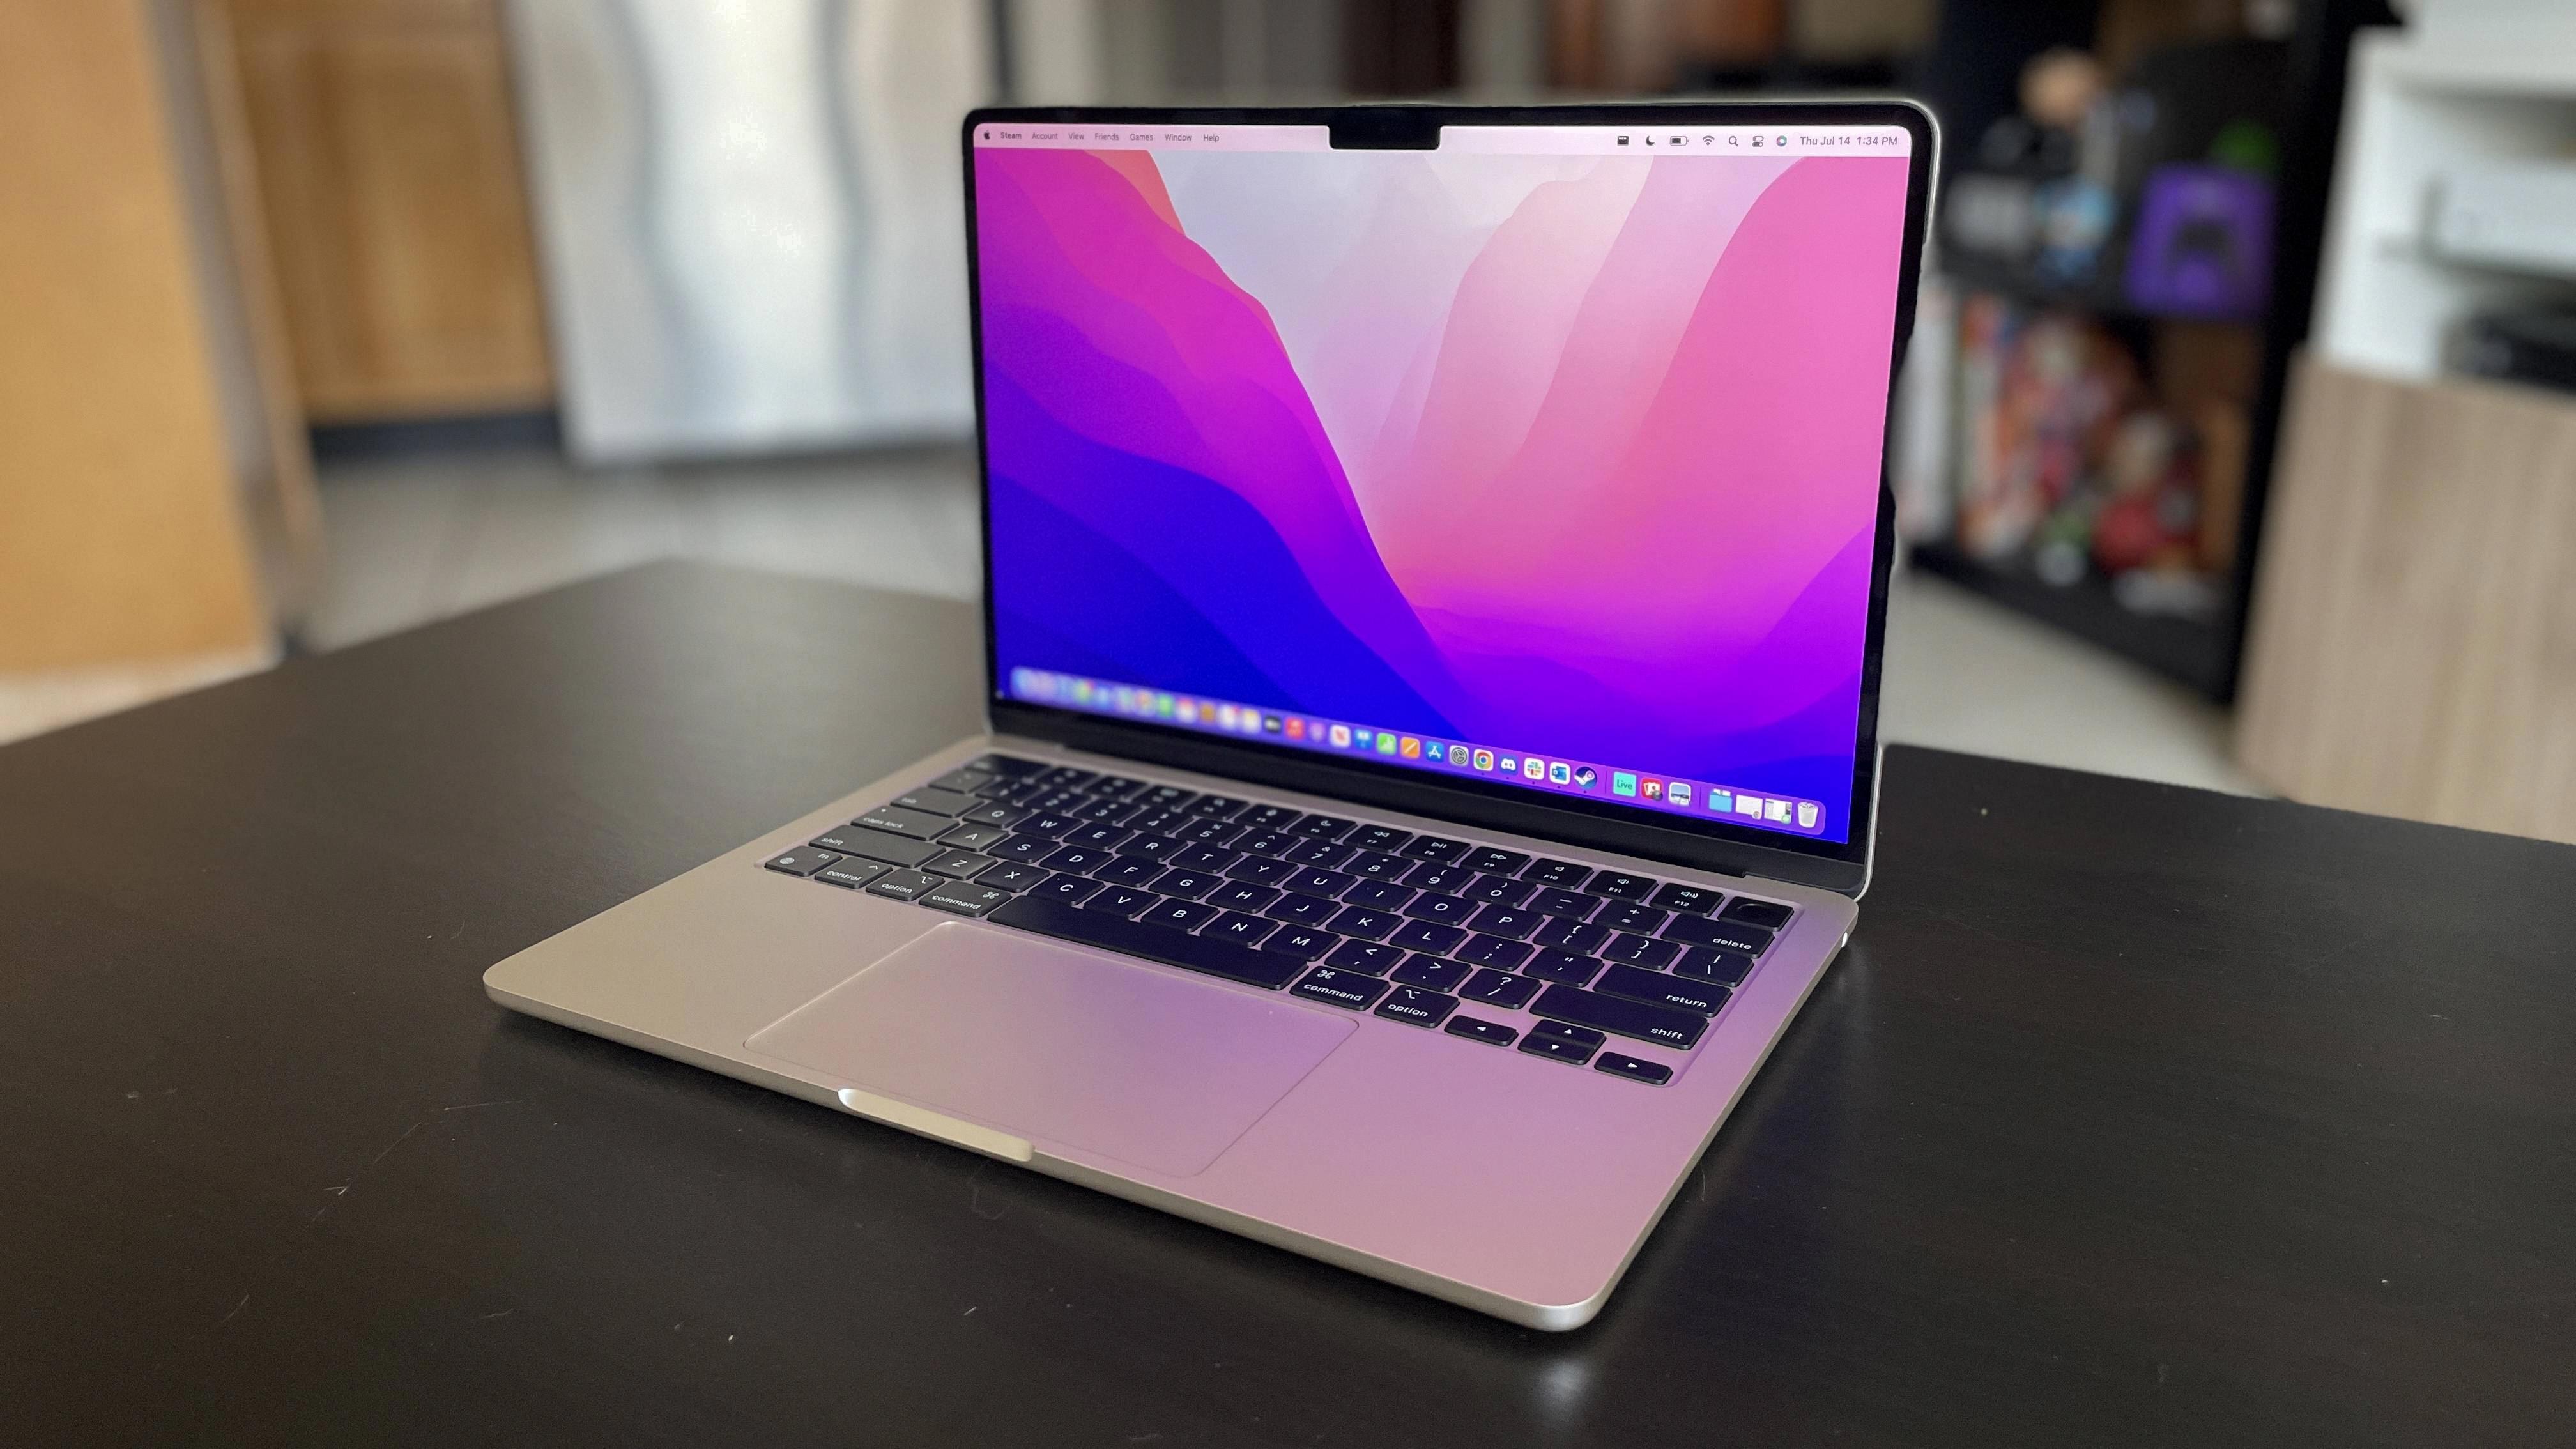
Are you a Mac user looking to print front and back from your device? It’s a fairly easy process, but it can be difficult to know whee to begin if you’re new to printing with a Mac.
For most Mac users, the easiest way to print front and back is to use an app like Pages or Word. Both will allow you to create documents in ether format (front and back) and then print them directly from the app.
When printing from Pages or Word, you’ll need to ensure that your printer settings are set correctly. You can access this via the ‘Print’ dialog box whch can be found in the File menu. In the ‘Page Setup’ section, be sure to select ‘Two-sided Printing’ before printing your document. Once done, simply hit ‘Print’ and your document should be printed correctly on both sides of the page.
If you’d prefer not to use an app like Pages or Word, there are still ways for you to print front and back on a Mac. Open System Preferences by clicking on its icon in the Dock or selecting it from the Apple menu at the top-left of your screen. Then select ‘Printers & Scanners’ and select your printer from the list of available printers. Select ‘Options & Supplies’ then ‘Document Feeder’ followed by ‘Duplex Printing Unit’ (if available). From here, you will be able to choose beween single-sided printing or double-sided printing.
Once all of these settings have been adjusted accordingly, simply open up whichever file or document you would like to print and hit ‘Print’ – ensuring that any oter necessary settings such as paper size are also selected correctly beforehand – and your document should now print front and back!
Whether usng an app such as Pages or Word, or setting up printer options directly through System Preferences, printing front and back on a Mac is easy when following these steps!
Troubleshooting Two-Sided Printing Issues on Mac
There are seeral possible reasons why your Mac won’t let you print two-sided. First, make sure that the printer you are using supports two-sided printing. Next, check to make sure that the Two-Sided setting is enabled in the Print dialog box. To do this, open the document, click File > Print and then click Show Details. If the Two-Sided setting is available, select the checkbox to enable it. If both of these steps have been completed and your Mac still won’t let you print two-sided, there may be a problem with your printer driver or with the document itself. You may need to update your printer driver or reinstall it to ensure that it is compatible with your Mac. If you have tried all of these solutions and you are still unable to print two-sided, contact your printer’s manufacturer for further assistance.
Printing Front and Back on One Page on Mac
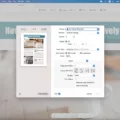
To print front and back on one page on a Mac, you will need to access the Page Setup options. To do this, open the document you wish to print, then click File > Print. This will open the Print dialog window. In the lower left corner of this window, select Copies & Pages and then select Layout. In the Layout dialog box that appears, select Double-Sided and then select Long-Edge Binding. This will allw you to print front and back on one page. Click OK to confirm your settings and then click Print to send your document to the printer.
Enabling Back to Back Printing on a Mac
To enable back to back printing on your Mac, you’ll need to open System Preferences and select Print & Fax. From here, choose the main printer from the left menu. Next, click Printer Setup and look for the option that says “double-sided printing” (or something similar). Select this option and your Mac should now be set up for back to back printing. If you have any further questions about setting up double-sided printing, please feel free to contact your printer’s customer support team for more information.
Printing Two-Sided in Same Orientation on Mac
To print two-sided documents with the same orientation on a Mac, you will need to adjust your printer settings. First, open the document you wish to print and select File > Print from the menu bar. In the resulting window, click on Copies & Pages and then select Layout. In this section, choose Two-Sided and then select either Long-Edge binding (to flip pages on the long end) or Short-Edge binding (to flip pages on the short end). Finally, click Print to send your document to the printer for two-sided printing.
Enabling Double Sided Printing
To turn on double sided printing, first open the Start menu and select “Control Panel”. Then choose “Printers and Faxes”, right click your primary printer, and select “Printing Preferences”. On the Finishing tab, check the box for “Print on both sides” and click “Apply” to set as the default. This will enable double sided printing for all documents sent to your primary printer.
Printing a PDF Double Sided
Printing a PDF document double sided is a great way to save paper and be more eco-friendly. Here are the steps for printing double sided in Adobe Acrobat or Reader:
1. Open the PDF document in Acrobat or Reader.
2. Choose File > Print.
3. In the printer dialog, select the option for Print On Both Sides Of Paper.
4. Click on Print and your document will be printed double sided!
You may need to configure your printer settings in order to print double sided, so make sure to check out your user manual for more information. If you don’t have access to a printer that can print double sided, you could always print the document single sided and then manually turn the pages over and feed them back into the printer for printing on the other side.
Changing Print Settings on a Mac
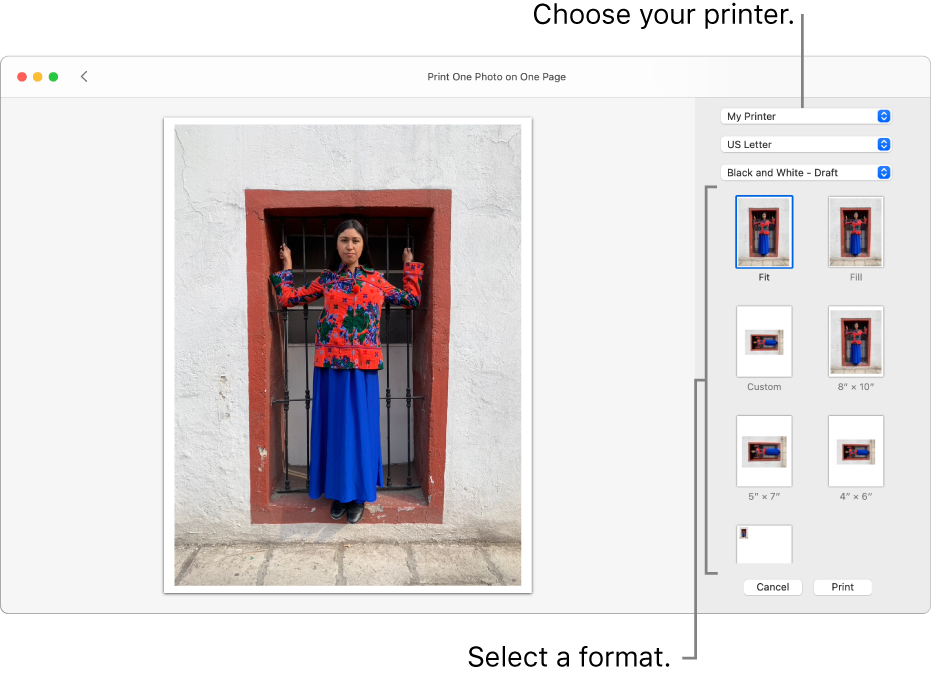
To change the print settings on a Mac, open the document you would like to print and choose File > Print. If you see a Show Details button, click it to open more print options. At the top of the light gray box, you will find a print options pop-up menu; click on it and select Media & Quality. This will reveal additional options for adjusting your printing preferences, such as paper size and type, resolution, color mode, page orientation and scale. Once you have made your adjustments, click Print to send your document to the printer.
Printing One-Sided on a Mac
To print one sided on a Mac, begin by opening the document you would like to print. Once the document is open, click File in the top left corner of your screen and select Print from the drop-down menu. On the next screen, look for a label that says Copies & Pages and click the arrow next to it. From the drop-down menu that appears, select Layout/Finish. This will open a new set of options. Under the label Print Type, click the arrow and change 2-sided to 1-sided. Lastly, click Print and your document shuld start printing one sided!
Printing Front and Back
In order to print front and back, you will need to manually print on both sides. To do this, open the document you want to print in Word and click the File tab. Then, click Print. Under Settings, click Print One Sided and then select Manually Print On Both Sides. When you go to print, Word will prompt you to turn over the stack of paper so that it can feed the pages into the printer again. This will enable two-sided printing with the front side of each sheet being printed first followed by the back side of each sheet.
Printing Double-Sided Pages with Second Page Upside Down
To print double sided with the second page upside down, you will first need to select Print from the application menu. Next, select the name of the printer you are using and click Printer Properties (or Properties). On the Basic Settings or Finishing tab, select Manually Printing Both Sides (or Booklet Printing). You will then need to set the Binding Location to Long Edge (Flip) so that the second page will be upside down when printed. Finally, click OK to save your settings and print your document.
Printing Double-Sided on a Canon Printer (Mac)
To print double sided on a Canon printer using a Mac, first open the application you are printing from. Then, in the Print dialog box, check the Two-Sided check box next to the number of copies. From the drop-down menu under Orientation, select Layout and choose either Long-Edge binding or Short-Edge binding for Two-Sided. Finally, click Print to begin the double sided printing process.
Accessing Advanced Printer Settings on Mac
Advanced printer settings on Mac can be found in System Preferences. To access them, open System Preferences and select Printers & Scanners from the menu. Once in the Printers & Scanners window, click on the Plus (+) icon in the lower left hand corner of the Printers pane. This will open a new window where you can add a printer. In this window, click on Advanced (the gear icon in the toolbar). This will open a new window with all of your advanced printing options such as paper size and printing quality.
Changing the Default Print Settings on a PDF Mac
To change the default Print settings on a PDF Mac, open the document you want to print and choose File > Print. From the Presets pop-up menu, select your desired settings. You can also click Show Details to view and change additional printing options. Once you have set your desired defaults, click the Save Current Settings as Preset button at the bottom of the window to save them as your new default settings.
Changing Printer Settings
Changing printer settings is easy and can be done in a few simple steps. First, type “Devices” into the main search bar at the bottom left of your screen. This will bring up a list of results, including “Devices and Printers”. Select this option to open a window with all the installed printers on your device. Right click on the appropiate printer icon and select “Printing Preferences” from the menu that appears. This will open a new window where you can change various print settings, such as size, quality and paper source. Once you have altered the settings as needed, click “OK” to save them and close the window. Your printer is now set to your desired preferences – ready, set, print!
The Benefits of Collated Printing on Mac
Collated printing on a Mac is a method of printing multiple copies of a document with each copy hving all its pages in the correct sequence. It works by organizing the pages into sets and then printing them out in order. This means that if you have a multi-page document, each copy will have the same pages in the same order. For example, if you are printing two copies, they will both be printed on the same paper with page 1, 2, 3 and so on in numerical order for each copy. Collated printing can save you time and help make sure all copies of your document are accurate.
Troubleshooting Double Sided Printing Upside Down On Mac
If your double-sided printing is upside down, it’s likly due to the Mac not recognizing the duplexer correctly. The duplexer is an accessory that allows you to print on both sides of a sheet of paper, and if it isn’t correctly recognized by your Mac then you may experience this issue. To resolve this, go to System Preferences, select Print & Fax, open the print queue of your printer, click Printer Setup and from the tab menu choose Driver. Make sure the box next to HP Two-sided Printing Accessory (Duplexer) is checked. Once this is done, try printing again and see if it has resolved the issue.
Printing Front and Back on Mac Word
To print front and back on Mac Word, first open the document you would like to print. Then, open the Print dialog box by clicking File ? Print. In the Print dialog box, select Layout from the Application dropdown. Next, select eiter Long-edge binding or Short-edge binding from the Two-Sided dropdown. Finally, click Print. This will cause your document to be printed on both sides of the paper.
Conclusion
Mac is a revolutionary line of computers from Apple that has become popular since its introduction in 1984. Macs stand out from oher computers due to their intuitive design and user-friendly interface. Macs come with powerful hardware and a wide selection of software, making them great for those who need more than the basic computer capabilities. They are also well-suited for creative professionals, such as photographers and graphic designers, who need specialized tools and applications. Furthermore, with macOS and iOS integration, Mac users can access their data on any device with ease. With its long history of innovation and reliability, it’s no wonder why Macs have become so popular over the years.

