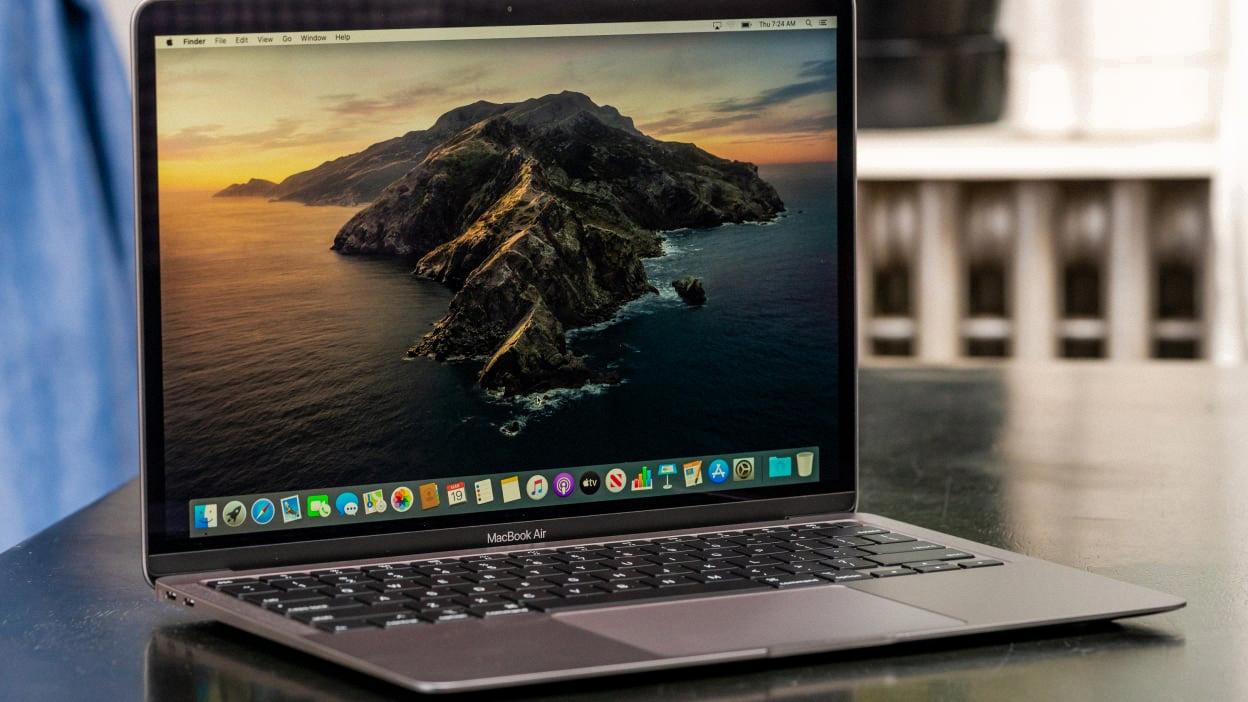
Are you having trouble getting sound out of your Macbook Air? If so, don’t worry – you’re not alone! We understand how frustrating it can be when your device isn’t working properly, and we’re here to help. In this blog post, we’ll be discussing the steps you should take to troubleshoot and fix the volume on your Macbook Air.
First, check the menu bar for the Sound control. You should see an icon with a speaker symbol – if not, then go to Apple menu > System Preferences and click Control Center in the sidebar. From there, choose whether to show Sound in the menu bar all the time or only when it’s active.
Next, open System Preferences and click Sound. Then select the Output tab and click on Internal Speakers. Make sure that Mute next to Output Volume is not muted (there should be no tick in the checkbox). Also, check that the Output Volume slider is moved to the right.
If those steps don’t work, open Audio MIDI setup in the utility folder within the Applications folder. Make sure that it is set to Built-in Output.
Finally, if you still can’t get sound out of your Macbook Air after trying these steps, contact Apple Support for further assistance. They can help you diagnose any other issues or provide more specific troubleshooting advice for your particular device.
We hope this blog post has been helpful in resolving your sound issue with your Macbook Air! If you have any other questions or need additional help with this issue or other tech issues feel free to reach out for assistance from our team of experts!

Source: mashable.com
Fixing Volume Control Issues on Mac
To fix your volume control on your Mac, you’ll need to make sure the Sound option is enabled in the menu bar. To do this, open the Apple menu and select System Preferences. In the sidebar, click Control Center. Then look for the pop-up menu next to Sound on the right, and choose whether to show Sound in the menu bar all the time or only when it’s active. Once you’ve done that, you should be able to access your volume control from the menu bar.
Troubleshooting Volume Issues on Mac
There are a few possibilities why your volume won’t go up on your Mac. First, you should check that the Mute option next to Output Volume is not enabled in System Preferences. To do this, open System Preferences and click Sound. Then, click the Output tab and select Internal Speakers. Make sure that the Mute checkbox is empty (not ticked). Additionally, make sure that the Output Volume slider is moved to the right. If this doesn’t work, you should check if your speakers are connected properly and the cables are working correctly. You may also want to try resetting your Mac’s PRAM or SMC as these can affect your sound settings. If none of these solutions work, then you may need to take your Mac to an Apple Store or a certified repair shop for further assistance.
Investigating Sudden Low Volume on Mac Devices
There could be several reasons why your Mac volume is suddenly so low. One possibility is that the output volume slider in your System Preferences is set too low. You can check this by clicking on the Apple menu in the top-left corner, selecting System Preferences, then selecting Sound. When you are in the Sound window, click on the Output tab and select MacBook Pro Speakers. If the Output volume slider is set too low, simply move it to the right to increase your Mac’s sound level.
Another possible reason for the sudden low volume is that you have downloaded an app or software update that has changed your Mac’s sound settings. You can check for any recent downloads or updates by opening the App Store, clicking on Updates, and looking for any recently installed apps or updates that may have changed your sound settings.
Finally, if none of these solutions work, you may need to reset your Mac’s audio settings by deleting any third-party audio drivers you have installed and resetting your Mac’s PRAM (parameter RAM). To do this, shut down your computer and press Command + Option + P + R while turning it back on and holding it until you hear a second startup chime. This will reset your Mac’s PRAM and return its audio settings to their factory defaults.
Restoring Volume Control
To restore the volume control icon in the taskbar, follow these steps:
1. Go to the Taskbar menu under the Notification area and click on ‘Turn system icons on or off’.
2. A new panel will display where you can toggle on/off the various system icons. Make sure the Volume control toggle is set to ON.
3. Click ‘OK’ to apply your changes and restart Windows.
4. After restarting, you should now see the volume control icon in the taskbar again!
Restarting the Volume on a Mac
To restart the volume on a Mac, you will need to restart the Core Audio process. To do this, open the Activity Monitor app from your Applications folder. This can also be found in the utility folder or by searching for it in Spotlight. Once open, locate the search bar in the top right and type in “coreaudiod”. When it is highlighted, click on the “X” icon at the top left of the Activity Monitor window, and this will automatically restart your Mac’s Core Audio process. After doing this, your Mac’s volume should be back to normal.
Resetting Mac Sound Settings
To reset your Mac sound settings, start by opening the System Preferences window. Click on the Sound icon in the list of options. From there, you can adjust the Output volume slider to change the overall sound level. If you need to mute the sound, check the Mute box. You can also adjust the Balance slider to balance between the left and right audio channels. When you’re done making changes, click on the OK button to save them and exit.
Causes of Sudden Low Volume on Laptop
There are several possible causes for laptop volume suddenly becoming low. It could be due to incorrect audio settings, corrupt or outdated audio drivers, faulty hardware, a problem with the software you’re using, or even background processes running in the background. To troubleshoot this issue, you can try the following:
1. Check your audio settings and make sure they are set to an appropriate level.
2. Update your audio drivers from your laptop manufacturer’s website.
3. Make sure any background processes or applications aren’t using too much of your computer’s resources and causing a bottleneck for other applications like sound cards.
4. If you are using external speakers or headphones, check that all cables are connected properly and securely.
5. Check to see if any extra software such as equalizers or volume boosters is installed on your system and disable them if necessary.
6. Try plugging in different headphones or speakers to see if the sound is coming through correctly on those devices instead of laptop speakers.
7. If none of these solutions work, it could be a sign that there’s an underlying hardware problem with your laptop’s sound card – in which case you should take it to a technician for further diagnosis and repair if necessary.


