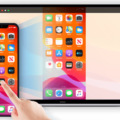
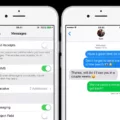
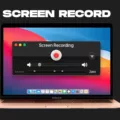
The iPhone 7 is a popular smartphone that comes with many features, including the ability to screen record. This can be incredibly useful for a variety of reasons, such as recording instructional videos, creating content for social media, or simply capturing a moment for posterity. In this article, we will explore how to screen record on an iPhone 7, as well as some tips for using this feature effectively.
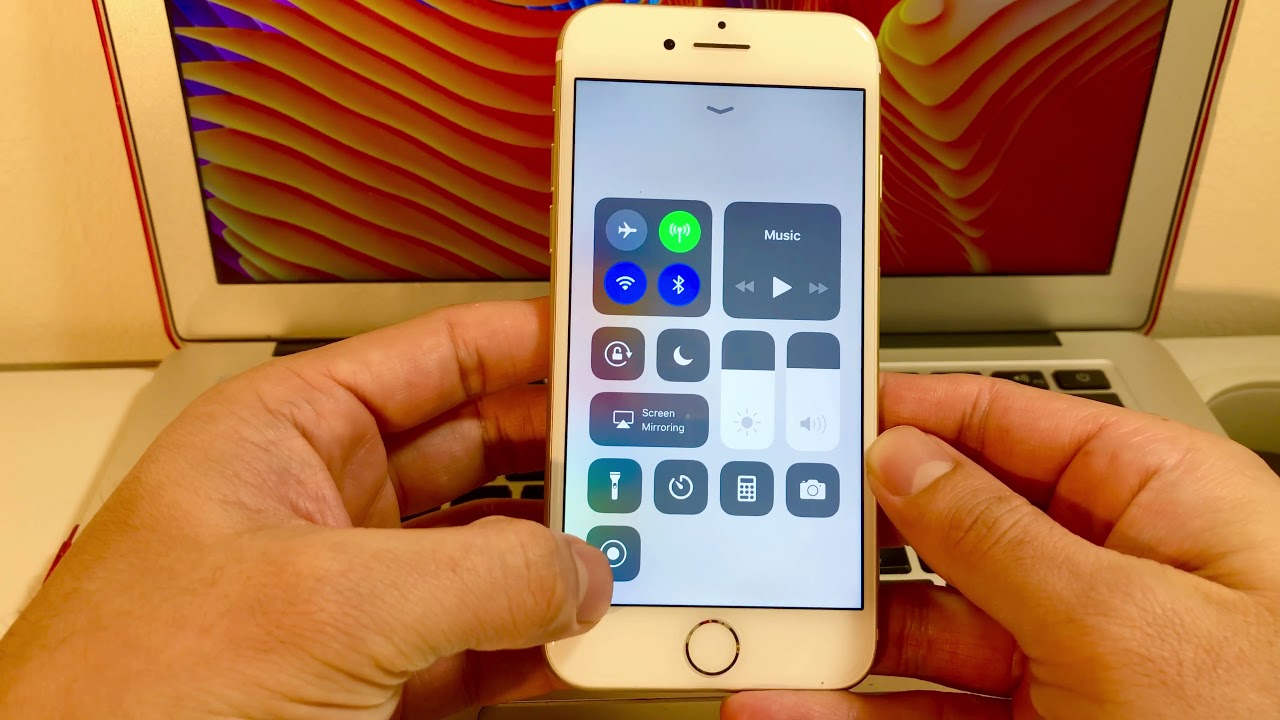
First, it’s important to note that the screen recording feature is built into the iPhone 7’s operating system, so there’s no need to download any additional apps or software. To access the feature, simply swipe up from the bottom of the screen to open the Control Center. You should see a button labeled “Screen Recording” – if you don’t, you can add it by going to Settings > Control Center > Customize Controls and tapping the green plus button next to Screen Recording.
Once you’ve added the screen recording button to your Control Center, you’re ready to start recording. Simply tap the button and wait for the countdown to finish – you’ll see a red bar at the top of your screen indicating that the recording is in progress. To stop the recording, simply tap the red bar and confirm that you want to stop recording.
One thing to keep in mind when using the screen recording feature is that it will capture everything that appears on your screen, including any notifications, incoming calls, or other interruptions. To avoid this, it’s a good idea to put your phone in Do Not Disturb mode while recording (you can do this by swiping up from the bottom of the screen and tapping the crescent moon icon).
Another tip for using screen recording on your iPhone 7 is to consider using an external microphone for better audio quality. While the iPhone’s built-in microphone is certainly capable, it can sometimes pick up unwanted background noise or produce muffled audio. By using an external microphone, you can ensure that your audio is clear and easy to understand.
The screen recording feature on the iPhone 7 can be a powerful tool for capturing and sharing content. By following the tips outlined in this article, you can use this feature effectively and ensure that your recordings are of the highest quality. Whether you’re creating instructional videos, recording gameplay, or simply capturing a moment for posterity, the iPhone 7’s screen recording feature is a valuable tool to have at your disposal.
Can iPhones Record Screen?
All iPhones with iOS 11 or later have the ability to record their screens. This feature is built into the operating system and can be accessed through the Control Center. However, it is important to note that the screen recording function may not be available on older iPhone models or on devices that are not running iOS 11 or later. Additionally, it is worth checking to see if the screen record button has been added to the Control Center, as this can make it easier and faster to start recording.
Recording Screen on iPhone 7 with Music
Recording your iPhone 7 screen with music playing in the background is a simple process. First, go to your device’s settings and navigate to the control center. From there, select “Customise Controls” and tap on “Screen Recording.” Enable the recording option on your device. It’s important to remember to turn on the music before starting the recording. Once you’re ready, click on the red recording icon in the menu bar to begin recording. After you’re done recording, click on the same icon again to stop the recording process. Using these steps, you can easily record your iPhone 7 screen with music playing in the background.
Recording Screen on iPhone 7 with iOS 14
To record your screen on an iPhone 7 running on iOS 14, you can easily do so using the built-in screen recording feature. Firstly, you need to ensure that the screen recording option is available in your Control Center. To do this, go to Settings, tap Control Center, and then tap Customize Controls. If the screen recording option is not in the Include list, tap the plus sign (+) next to Screen Recording to add it.
Once you have added the screen recording option to your Control Center, you can begin the screen recording process. To do this, open Control Center by swiping down from the top-right corner of your device’s screen. Then, tap the screen recording icon, which looks like a white circle surrounded by a dark circle. You will see a three-second countdown before the recording begins.
While the screen is being recorded, a red bar will appear at the top of your screen. To stop the recording, you can either tap the red bar and then tap Stop, or you can return to Control Center and tap the screen recording icon again.
It is important to note that some apps may not allow screen recording due to privacy and security reasons. Additionally, the screen recording feature may not be available on certain iPhone 7 models or in some countries or regions.
Conclusion
The iPhone 7 is capable of screen recording with iOS 11 or later. This feature is incredibly useful for those who want to capture and share their screen activities, including videos, games, and tutorials. With just a few simple steps, users can enable the screen recording function in the Control Center and start recording their screen. It’s important to note that users should also ensure that the screen record button is added to the Control Center for quick access. screen recording is a great feature to have on the iPhone 7, and it’s easy to use for anyone who wants to share their screen activities with others.

