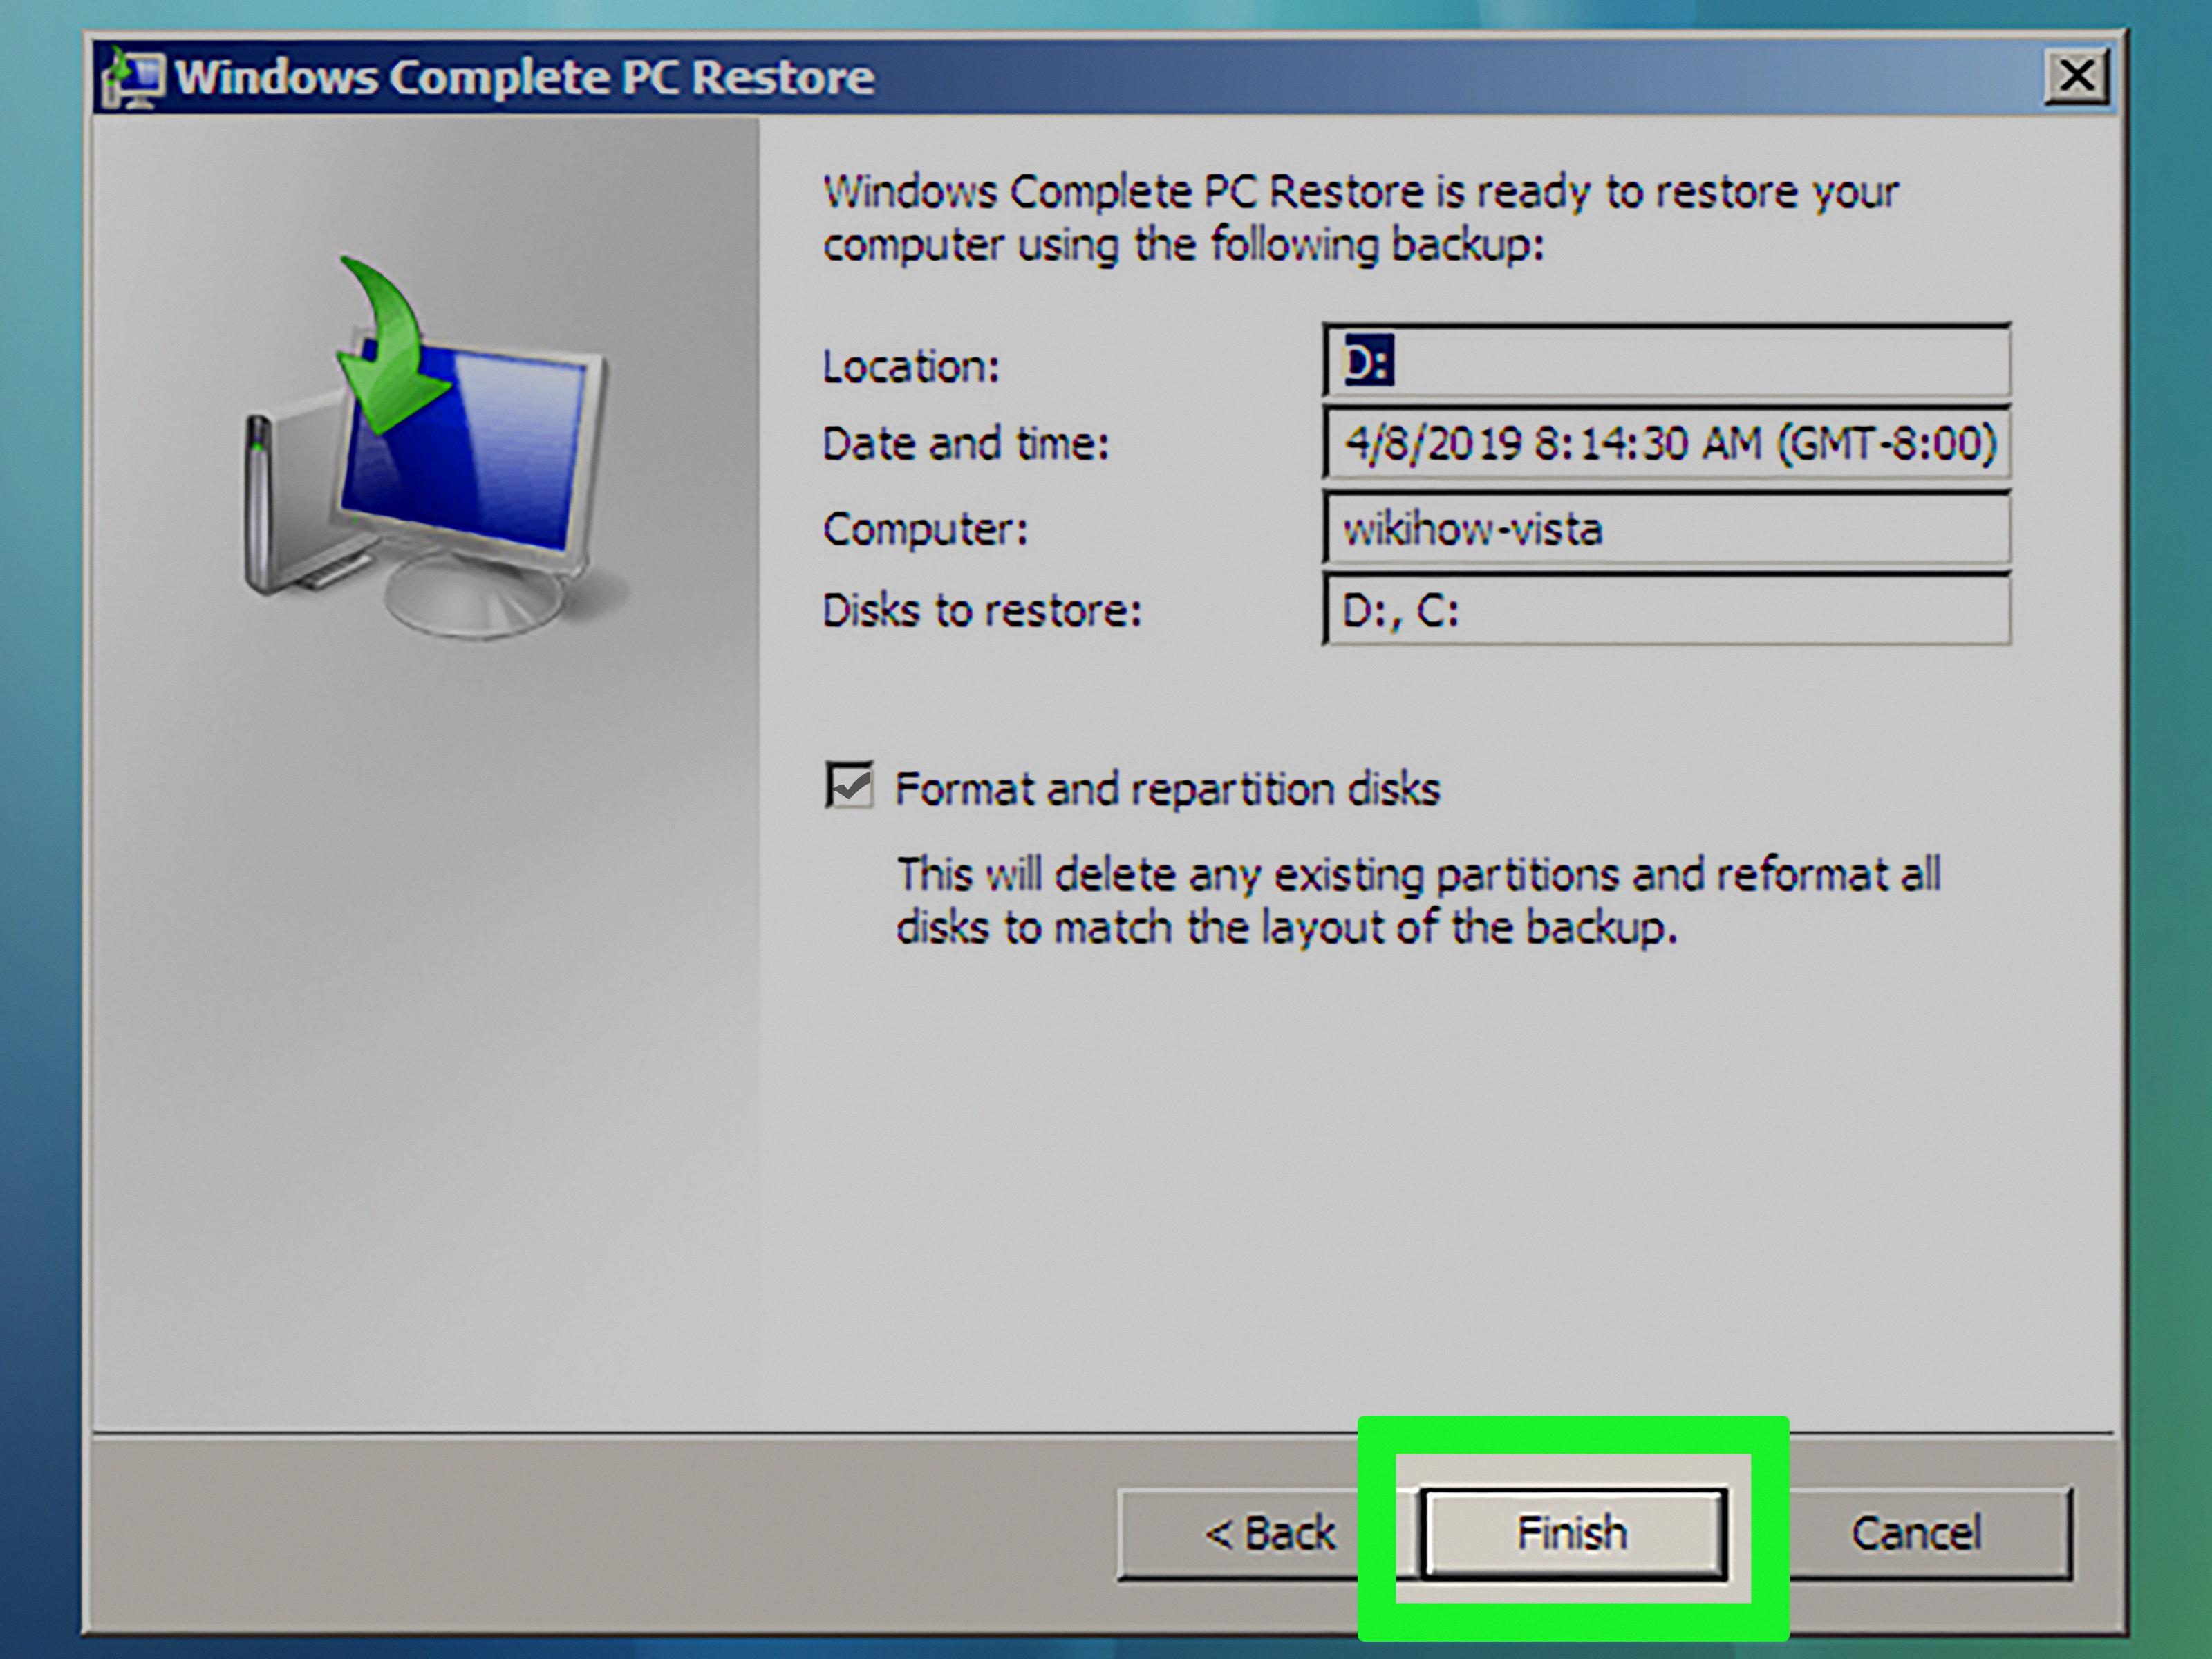
Windows Vista was a popular operating system released by Microsoft in 2006. However, over time, it became outdated and users started encountering various issues. If you are still using Windows Vista and experiencing problems, one solution is to wipe your hard drive and reinstall the operating system. In this article, we will guide you through the process of wiping your hard drive and reinstalling Windows Vista.
Before proceeding with the steps, it is crucial to back up all your important files and data. This is because wiping your hard drive will erase everything on it, including personal files, applications, and settings. Make sure to transfer your files to an external storage device or cloud storage.
To begin, you need to have a Windows Vista installation disc or a USB drive with the Windows Vista installation files. If you don’t have one, you can create a bootable USB drive using the Windows Vista ISO file.
Once you have the necessary installation media, follow these steps to wipe your hard drive and reinstall Windows Vista:
1. Insert the Windows Vista installation disc or USB drive into your computer.
2. Restart your computer and boot from the installation media. You may need to change the boot order in the BIOS settings to prioritize the installation media.
3. On the Windows Setup screen, select your language preferences and click “Next.”
4. Click on the “Install now” button to start the installation process.
5. Accept the license terms and click “Next.”
6. Choose the “Custom (advanced)” installation option.
7. On the next screen, you will see a list of partitions on your hard drive. Select each partition and click “Delete” until you have only one “Unallocated Space.”
8. Select the “Unallocated Space” and click “Next” to proceed with the installation.
9. Follow the on-screen instructions to complete the installation process. You may be prompted to enter your product key and choose your desired settings.
10. Once the installation is complete, your computer will restart, and you will be greeted with the Windows Vista setup wizard.
11. Follow the setup wizard to personalize your computer, create user accounts, and configure settings.
Congratulations! You have successfully wiped your hard drive and reinstalled Windows Vista. Your computer should now be clean and ready to use.
It is important to note that Windows Vista is an outdated operating system and is no longer supported by Microsoft. This means that you may not receive security updates and bug fixes, making your computer vulnerable to threats. Considering upgrading to a newer version of Windows, such as Windows 10, for better performance, security, and support.
Wiping your hard drive and reinstalling Windows Vista can help resolve issues and give your computer a fresh start. However, it is recommended to upgrade to a newer operating system for better support and security.
How Do I Wipe My Hard Drive And Reinstall Operating System?
To wipe your hard drive and reinstall the operating system, follow these steps:
1. Open the Start menu and click on Settings.
2. In the Settings window, select the System category.
3. Scroll down and choose the Recovery option.
4. Click on the “Reset PC” button.
5. You will be presented with two options: “Keep my files” and “Remove everything.” Select the latter to completely wipe your hard drive.
6. Next, you will be asked to choose how you want to reinstall Windows. This can be done either by using a Windows installation media (such as a USB drive or DVD) or by downloading the necessary files from Microsoft’s servers. Make your selection and proceed.
7. Click on the “Change settings” link to customize some additional options, if desired.
8. One of the options you can change is whether to clean the drive completely. This option securely erases your data, making it much more difficult for anyone to recover it. If you want to ensure your data is irrecoverable, select the “Clean data?” option.
9. Once you’ve made your choices, click on the “Next” button to proceed.
10. click on the “Reset” button to begin the process of wiping your hard drive and reinstalling the operating system.
Remember that this process will erase all your personal files and programs from the hard drive, so make sure to back up any important data before proceeding.

How Do I Delete All Data From My Old Computer?
To delete all data from your old computer, you can perform a factory reset. Follow these steps:
1. Navigate to the Settings menu on your computer. You can usually find it by clicking on the Start menu and selecting the gear icon.
2. In the Settings menu, look for the category labeled “Update & Security” and click on it.
3. Within the “Update & Security” category, you should see a tab called “Recovery.” Click on it.
4. In the Recovery tab, you will find an option titled “Reset this PC.” Click on the “Get Started” button underneath it.
5. At this point, you will be presented with two options: “Keep My Files” or “Remove Everything.” Select the option that suits your needs.
– If you choose “Keep My Files,” your personal files and apps will be preserved, but the PC settings will be reset to their defaults.
– If you select “Remove Everything,” all of your personal files, apps, and PC settings will be removed. This option is recommended if you want to completely wipe your computer before selling or donating it.
6. After selecting your preferred option, you may be prompted to choose whether you want to remove files only from the drive where Windows is installed or from all drives. Make your selection based on your requirements.
7. The next step may vary depending on your computer’s manufacturer and operating system. You might be asked to insert a Windows installation disc or provide other necessary files. Follow the on-screen instructions accordingly.
8. Once you have confirmed your choice and any additional prompts, the factory reset process will begin. It may take some time for the reset to complete, as all data will be erased and the operating system will be reinstalled.
9. After the reset is finished, your old computer will be in a clean state, ready to be set up again or transferred to a new owner.
Remember to back up any important files or data before performing a factory reset, as the process will permanently delete all data from your old computer.
How Do I Factory Reset My Computer To Reinstall Windows?
To factory reset your computer and reinstall Windows, follow these steps:
1. Click on the Start button on the bottom left corner of your screen.
2. Click on Settings, which is represented by a gear icon.
3. In the Settings menu, click on Update & Security.
4. From the left sidebar, select Recovery.
5. Under the Reset this PC section, click on the Get Started button.
You will now be presented with two options: Keep my files and Remove everything.
– If you choose the “Keep my files” option, it will remove apps and settings but will keep your personal files intact.
– If you choose the “Remove everything” option, it will remove all of your personal files, apps, and settings.
6. Select the option that suits your needs.
Next, you will be prompted to choose whether you want to keep your files stored in the cloud or remove everything from the local drive. Select the appropriate option based on your preference.
After that, you might be asked to change your settings. This step allows you to choose whether you want to have a quick reset or a thorough reset. The thorough reset will take longer but will remove more data and files from your computer.
Once you have made your selection, the reset process will begin. Your computer will restart and the reinstallation of Windows will commence. This process may take some time, so be patient and let it complete.
Note: If your computer came with preinstalled apps that you don’t want to restore, make sure to set the “Restore preinstalled apps?” option to No during the reset process.
By following these steps, you will be able to factory reset your computer and reinstall Windows, ensuring a fresh start for your system.
How Do I Completely Wipe My Computer?
To completely wipe your computer, you can follow these steps:
1. Back up your important files: Before wiping your computer, it’s crucial to back up any important files you want to keep. You can copy them to an external hard drive, a cloud storage service, or even burn them onto DVDs.
2. Sign out of all accounts: Make sure you sign out of all accounts and services on your computer. This includes email accounts, social media accounts, and any other platforms you may be logged into.
3. Uninstall unnecessary programs: Go through your list of installed programs and uninstall any applications that you no longer need or use. This will help free up space on your computer and make the wiping process faster.
4. Deauthorize software: If you have any software that requires authorization, such as Adobe Creative Cloud or iTunes, make sure to deauthorize them. This will allow you to use your licenses on a different computer later.
5. Disconnect external devices: Remove any external devices, such as USB drives, external hard drives, or printers, from your computer.
6. Restart your computer: Restarting your computer will ensure that all programs and processes are closed before you proceed with the wiping process.
7. Reinstall the operating system: To completely wipe your computer, you will need to reinstall the operating system. This process may vary depending on the operating system you are using.
– For Windows: Insert the installation media (such as a USB or DVD) into your computer. Restart your computer and boot from the installation media. Follow the on-screen instructions to reinstall Windows. During the installation process, you will have the option to format your hard drive, which will erase all data on it.
– For macOS: Restart your Mac and hold down the Command and R keys simultaneously until the Apple logo appears. This will boot your computer into macOS Recovery. From there, select Disk Utility and erase your hard drive. Then, exit Disk Utility and choose to reinstall macOS.
8. Follow the on-screen instructions: Once you have started the reinstallation process, follow the on-screen instructions provided by your operating system to complete the wipe.
9. Update your computer: After the operating system is reinstalled, make sure to update it to the latest version. This will ensure that your computer is running with the latest security patches and improvements.
10. Reinstall necessary software and restore files: reinstall the necessary software applications and restore your files from the backup you created in step 1.
By following these steps, you can completely wipe your computer and start fresh with a clean operating system. Just remember to back up any important files before proceeding.
Conclusion
Windows Vista was an operating system released by Microsoft in 2007. It aimed to provide users with new features and improvements compared to its predecessor, Windows XP. However, it faced numerous issues and criticisms, leading to a less favorable reception among both consumers and professionals.
One of the main issues with Windows Vista was its system requirements. It demanded high hardware specifications, making it difficult for many users to upgrade their existing computers. This led to performance issues and slower operation on machines that did not meet the recommended specifications.
Another major concern was the compatibility of software and hardware with Windows Vista. Many older applications and devices were not fully compatible with the new operating system, causing compatibility issues and driver problems. This made it challenging for users to seamlessly transition to Windows Vista without encountering issues with their existing software and peripherals.
Windows Vista was also criticized for its User Account Control (UAC) feature, which aimed to enhance security by requiring user permission for system changes. However, the frequent prompts and notifications were seen as intrusive and annoying by many users, leading to frustration and a negative user experience.
Additionally, Windows Vista had a reputation for being unstable and prone to crashes and system failures. This further contributed to its poor reception among users, as stability is a crucial aspect of any operating system.
Despite these issues, Windows Vista did introduce some new features and improvements, such as an enhanced graphical interface, better search functionality, and improved security measures. However, these positive aspects were overshadowed by the numerous problems faced by the operating system.
In light of these challenges, Microsoft eventually released Windows 7 as a successor to Windows Vista, addressing many of the issues and concerns raised by users. Windows 7 proved to be more stable, efficient, and compatible, gaining a much more positive reception from both consumers and professionals.
Windows Vista was a significant milestone in Microsoft’s operating system history, but it faced numerous challenges and criticisms that ultimately led to its lackluster reputation. It serves as a reminder of the importance of hardware compatibility, system stability, and user experience in the development of operating systems.


