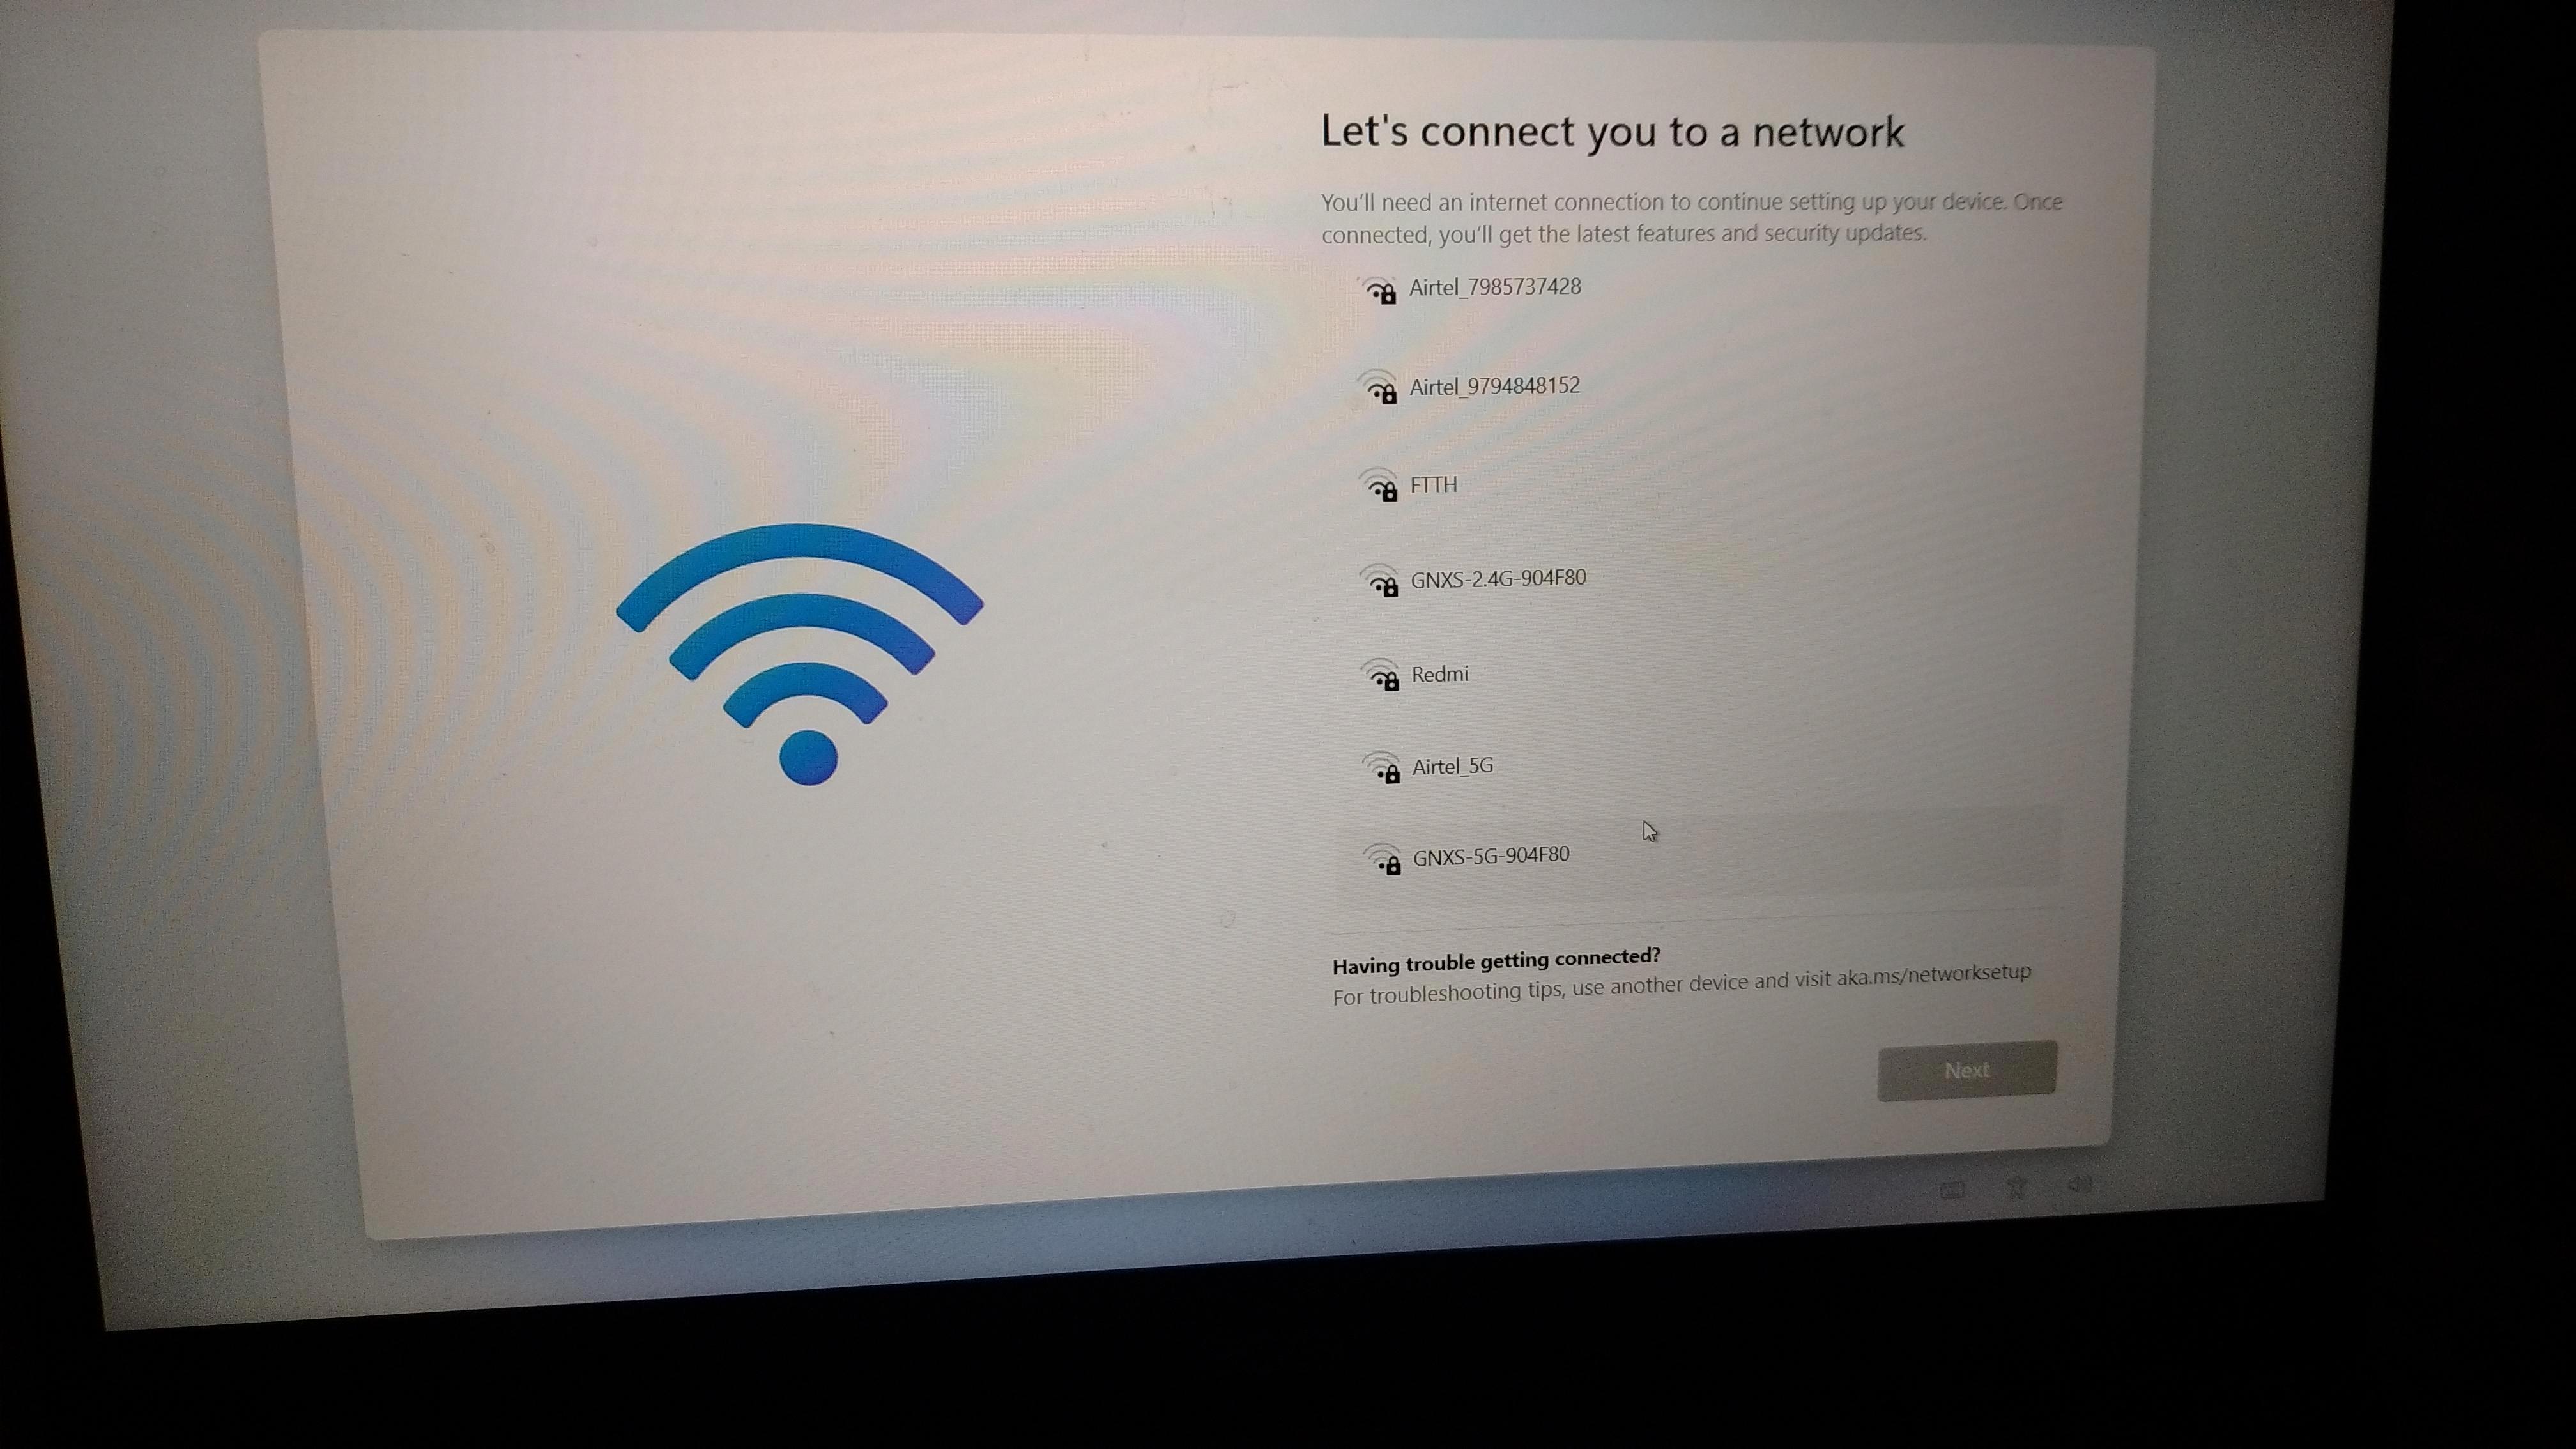
In today’s digital age, a stable and reliable internet connection is essential. While Wi-Fi is commonly used, Ethernet connections offer a more secure and faster connection. If you’re using Windows 8 and want to enable your Ethernet connection, you’ve come to the right place. In this article, we will guide you through the steps to enable Ethernet connection on Windows 8.
To enable Ethernet on Windows 8, follow these steps:
1. Connect your computer to the network port using an Ethernet cable.
2. From the Windows 8 Start screen, type “Control Panel” and press the Enter key to open it.
3. In the Control Panel window, select “Administrative Tools.”
4. In the Administrative Tools window, locate and select “Services.”
5. A list of services will appear. Right-click on “Wired AutoConfig” and select “Properties” from the drop-down menu.
6. In the Wired AutoConfig Properties window, go to the “General” tab.
7. Under the “Startup type” section, select “Automatic” from the drop-down menu.
8. Click the “Apply” button at the bottom right corner of the window.
9. click the “OK” button to save the changes.
By following these steps, you have successfully enabled Ethernet on your Windows 8 computer.

How Do You Enable Ethernet Settings?
To enable Ethernet settings, follow these steps:
1. Open the Settings menu on your device.
2. Look for the “Network & internet” option and select it.
3. In the Network & internet settings, locate and click on the “Ethernet” option.
4. Check the status of your Ethernet connection at the top of the screen. It should say “Connected” underneath the network connection name. If there is an error message, such as “Action needed,” proceed to the next step.
5. Click on the Ethernet connection to view and modify your Ethernet connection settings.
6. Ensure that the toggle switch for Ethernet is turned on or enabled.
7. If necessary, you can also configure advanced settings such as IP address, DNS, and proxy settings by clicking on the appropriate options within the Ethernet settings.
8. Once you have made any desired changes, close the settings menu.
By following these steps, you should be able to enable and configure your Ethernet settings effectively.
How Do You Enable Ethernet Instead of WiFi?
To enable Ethernet instead of WiFi on your computer, follow these steps:
1. Go to the View Network Connections or Control Panel\ All Control Panel Items\ Network and Sharing Center on your computer.
2. Click on “Change adapter settings” to access the network connections settings.
3. In the Network Connections window, you will see a list of available network connections. Right-click on the Ethernet connection and select “Properties” from the drop-down menu.
4. In the Ethernet Properties window, you will see a list of connection items. Click on “Internet Protocol Version 4 (TCP/IPv4)” and then click on the “Properties” button.
5. In the TCP/IPv4 Properties window, make sure the option “Obtain an IP address automatically” is selected. This will allow your computer to automatically obtain an IP address from the Ethernet connection.
6. Now, to prioritize Ethernet over WiFi, go back to the Network Connections window and click on “Advanced” in the menu bar. From the drop-down menu, select “Advanced Settings…”
7. In the Advanced Settings window, under the “Connections” section, you will see a list of connection types. Locate “Ethernet” in the list and use the arrows on the right to move it above “WiFi”. This will prioritize the Ethernet connection over the WiFi connection.
8. Click on “OK” to save the changes and exit the Advanced Settings window.
By following these steps, you have successfully enabled Ethernet instead of WiFi on your computer. Your computer will now prioritize the Ethernet connection when both Ethernet and WiFi are available.
How Do You Fix Your Network Adapter Windows 8?
To fix network adapter issues on Windows 8, you can follow these steps:
1. Restart the computer and the router: Sometimes, a simple reboot can resolve connectivity problems. Start by restarting your computer and then power cycle your router by unplugging it, waiting for a few seconds, and then plugging it back in.
2. Prevent network adapter from going into sleep mode: By default, Windows may put your network adapter to sleep to save power. This can sometimes cause connectivity issues. To prevent this, go to the Control Panel, select “Network and Internet,” then “Network and Sharing Center.” Click on “Change adapter settings,” right-click on your network adapter, and select “Properties.” Go to the “Power Management” tab and uncheck the option that allows Windows to turn off the device to save power.
3. Disable USB selective suspend setting: If you are using a USB wireless adapter, disabling the USB selective suspend setting can help. Open the Control Panel, go to “Power Options,” then click on “Change plan settings” for your selected power plan. Select “Change advanced power settings,” expand the “USB settings” option, and disable the “USB selective suspend setting.”
4. Remove antivirus software: Sometimes, antivirus software can interfere with network connectivity. Temporarily disable or uninstall any third-party antivirus software and check if the issue persists.
5. Check for BIOS or driver updates: Outdated BIOS or network adapter drivers can cause problems with connectivity. Visit the manufacturer’s website of your computer or network adapter and look for any available updates. Install them as needed.
6. Reinstall network driver: If updating the network driver doesn’t solve the problem, try reinstalling it. Open the Device Manager by right-clicking on the Start button and selecting “Device Manager.” Expand the “Network adapters” category, right-click on your network adapter, and select “Uninstall device.” Restart your computer, and Windows will automatically reinstall the driver.
7. Recover the computer: If none of the above steps work, you can try recovering your computer to a previous state when the network adapter was working correctly. Open the Control Panel, go to “Recovery,” and select “Open System Restore.” Follow the on-screen instructions to choose a restore point and revert your computer settings.
By following these troubleshooting steps, you should be able to fix network adapter issues on Windows 8.
Conclusion
Troubleshooting an Ethernet connection on Windows 8 and 8.1 can be done by following a few simple steps. First, make sure that the Ethernet cable is securely connected to your computer’s network port. Then, navigate to the Control Panel and select Administrative Tools, followed by Services. In the Services window, locate the Wired AutoConfig service, right-click on it, and select Properties. Set the Startup type to Automatic and click Apply.
Next, open the Settings menu and go to Network & internet. Check the status of your Ethernet connection at the top of the screen. It should say Connected underneath the network connection name. If there is an error, such as Action needed, select Ethernet to view the connection settings.
If you are still experiencing issues, there are a few additional troubleshooting steps you can take. Reboot both your computer and the router to refresh the connection. Prevent the network adapter from going into sleep mode and disable the USB selective suspend setting. Remove any antivirus software that may be interfering with the connection.
Check for any available BIOS or driver updates for your computer. Sometimes, outdated firmware or drivers can cause connectivity problems. Reinstalling the network driver can also help resolve any issues. If all else fails, you may need to consider recovering your computer to a previous state or seeking technical support.
By following these steps and troubleshooting methods, you should be able to resolve any Ethernet connection issues on your Windows 8 or 8.1 computer.


