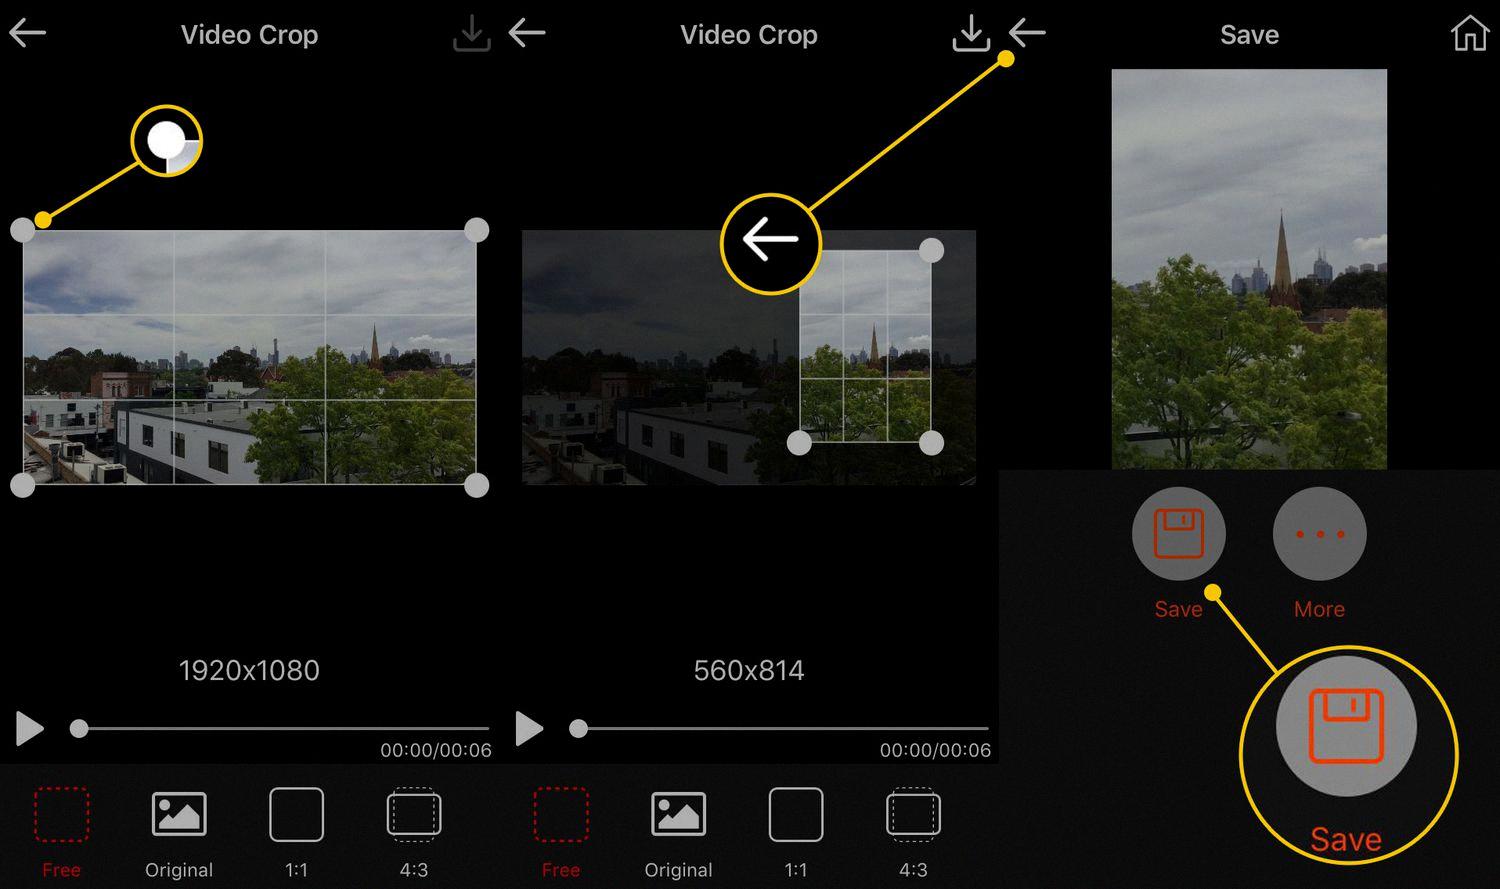
Picture cropping is a crucial aspect of photo editing, allowing you to focus on specific elements and enhance the overall composition. If you’re an iPhone user, you’re in luck because cropping pictures on this device is simple and convenient. In this article, we will guide you through the process of cropping a picture on an iPhone, as well as how to crop a picture into a circle.
To begin with, let’s explore the general method for cropping a picture on an iPhone. Firstly, open the Photos app and locate the picture you wish to crop. Once you have selected the desired photo, tap on the “Edit” button in the top-right corner of the screen. This will open up the editing tools for the photo.
Within the editing tools, you will find various options to enhance your photo, including cropping. Tap on the crop tool, which is represented by a square icon with dotted lines. This will activate the crop feature, allowing you to adjust the size and position of the photo.
A white box will appear on the photo, indicating the current cropping area. You can now adjust the size and position of this box to crop the photo according to your preferences. Simply drag the corners or sides of the box to resize it, or move the box around to reposition the cropping area.
Once you are satisfied with the cropping, tap the “Done” button in the bottom-right corner to save your changes. This will apply the crop to your photo, and you can now view the edited version in your Photos app.
Now, let’s dive into the process of cropping a picture into a circle on an iPhone. Unfortunately, the built-in Photos app does not offer a direct option to crop pictures into shapes. However, there are alternative methods to achieve this effect.
One popular approach is to use third-party apps specifically designed for photo editing and manipulation. These apps often provide a wide range of creative options, including the ability to crop pictures into different shapes such as circles.
To crop a picture into a circle using a third-party app, you will need to download and install the app from the App Store. Once installed, open the app and import the photo you wish to edit. Look for the cropping tool within the app’s editing features, and select the option to crop into a circle.
Follow the app’s instructions to adjust the size and position of the circle crop, and then save your edited photo. You can now access the edited picture in your Photos app or share it with others.
Cropping pictures on an iPhone is a straightforward process that can greatly enhance the composition and visual impact of your photos. While the built-in Photos app provides basic cropping options, third-party apps offer more advanced features, including the ability to crop pictures into various shapes like circles. Experiment with different cropping techniques to bring out the best in your photos and unleash your creative potential.
How Do You Circle a Picture on Your iPhone?
To circle a picture on your iPhone, follow these steps:
1. Open the Photos app on your iPhone.
2. Locate and select the photo you want to edit.
3. Tap on the “Edit” button at the top right corner of the screen.
4. In the editing options at the bottom of the screen, tap on the “Markup” button. It looks like a pencil tip within a circle.
5. Now, tap on the “+” button to access additional markup tools.
6. From the available options, choose the circle tool. It is represented by a circle shape.
7. Once selected, you can adjust the size and position of the circle by using your finger on the screen.
8. To change the color of the circle, tap on the color palette icon located at the top right corner of the screen. Choose the desired color from the available options.
9. If you want to add text or any other markup elements, you can do so by tapping on the “+” button again and selecting the respective tool.
10. Once you are satisfied with the circle and any additional markup, tap on “Done” at the bottom right corner of the screen.
11. tap on “Done” again to save the edited photo with the circled picture.
By following these steps, you can easily circle a picture on your iPhone using the built-in Markup tool in the Photos app.

Where is the Crop Tool on iPhone Photos?
The crop tool on iPhone photos can be found within the Photos app. To access it, open the desired photo and pinch the screen to zoom in on the image. Once you have zoomed in to the desired crop area, you will notice a “Crop” option located in the top-right corner of the screen. Tap on this option to proceed with the cropping process.
Upon tapping the Crop option, you will be presented with various crop tools and options. These tools allow you to further customize the crop area and make adjustments as needed. You can drag the corners of the crop box to resize it, or use the aspect ratio options to constrain the crop to a specific shape.
Additionally, within the crop tools, you may find options such as straightening, rotating, and flipping the image. These options can help you align and adjust the photo before finalizing the crop.
Once you are satisfied with the crop and any other adjustments, tap the “Done” button in the bottom-right corner of the screen. This will save your cropped photo and apply the changes. The original uncropped version of the photo will still be accessible, as the cropping process does not overwrite the original image.
How Do You Crop a Picture in the Center on iPhone?
To crop a picture in the center on iPhone, follow these steps:
1. Open the Photos app on your iPhone and locate the picture you want to crop.
2. Tap on the photo to open it.
3. At the bottom of the screen, tap on the “Edit” button.
4. In the editing options that appear, tap on the crop tool. It is represented by a square overlapping two diagonal lines.
5. Once you tap on the crop tool, you will see a white box appear on your photo. This box represents the cropping area.
6. To crop the picture in the center, you need to make sure that the white box is positioned in the center of the photo. You can do this by dragging the edges of the box or by using the pinch gesture to adjust its size.
7. When you are satisfied with the position and size of the white box, tap on the “Done” button in the bottom right corner of the screen.
8. Your photo will now be cropped in the center according to the position and size of the white box.
9. To save the cropped photo, tap on the “Done” button again.
Conclusion
Cropping a picture on an iPhone is a simple and straightforward process. Whether you want to crop to fit a specific shape or just make general adjustments to the composition of the photo, the iPhone provides easy-to-use tools for achieving the desired result. By selecting the photo and tapping the Edit button, you can access the Markup feature, which allows you to add text, shapes, and more to your picture. Additionally, the iPhone offers a quick way to crop photos while viewing them by simply pinching the photo to zoom in and tapping the Crop button. With these features, you can easily crop and enhance your photos to create visually appealing and professional-looking images.


