Android is a versatile operating system that powers millions of smartphones and tablets worldwide. It offers a wide range of features and functionalities, making it a popular choice among users. One of the lesser-known capabilities of Android is its ability to act as a bootable USB or removable storage device.
To use your Android phone as a bootable USB or removable storage, you will need a USB cable with a micro USB connector on one end and a regular USB connector on the other. Once you have the cable, follow these steps:
1. Connect your Android phone to your computer using the USB cable. Make sure to plug the micro USB connector into your phone and the regular USB connector into an available USB port on your computer.
2. On your Android phone, swipe down from the top of the screen to access the notification panel. Tap on the USB notification and select “File transfer” or “Media transfer” mode. This will enable your phone to be recognized as a removable storage device by your computer.
3. On your computer, open the file explorer or finder and you should see your Android phone listed as a removable storage device. You can now access the files and folders on your phone, just like you would with any other USB drive.
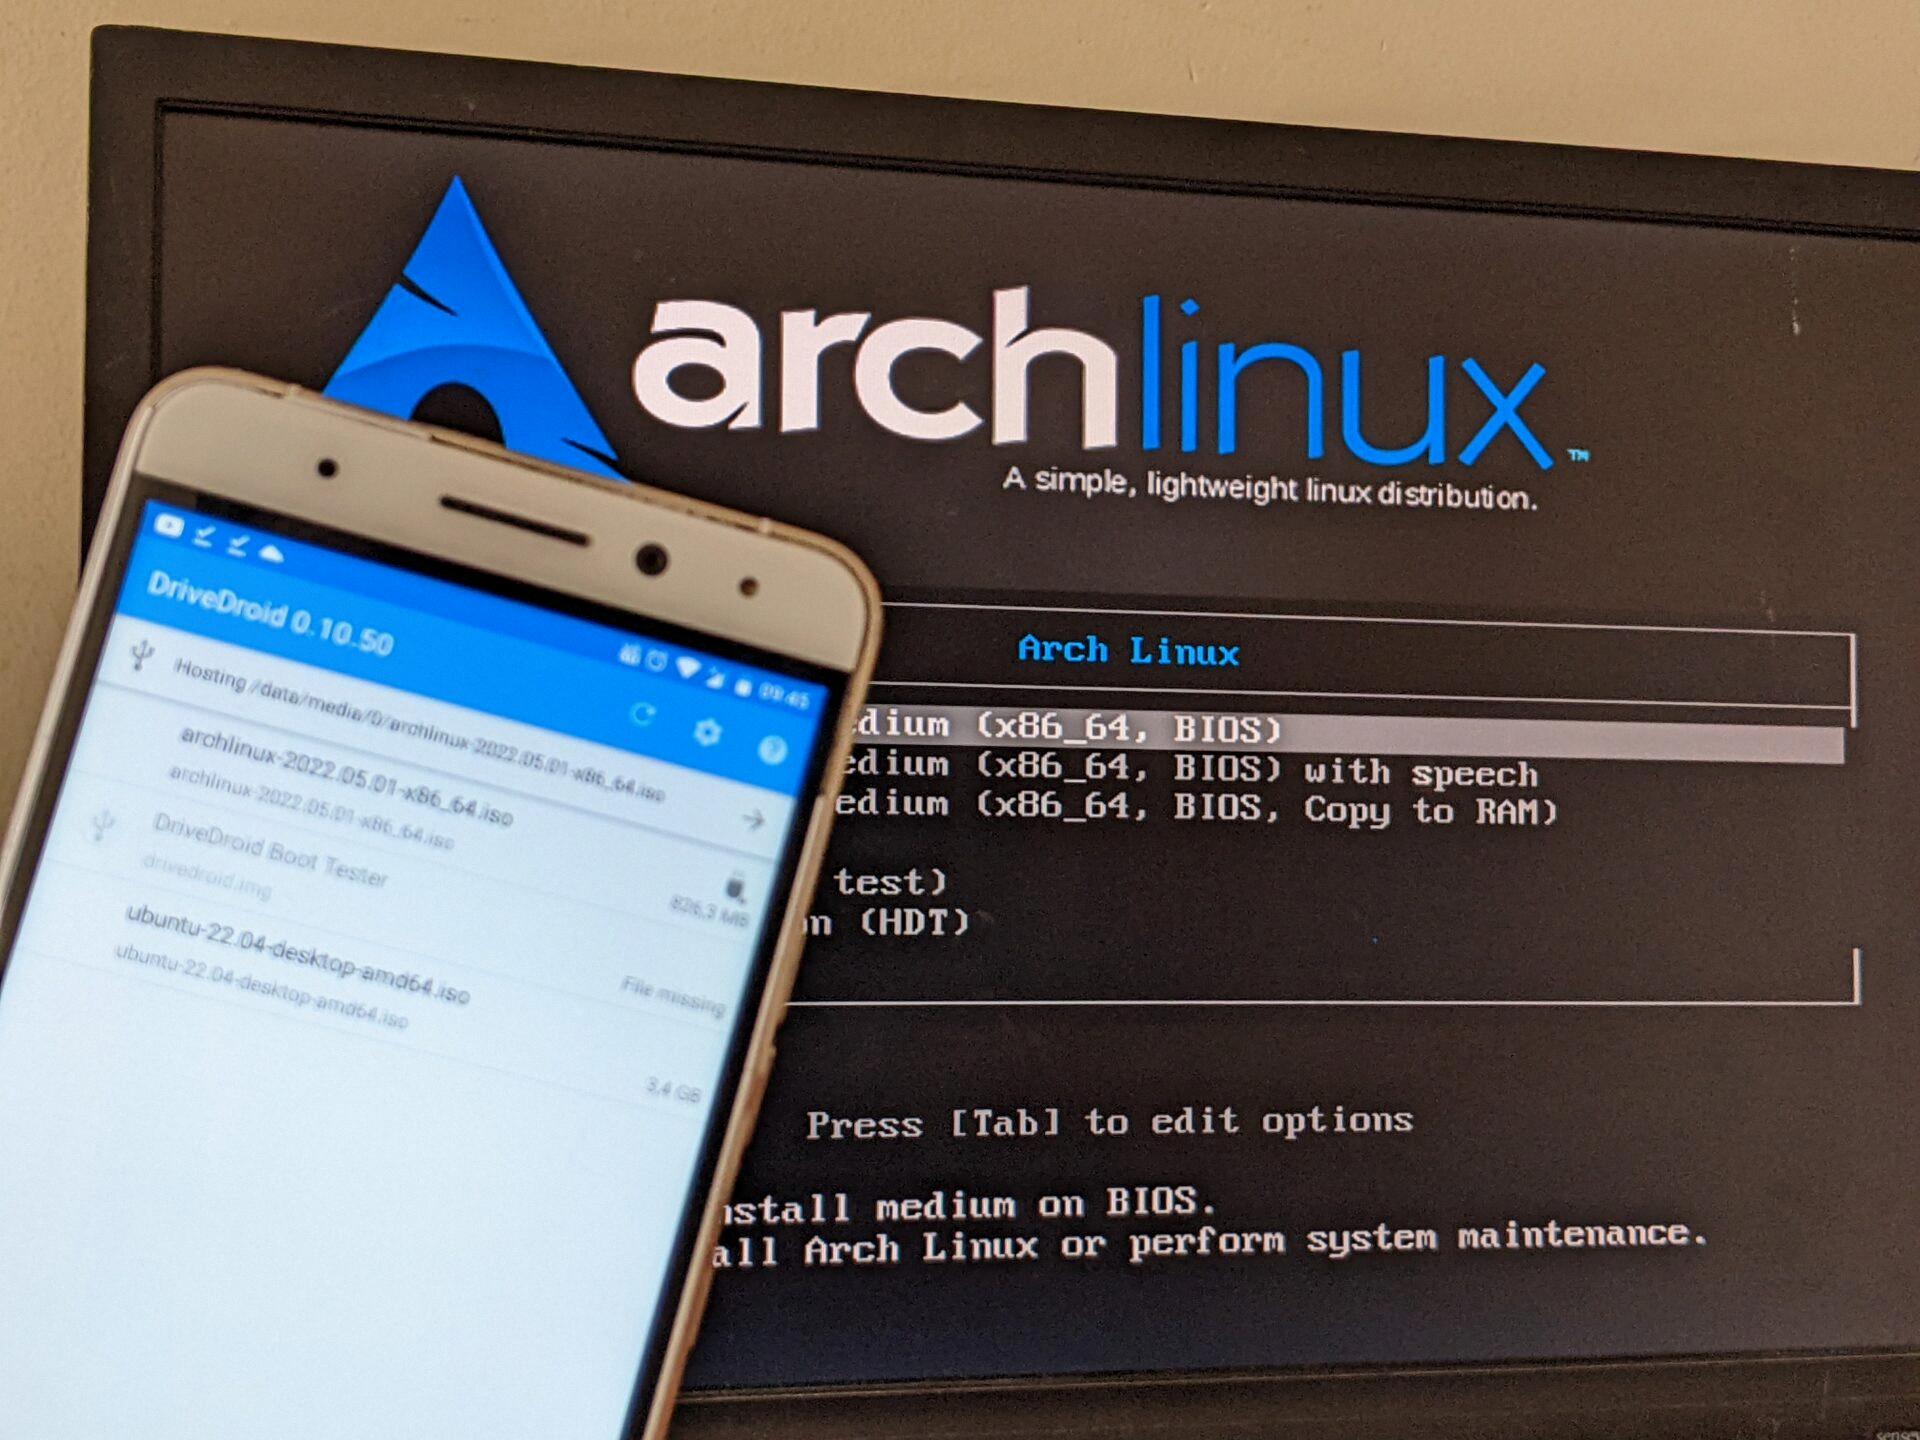
4. To use your Android phone as a bootable USB device, you will need to have a bootable image or ISO file. This could be an operating system installation file or a disk utility tool. Once you have the bootable image or ISO file, simply copy it to your Android phone using the file explorer or finder on your computer.
5. Once the bootable image or ISO file is copied to your Android phone, you can use it to boot up another computer. To do this, connect your Android phone to the computer you want to boot from using the USB cable. Then, access the boot menu or BIOS settings on the computer and select the option to boot from a USB device. Your Android phone should be listed as an available bootable device. Select it and follow the on-screen instructions to boot up the computer using the bootable image or ISO file on your phone.
Using your Android phone as a bootable USB or removable storage device can come in handy in various situations. It allows you to carry important files, software tools, or even an entire operating system with you wherever you go. Whether you need to troubleshoot a computer, install a new operating system, or transfer files between devices, your Android phone can serve as a versatile and portable storage solution.
Android phones have the ability to function as bootable USB or removable storage devices. By connecting your Android phone to your computer using a USB cable and enabling file transfer mode, you can access and transfer files between devices. Additionally, by copying a bootable image or ISO file to your Android phone, you can use it to boot up another computer. This feature offers convenience and flexibility for various tasks and situations.
Can You Use An Android As A USB Drive?
You can use an Android phone as a USB drive or removable storage. By connecting your Android phone to your computer using a USB cable, you can transfer files between the two devices just like you would with a regular USB drive.
To use your Android phone as a USB drive, follow these steps:
1. Make sure you have a USB cable that has a micro-USB or USB-C connector on one end (depending on your phone model) and a regular USB connector on the other end.
2. Plug the micro-USB or USB-C end of the cable into your Android phone’s charging port.
3. Plug the regular USB end of the cable into an available USB port on your computer. It can be any USB port, such as those on your computer tower, laptop, or USB hub.
4. On your Android phone, swipe down from the top of the screen to access the notification panel. Look for a notification that says “USB charging this device” or something similar.
5. Tap on the notification and select “Transfer files” or “File transfer” from the options that appear. This will change the USB connection mode from charging to file transfer.
6. On your computer, the Android phone should now appear as a removable storage device. You can access it through the file explorer or Finder (on Mac). It will typically be listed under “My Computer” or “This PC” on Windows or as a mounted drive on Mac.
7. Double-click on the Android phone’s icon to open it and browse its contents. You can now copy and paste files between your computer and Android phone, just like you would with a regular USB drive.
Remember to safely eject or disconnect your Android phone from your computer when you’re done transferring files. This helps prevent data corruption and ensures that all files are safely transferred.
Using your Android phone as a USB drive provides an easy and convenient way to transfer files between your phone and computer, making it a versatile tool for storing and accessing data on the go.
Conclusion
Connecting your Android phone as a pen drive or removable storage is a simple and convenient way to transfer files between your phone and computer. By using the appropriate USB cable, you can easily plug your Android phone into any USB port on your computer. This allows you to access and manage the files on your phone as if it were a regular external storage device.
This method is particularly useful when you need to transfer large files, such as videos or photos, or when you want to back up important files from your phone. It eliminates the need for cloud storage or other transfer methods, providing a direct and efficient way to manage your Android phone’s storage.
Additionally, by connecting your Android phone as a pen drive or removable storage, you can also easily transfer files between different computers. This is especially helpful if you frequently work on different devices or need to share files with colleagues or friends.
Connecting your Android phone as a pen drive or removable storage is a valuable feature that enhances the versatility and usability of your device. It provides a convenient way to manage and transfer files, making it a must-know technique for any Android user.

