The iPhone and its Notes app offer a convenient way to scan multiple pages into a single PDF document. With the help of the device’s camera, users can easily scan and store important documents such as contracts, receipts, or invoices. The process is simple and straightforward, requiring no additional hardware or software.
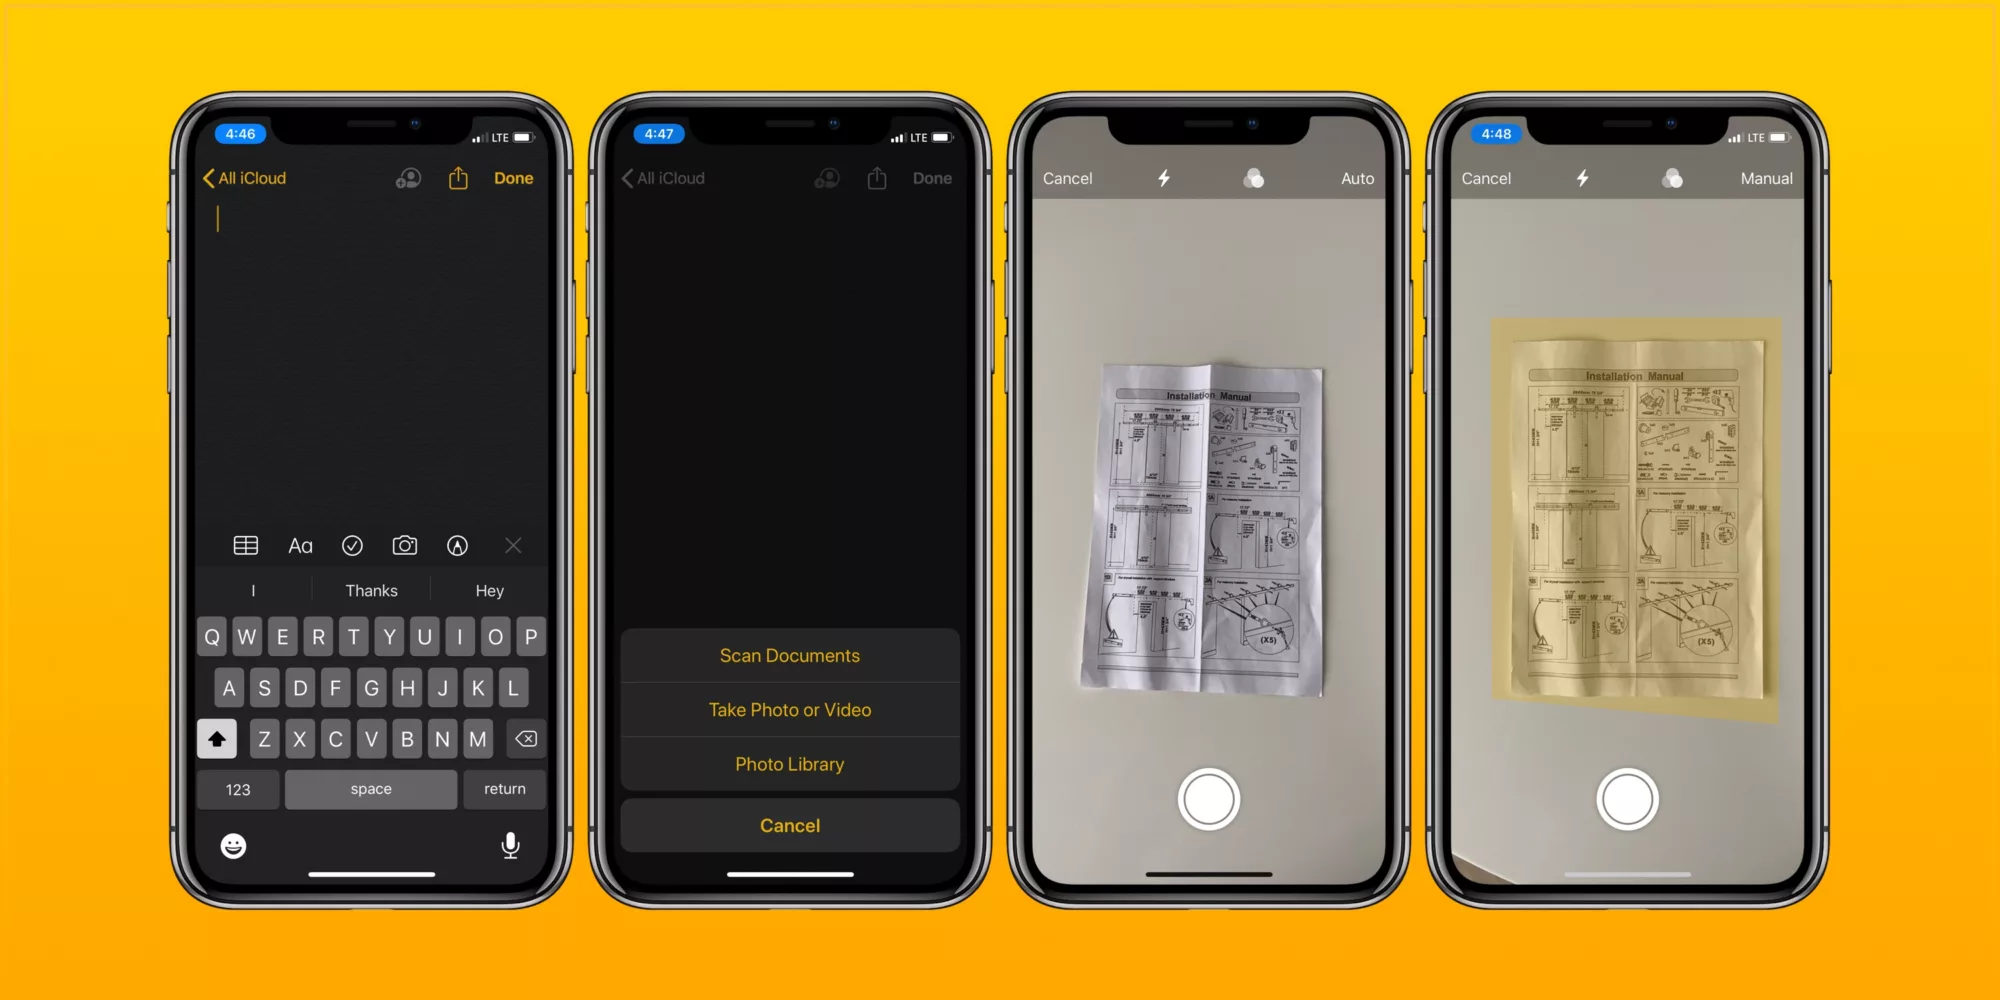
To start off, users will need to open the Notes app on their iPhone or iPad. From here they can select the ‘+’ icon at the bottom of their screen to create a new note. Once on the note page, users should tap on the camera icon located in the top right corner. This will give them access to their device’s camera where they can start scanning pages one by one.
When scanning documents with multiple pages, users need to be mindful of how they place each page on their device’s camera. It is important to make sure that all edges line up properly and that each page is positioned correctly so that it doesn’t overlap with any other pages. After all of the desired pages are scanned in, users should select “Done” to save them as a single PDF document.
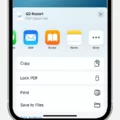
Once saved as a PDF file, users can add an e-signature if needed and then send them off via email or any other method they choose. This makes it easy for people who work remotely or away from their office – no more having to print out multiple pages and manually sign each one!
The iPhone Notes app offers a quick and easy way for users to scan multiple pages into one PDF document with just a few taps from their device’s camera. Whether you are looking for an efficient way to store important documents electronically or just want an easier way to sign forms remotely, this feature makes it possible for anyone with an iPhone or iPad!

Scanning Multiple Pages At Once On An iPhone
Yes, you can scan multiple pages at once on your iPhone or iPad using the Notes app. To do this, open the Notes app and tap the “+” icon in the top right corner. Select Scan Documents from the menu that appears. The camera will open and you can take a picture of your document. Once you have taken a picture, you can add more pages to the same document by tapping “Add Page”. When you are finished, tap “Done” and your scanned PDF will be saved to Notes.
Combining Multiple Scans Into One File
Combining multiple scans into one file is a fairly easy process if you have the right tools. First, make sure you have a scanner that has the ability to scan multiple pages simultaneously. You’ll also need an image editing/viewing program like Adobe Photoshop, GIMP, or Apple’s Preview app.
Once you’ve scanned all the documents, open them in your image editing/viewing program. Then select the images you want to combine and drag them onto a single document window. Depending on your image editor, you may need to rearrange the layers of each scan so they are displayed in the correct order. Once all your scans are arranged correctly and in the same file, save it as a single PDF or another file type of your choice. And that’s it! With just a few simple steps, you can easily combine multiple scans into one file.


