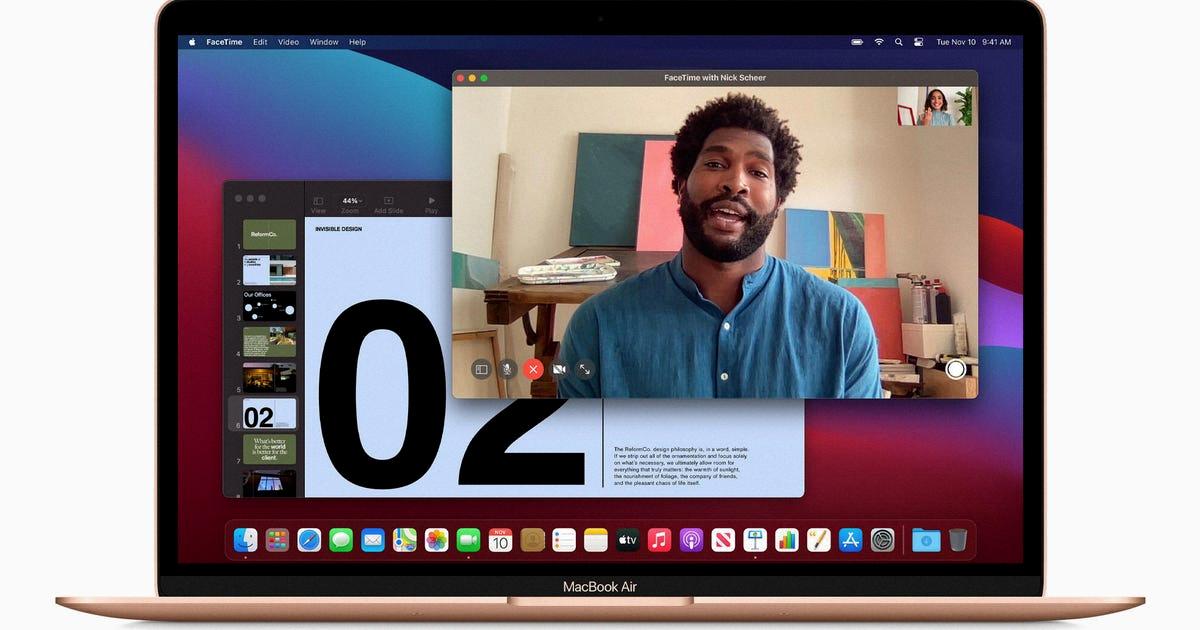
If you’re a proud owner of a MacBook, you know that there are plenty of features and functions to explore. One such feature is FaceTime, which allows you to make video calls over the internet. It’s a great way to stay connected with friends and family or even colleagues, but it’s important to keep it updated for optimal performance. Here’s how to update FaceTime on your MacBook.
First, open the App Store on your Mac and search for the FaceTime app. If there is an available update, click “Update” next to the FaceTime app icon. This will download and install the latest version of the software automatically. If no updates are available, you don’t need to do anything else as your software is up-to-date.
Once the update has been downloaded and installed, open the FaceTime app by clicking on its icon in your Dock or Applications folder. You may need to log in again with your Apple ID if prompted. Your software should now be up-to-date and ready for use.
If you want to double-check that everything is working correctly after the update, try making a video call with someone else who has FaceTime enabled on their device (iPhone or Mac). This will let you know if everything is working as expected after updating FaceTime on your MacBook.
Updating your software regularly is always important for ensuring optimal performance and security on any device, so it’s a good idea to check for updates every couple of weeks or so. This way, you can make sure that FaceTime (and other apps) are constantly running smoothly and securely!
Troubleshooting FaceTime Issues on Mac
If FaceTime isn’t working on your Mac, here are a few steps that may help:
1. Quit FaceTime, then open it again.
2. Restart your Mac.
3. Make sure that FaceTime isn’t open, then check if your camera works in another app, such as Photo Booth.
4. Check your Internet connection and make sure you have a strong signal.
5. Try logging out of FaceTime and signing back in with the same Apple ID you used when setting up FaceTime on your Mac.
6. Make sure that all the software on your Mac is up to date by going to the App Store and checking for any available software updates.
7. Check the privacy settings in System Preferences > Security & Privacy > Privacy > Camera and make sure that FaceTime is enabled there as well.
8. If possible, try connecting to a different Wi-Fi network or resetting your router if you are having trouble connecting to one specific network.
9. If all else fails, you may need to reset the NVRAM (non-volatile RAM) on your Mac by holding down Option + Command + P + R at startup until you hear two beeps or until you see the Apple logo appear twice during startup – this will reset some of the hardware settings associated with network connections on your Mac and may help get FaceTime working properly again.
Updating Group FaceTime on Mac
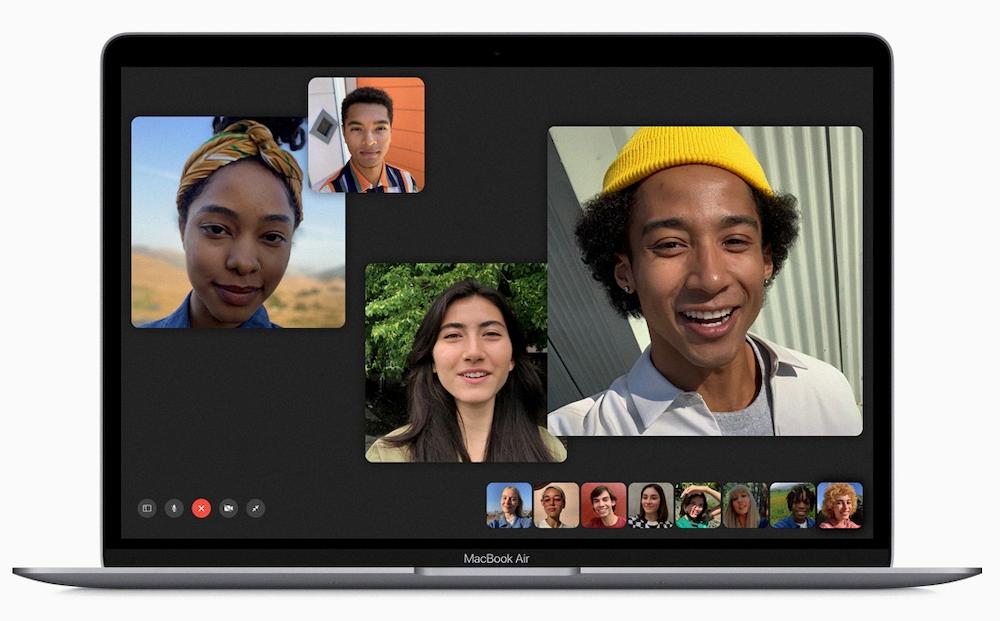
In order to use Group FaceTime on Mac, you need to make sure that you are running macOS Mojave (10.14) or later. If you are not running the latest version of macOS, you will need to open the App Store and update your computer to the latest available version in order to use Group FaceTime. After updating your version of macOS, Group FaceTime should be enabled by default and you should be able to make calls with up to 32 people.

Source: applemust.com
Accessing FaceTime Settings on Macbook Air
To get to the FaceTime settings on your MacBook Air, first, open the FaceTime app. Once the app is open, click on the Menu bar at the top of the screen and select ‘FaceTime’ from the drop-down menu. You should then see a ‘Settings’ option in that drop-down menu. Click on ‘Settings’ to open up the FaceTime settings pane. In this pane you can sign in to FaceTime, set up making and receiving phone calls, and change general options such as allowing Live Photos and ringtones.
Uninstalling and Reinstalling FaceTime on a Mac
To uninstall FaceTime from your Mac, go to the Applications folder and locate the FaceTime app. Drag the app icon to the Trash, or right-click and select Move to Trash. To reinstall FaceTime, open the App Store on your Mac, search for “FaceTime,” then select Get > Install. You can also open the App Store from your Launchpad and search for “FaceTime” there.

Source: cnet.com
Troubleshooting FaceTime Issues on Laptop
There could be a few different reasons why FaceTime isn’t working on your laptop. First, make sure that you are signed in to FaceTime with your Apple ID. If you are already signed in and still having issues, try logging out of FaceTime and then logging back in. If that doesn’t work, check to make sure that your microphone is connected properly and is set as the default audio device. You can also try restarting your computer or updating to the latest version of MacOS. If none of these steps work, contact Apple Support for further assistance.
Using FaceTime on a Mac Without an iPhone
Yes, you can use FaceTime on your Mac device without an iPhone. To do this, you will need to sign in with your Apple ID email address. You will then be able to connect with other FaceTime users, but you won’t be able to make mobile calls as you won’t have a phone number connected to your FaceTime account.


