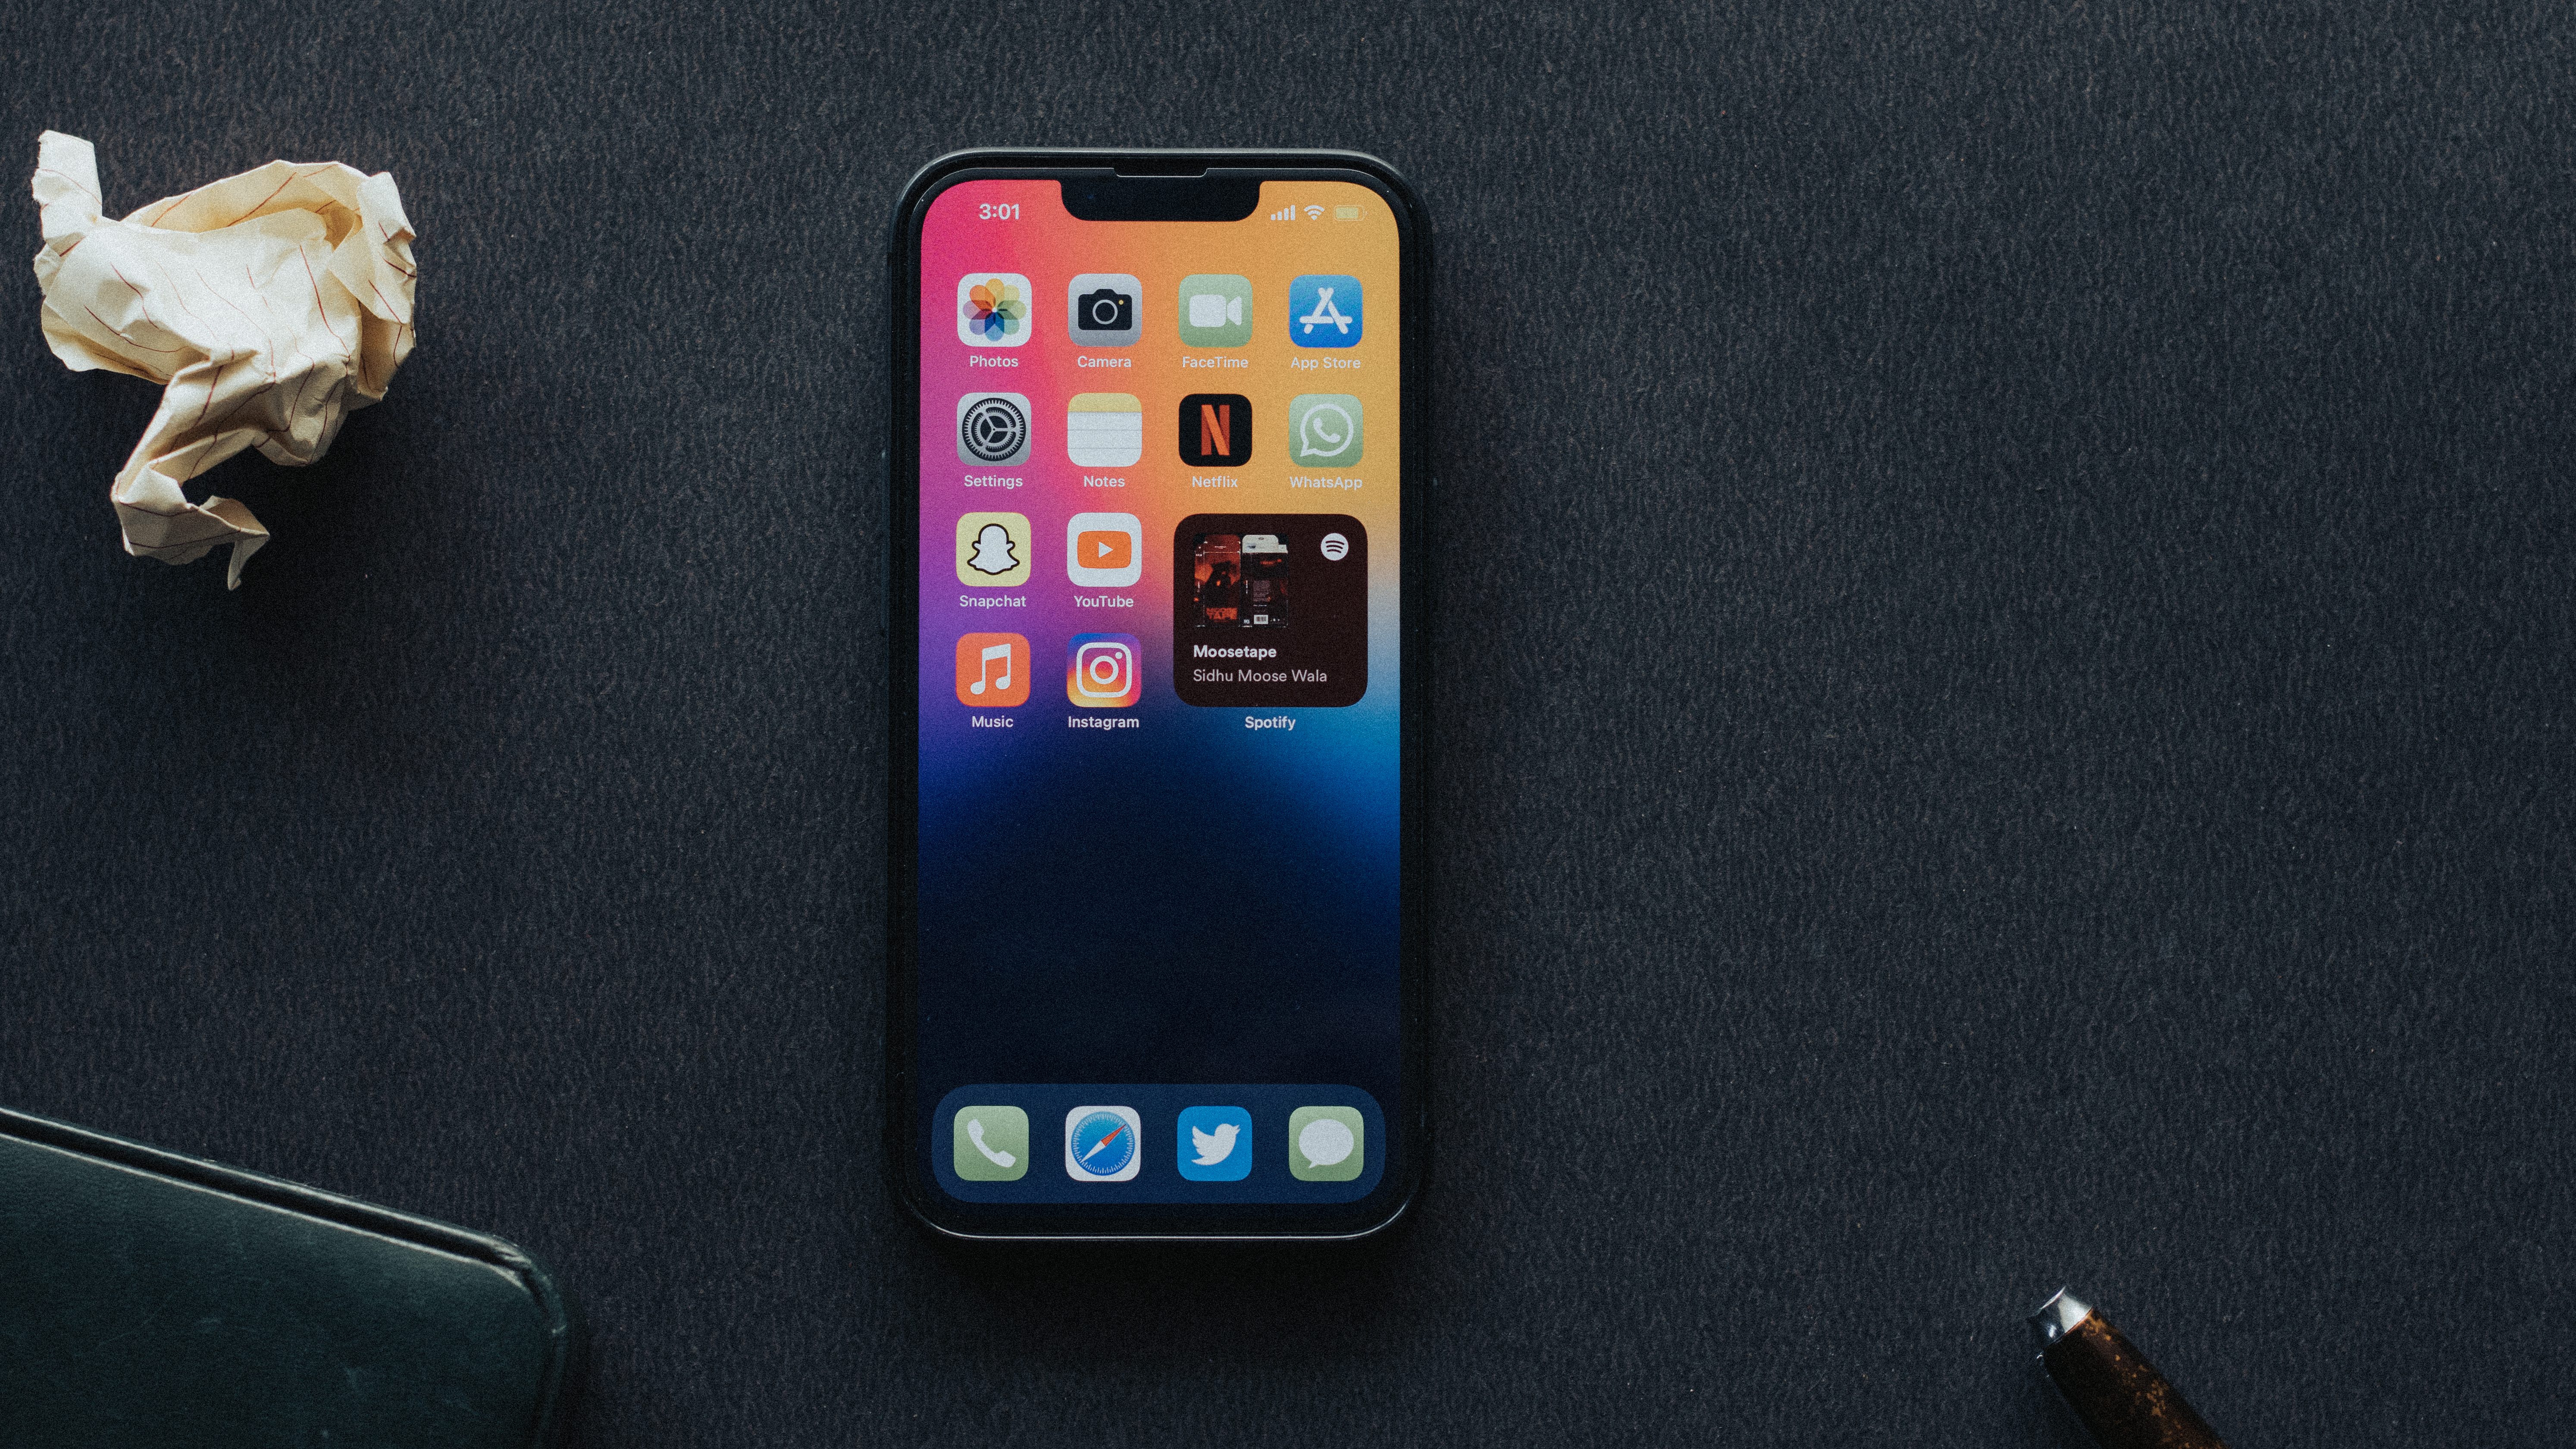
Screen recording has become an essential feature for many smartphone users, allowing them to capture and share their device’s screen activity. Whether you want to create tutorials, demonstrate a specific app functionality, or simply capture a memorable moment on your phone, knowing how to screen record can be incredibly useful. In this article, we will explore the process of screen recording on an iPhone, specifically focusing on how to screen record with internal audio.
If you own an iPhone, you’re in luck, as Apple has made screen recording a built-in feature starting from iOS 11. However, one common issue that users encounter while screen recording is the absence of sound in their recordings. This can be frustrating, especially if you were hoping to capture audio along with the visual content. But fear not, as there are simple steps you can follow to enable internal audio recording on your iPhone.
To begin, you need to access the Control Center on your iPhone. To do this, simply swipe up from the bottom of the screen on older iPhone models or swipe down from the top-right corner on iPhone X or newer models. This will reveal the Control Center, where you’ll find various shortcuts and settings.
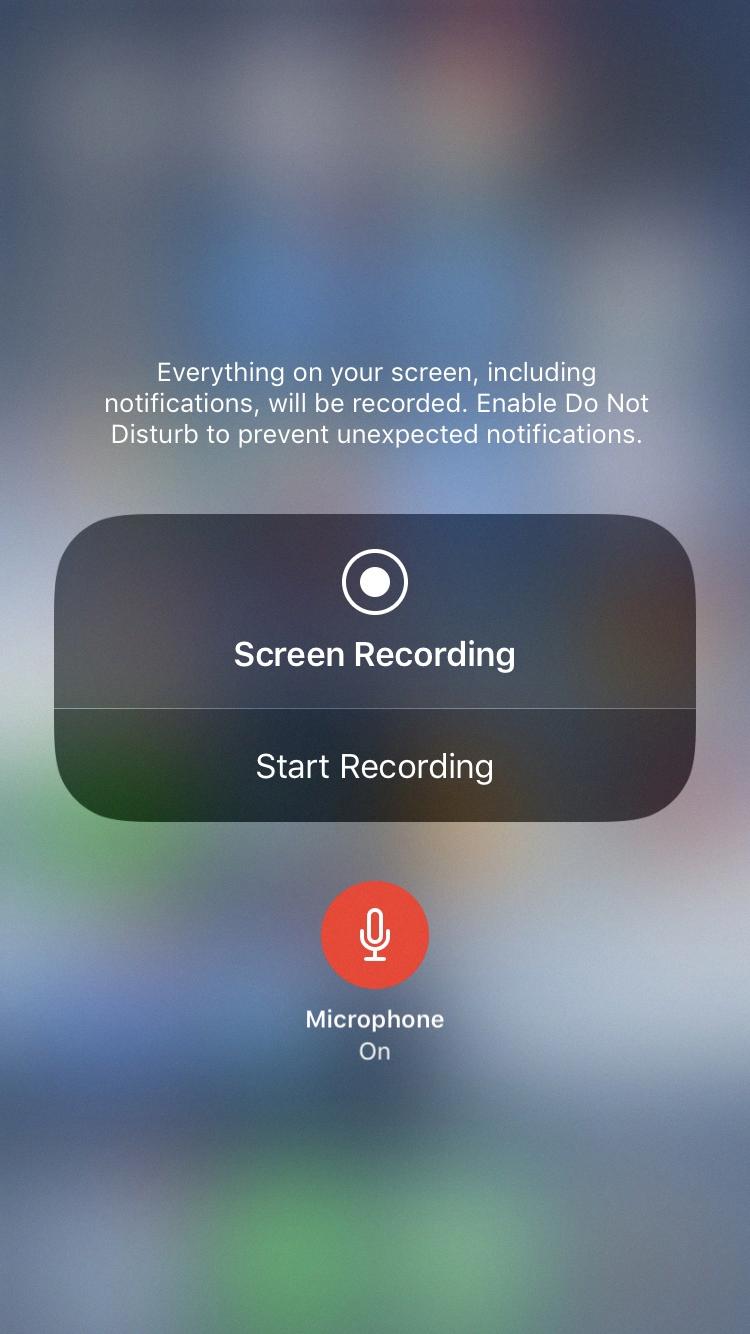
Next, locate the Screen Recording button in the Control Center. It is represented by a circle within a circle icon, typically found in the lower portion of the screen. Press firmly on this button (or tap and hold it) to reveal additional options.
Within the expanded Screen Recording menu, you will see a red microphone icon. This icon represents the audio input source for your screen recording. By default, the external audio is enabled, which means it will capture sounds from your surroundings, such as background noise or conversations. To enable internal audio recording, tap on the red microphone icon to disable it. This will ensure that only the device’s internal audio is recorded during the screen recording.
Once you have disabled the external audio, you’re ready to start recording. Tap on the Start Recording button, and a three-second countdown will begin. After the countdown, your iPhone will start recording everything that appears on the screen, along with the internal audio. You can navigate through different apps, open menus, and perform any actions you wish to record.
To stop the screen recording, you can either tap on the red status bar at the top of the screen and select Stop, or you can return to the Control Center and tap on the Screen Recording button again to end the recording.
Now that you know how to screen record with internal audio on your iPhone, you can capture your device’s screen activity while also preserving the sound. Whether you’re creating instructional videos, showcasing app features, or capturing gameplay, this feature allows you to provide a comprehensive visual and auditory experience for your viewers.
Remember, screen recording can be a powerful tool, but it’s important to respect others’ privacy and copyright laws. Ensure that you have permission to record and share any content that involves third parties or copyrighted material.
So, next time you want to capture an important moment on your iPhone screen, follow these easy steps to enable internal audio recording and create a more immersive screen recording experience. Happy recording!
How Do I Record My IPhone Screen With Only Internal Audio?
To record your iPhone screen with only internal audio, follow these steps:
1. Slide up to access the Control Center. This can be done by swiping up from the bottom edge of the screen on older iPhone models or by swiping down from the top-right corner on newer models.
2. Press firmly (or tap and hold) the Screen Recording button. This button looks like a circle surrounded by another circle and can be found in the Control Center. If you can’t find it, you may need to customize your Control Center settings to add it.
3. Once you’ve pressed firmly on the Screen Recording button, a small menu will appear. Tap the red microphone icon in this menu to turn off external audio. This ensures that only the internal audio from your iPhone will be recorded.
4. After you have turned off the external audio, tap the “Start Recording” button to begin recording your iPhone screen. You may be prompted to confirm your action.
Now, your iPhone screen will be recorded along with the internal audio. You can go ahead and perform any actions or navigate to the app or content you want to capture. To stop the recording, simply tap the red status bar at the top of the screen and select “Stop” from the popup menu.
Note: By default, the screen recording will also capture any external audio, such as background noise or sounds from your surroundings. By following the steps above and turning off the red microphone icon, you can ensure that only the internal audio is recorded.
How Do I Record My Internal Screen Audio?
To record your internal screen audio on a Samsung Android device, you can follow these steps:
1. Swipe down from the top of the screen to the bottom with two fingers. This will open the Quick Settings menu.
2. In the Quick Settings menu, swipe left until you find the “Screen recorder” icon. It looks like a small video camera inside a phone screen.
3. Tap on the “Screen recorder” icon to open the screen recording options.
4. In the screen recording options, you should see a toggle switch labeled “Internal audio.” Make sure this toggle switch is turned on. This will allow the screen recorder to capture the audio playing on your device.
5. Once the internal audio toggle switch is turned on, you can customize other recording settings if desired, such as video quality, orientation, and audio source.
6. After customizing the settings, tap on the “Start recording” button to begin the screen recording with internal audio.
7. A countdown timer may appear before the recording starts. Once the countdown ends, the screen recording will begin.
8. While recording, you can use your device as usual, and the screen recorder will capture both the video and the internal audio.
9. To stop the screen recording, you can either tap on the floating recording control panel and tap the stop button, or you can swipe down from the top of the screen and tap the stop button in the notification panel.
10. Once the recording is stopped, you can find the recorded video in your device’s gallery or in the specified location if you customized the save location in the screen recording settings.
Please note that these steps may vary slightly depending on the specific version of Samsung’s Android software on your device.
How Do I Record My IPhone Screen And Audio At The Same Time?
To record your iPhone screen and audio simultaneously, you can follow these steps:
1. Open the Control Center: On your iPhone, swipe down from the top-right corner (iPhone X or newer) or swipe up from the bottom (iPhone 8 or older) to access the Control Center.
2. Customize Control Center: If you don’t see the Screen Recording option in the Control Center, you may need to add it. Go to Settings, then tap Control Center. From there, tap Customize Controls, and under More Controls, find Screen Recording and tap the green plus button next to it.
3. Start Screen Recording: Once you have the Screen Recording option available in the Control Center, you can start the recording process. Tap the Screen Recording icon, which looks like a solid circle surrounded by a dotted circle.
4. Enable Microphone Audio: To record audio along with the screen, you need to enable the microphone. Touch and hold the Screen Recording icon, and a menu will appear. Tap the Microphone icon to turn it on (it will turn red when enabled).
5. Start Recording: After enabling the microphone, tap the Start Recording button in the popup menu. A countdown timer will appear, giving you a few seconds to prepare before the recording begins.
6. Record Screen and Audio: Once the countdown timer finishes, your iPhone will start recording the screen and audio. You can navigate through your device, open apps, and perform any actions you want to capture on the recording.
7. Stop Recording: To stop the screen recording, you can either tap the red status bar at the top of your screen and select Stop, or you can go back to the Control Center and tap the Screen Recording icon again. A confirmation message will appear, and your recording will be saved to your Photos app.
By following these steps, you’ll be able to record your iPhone screen and audio simultaneously, allowing you to capture tutorials, gameplay, or any other content you want to share or save for later reference.
Why Does My IPhone Screen Record No Sound?
There are several possible reasons why your iPhone screen recording may not have any sound. Here are some potential causes and solutions:
1. Muted audio: One common reason for no sound in screen recordings is that the audio on your iPhone is muted. To fix this, simply flip the switch on the side of your iPhone to unmute it.
2. Microphone audio turned off: Another possibility is that the microphone audio is not turned on. This can happen if you accidentally turned off the microphone or if it was disabled during a previous recording. To check and fix this, follow these steps:
– Swipe up from the bottom of your iPhone’s screen to access the Control Center.
– Look for the microphone icon. If it is crossed out or grayed out, it means the microphone is disabled.
– Tap on the microphone icon to enable it. It should turn white or blue, indicating that the microphone audio is now active.
3. Bluetooth audio interference: If you have a Bluetooth device connected to your iPhone, such as wireless headphones or a speaker, it’s possible that the audio is being routed to that device instead of your iPhone’s speakers. To resolve this, try disconnecting any Bluetooth devices and then re-record the screen.
4. iOS or app issue: Sometimes, screen recording issues can be caused by software glitches or compatibility problems with specific apps. In such cases, it may help to update your iPhone’s iOS to the latest version or check for app updates that address the problem.
5. Hardware problem: If none of the above solutions work, it’s possible that there is a hardware issue with your iPhone’s microphone or audio components. In this case, you may need to contact Apple support or visit an authorized service center for further assistance.
It’s worth noting that screen recording with sound is only available on iPhones running iOS 11 or later. If you have an older iPhone or an outdated iOS version, you may not have this feature available.
Conclusion
Screen recording is a valuable tool that allows you to capture and save the contents of your screen. Whether you are using an iPhone or a Samsung Android device, there are simple steps you can follow to enable screen recording with or without internal audio.
For iPhone users, accessing the Control Center is the first step. From there, you can tap on the screen recording button and choose to turn off the external audio if desired. It’s important to ensure that the microphone audio is turned on in order to capture sound during the recording.
Samsung Android users can open the Quick Settings menu by swiping down from the top of the screen with two fingers. From there, they can swipe left to find the screen recorder icon and tap on it to start recording. Unlike iPhones, Samsung Android devices automatically capture internal audio during the screen recording process.
If you find that your screen recording has no sound, there are a few troubleshooting steps you can take. Make sure that your device is not on mute and that the microphone audio is turned on. You can access these settings by swiping up on iPhones or navigating through the Quick Settings menu on Samsung Android devices.
Screen recording is a convenient feature that allows you to document and share what is happening on your device’s screen. Whether you are capturing a tutorial, recording gameplay, or demonstrating a problem to customer support, screen recording can be a helpful tool in various situations.


