Blurring a picture can be a useful editing technique for various purposes. Whether you want to hide sensitive information, add a touch of creativity, or simply create a more aesthetically pleasing image, blurring can come in handy. If you’re a Mac user, there are several methods you can employ to blur a picture on your device. In this article, we will explore how to blur a picture on a Mac using Adobe Photoshop.
To get started, open your image in Adobe Photoshop. If you don’t have Photoshop installed on your Mac, you can download and install the software from Adobe’s official website. Once you have your image open, follow the steps below to blur specific parts of the picture:
1. Select the Marquee tool: In the left toolbar of Photoshop, you’ll find a variety of tools. Look for the Marquee tool, which is represented by a rectangle icon. You can also press the letter M on your keyboard to select it.
2. Draw a selection around the area you want to blur: Click and drag the Marquee tool to create a box around the part of the image you wish to blur. Make sure the selection encompasses the entire area you want to blur.
3. Apply the blur effect: With your selection in place, go to the top menu and click on “Filter.” A drop-down menu will appear. From there, click on “Blur” and then select “Gaussian Blur.”
4. Adjust the blur intensity: After selecting Gaussian Blur, a dialog box will open with a slider that allows you to adjust the blur intensity. Move the slider to the right to increase the blur effect or to the left to decrease it. Preview the changes in real-time to ensure the desired effect.
5. Fine-tune the blur area (optional): If needed, you can further refine the area being blurred. To do this, click on the “Mask” option in the Gaussian Blur dialog box. This will allow you to use a brush to paint over areas you want to exclude from the blur effect or vice versa.
6. Save your edited image: Once you’re satisfied with the blur effect, it’s time to save your edited image. Go to the “File” menu and click on “Save” or “Save As” to choose a different file name or format. You can also use the keyboard shortcut Command + S to quickly save your changes.
By following these steps, you can easily blur parts of a picture on your Mac using Adobe Photoshop. Remember to experiment and play around with different settings to achieve the desired blur effect. Whether you’re a professional photographer or an amateur enthusiast, blurring pictures can add an extra touch of creativity and enhance the visual appeal of your images.
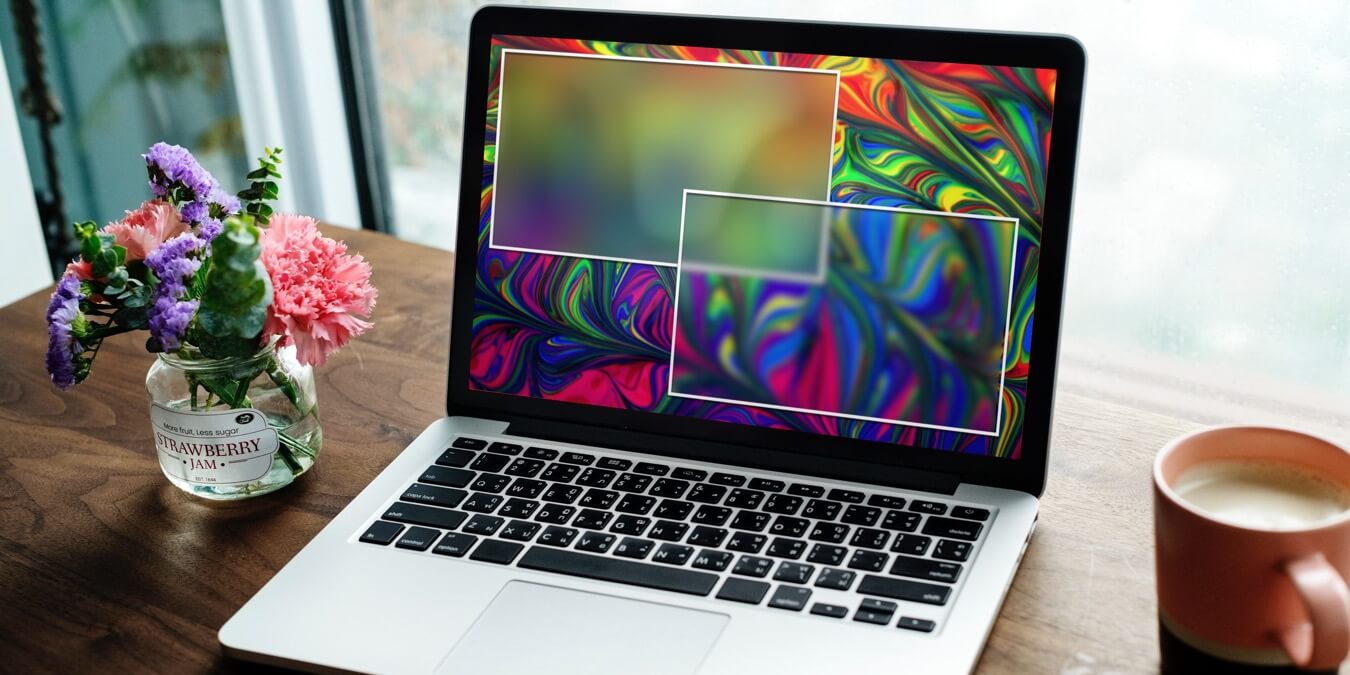
How Do You Blur Out Part Of A Picture?
To blur out part of a picture, you can follow these steps:
1. Download a photo editing app like YouCam Perfect, which is available for free.
2. Open the app and import the photo you want to edit.
3. Look for the “Blur” tool in the app’s editing options.
4. Select the “Blur” tool, which will allow you to apply a blur effect to the photo.
5. Depending on the app, you may have options to adjust the strength or intensity of the blur effect. Increase or decrease the strength according to your preference.
6. Now, it’s time to control the area you want to blur. Some apps provide a brush or selection tool to mark the specific region you want to blur. Use this tool to mark the area you wish to blur. If the app allows, you can also choose from different shapes (circle, rectangle, etc.) for the blur area.
7. Once you have marked the desired area, preview the edited photo to see if the blur effect is applied correctly. If needed, make any further adjustments.
8. save the edited photo. The app will usually provide an option to save the edited image to your device’s gallery or share it directly on social media platforms.
By using a photo editing app like YouCam Perfect, you can easily blur out part of a picture by selecting the “Blur” tool, adjusting the effect’s strength, controlling the area you want to blur, and saving the edited photo.
Is There A Blur Tool In Apple Photos?
There is a blur tool available in Apple Photos. The blur tool allows you to selectively blur parts of your photos to create a desired effect or to hide sensitive information. To access the blur tool in Apple Photos, follow these steps:
1. Open the Photos app on your Apple device.
2. Select the photo you want to edit by tapping on it.
3. Tap on the Edit button at the top right corner of the screen.
4. At the bottom of the screen, you will see a set of editing tools. Tap on the three horizontal dots (more options) icon.
5. A menu will appear with additional editing options. Scroll through the menu and tap on the Markup option.
6. In the Markup interface, tap on the “+” icon at the bottom right corner of the screen.
7. A menu will appear with various tools. Tap on the Blur tool (represented by a droplet icon).
8. Once you’ve selected the Blur tool, you can adjust the intensity of the blur effect by using the slider at the bottom of the screen.
9. Now, you can use your finger or Apple Pencil (if you have one) to apply the blur effect to specific areas of the photo. Simply drag your finger or stylus over the desired area to blur it.
10. If you want to undo any changes, tap on the back arrow icon at the top left corner of the screen.
11. Once you are satisfied with the blur effect, tap on the Done button at the bottom right corner of the screen.
12. you can save the edited photo by tapping on the Share button at the bottom left corner of the screen. From there, you can choose to save the photo to your device, share it with others, or use it in various apps.
Apple Photos does provide a blur tool that allows you to selectively blur parts of your photos. By following the steps mentioned above, you can easily access and utilize this feature to create stunning and personalized blurred effects in your photos.
How Do You Blur Part Of A Screenshot On A Mac?
To blur a specific part of a screenshot on a Mac using Adobe Photoshop, follow these steps:
1. Launch Adobe Photoshop on your Mac and open the screenshot you want to edit.
2. In the left toolbar, locate and select the Marquee tool. You can also access it by pressing the letter M on your keyboard.
3. Click and drag the Marquee tool to create a rectangular or elliptical selection around the area you want to blur. Ensure that the selection covers the entire sensitive content you wish to hide.
4. Once the selection is made, go to the top menu and click on “Filter”.
5. From the dropdown menu, click on “Blur”.
6. Another dropdown menu will appear, where you need to select “Gaussian Blur”.
7. A dialog box will open, allowing you to adjust the level of blur you want to apply. You can use the slider to increase or decrease the blur intensity. Preview the changes in real-time to achieve the desired effect.
8. Once you are satisfied with the blur effect, click “OK” to apply the blur to the selected area.
By following these steps, you can effectively blur sensitive parts of a screenshot using Adobe Photoshop on your Mac.
Conclusion
Blurring parts of a picture on a Mac can be easily achieved using various methods. One option is to use the YouCam Perfect app, which allows you to open the photo and select the “Blur” tool. From there, you can adjust the strength of the effect and control the specific area you want to blur. Another option is to use the Blur Photo Editor app, which offers a pixelated blur option. By selecting the desired intensity, you can achieve a blurred-out image. Additionally, Adobe Photoshop on Mac provides the ability to blur parts of an image by using the Marquee tool to select the area, then applying the Gaussian Blur filter. These methods offer flexibility and control in achieving the desired blur effect for your pictures.


