Snip & Sketch is a handy tool that comes pre-installed on Windows 10, allowing users to capture and edit screenshots with ease. One common question that arises is whether Snip & Sketch saves screenshots automatically. In this article, we will explore this feature and how it works.
When you take a screenshot using Snip & Sketch, the tool gives you the option to edit and annotate the image before saving it. By default, the image is saved to a temporary location called TempState\ScreenClip. This allows you to quickly access and work with the screenshot without having to manually save it.
However, it’s important to note that the image saved in the temporary location is not permanent. If you close Snip & Sketch without saving the screenshot to a desired location, the image will be deleted from the temporary folder. This means that if you want to keep the screenshot for future use, you need to save it manually.
To save a screenshot taken with Snip & Sketch, you have several options. After capturing the screenshot, you can click on the Save button in the Snip & Sketch toolbar. This will open a dialog box where you can choose the desired location on your computer to save the image. You can also rename the file if needed.
Another way to save a screenshot is by using the keyboard shortcut Ctrl + S. This will automatically open the save dialog box, allowing you to specify the location for the image and give it a name.
It’s worth mentioning that Snip & Sketch also provides an autosave feature. This means that if you have previously saved a screenshot using the tool, the next time you capture a new screenshot, it will be automatically saved to the same location without prompting you to choose a file name or location. This can be convenient if you frequently save screenshots to the same folder.
Snip & Sketch does not save screenshots automatically to a permanent location. By default, the tool saves screenshots to a temporary folder, allowing you to quickly access and edit them. To keep a screenshot permanently, you need to manually save it to a desired location on your computer. However, the tool does offer an autosave feature for convenience, allowing you to save future screenshots to the same location as the last saved image.
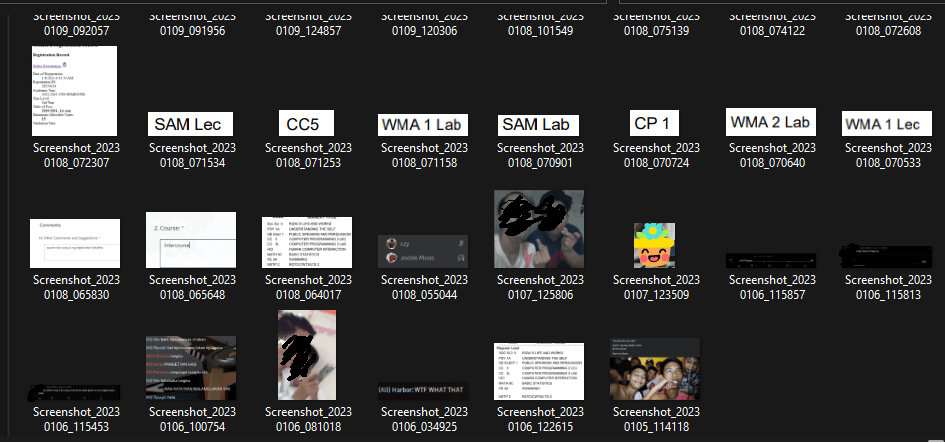
Where Does Snip and Sketch Save to?
Snip and Sketch, a built-in screen capture tool on Windows 10, saves the screenshots or snips to the Pictures folder by default. When you take a snip or capture a screenshot using Snip and Sketch, a dialogue window will pop up, showing the captured image. From there, you can choose to confirm and save the snip or screenshot.
To save the image, click on the “Save” button within the Snip and Sketch dialogue window. By default, it will save to the Pictures folder. However, if you wish to save it in a different location, you can navigate to the desired folder by clicking on the “Save As” button and selecting the appropriate folder.
It is worth noting that Snip and Sketch also allows you to annotate, crop, and share the captured images directly from the application. Once you have finished editing or annotating the snip, you can choose to save it or share it using various applications or methods.
Snip and Sketch saves the captured snips and screenshots to the Pictures folder by default, but you have the flexibility to choose a different location if desired.
Do Your Snips Get Saved?
When you take a screenshot using the Snipping Tool on Windows (by pressing the Windows key + Shift + S), the snips are automatically saved. By default, the snips are saved to a specific path on your computer. This path typically ends in “TempState\ScreenClip”.
The Snipping Tool is designed to provide a convenient way to capture and save screenshots of your computer screen. When you use this tool, it allows you to select a specific area of the screen to capture, and then saves it as an image file.
Here are some key points to note about the saving process:
1. Automatic Saving: Once you have captured a snip using the Snipping Tool, it is automatically saved to a location on your computer. This means you don’t have to manually save the snip every time you take a screenshot.
2. Default Save Path: The default save path for snips taken with the Snipping Tool is a folder called “TempState\ScreenClip”. This folder is usually located in the “Pictures” directory on your computer.
3. File Format: The snips are saved as image files, typically in the PNG format. PNG is a popular image format that provides lossless compression, ensuring high-quality screenshots.
4. Naming Convention: The Snipping Tool automatically generates a unique name for each snip you take. The name usually includes a combination of date, time, and a numerical identifier to differentiate between multiple snips taken at the same time.
It’s important to note that the default save location and file format can be changed if desired. You can customize these settings within the Snipping Tool application by accessing the “Options” or “Settings” menu.
When you use the Snipping Tool to capture a screenshot on Windows, the snip is automatically saved to a specific path on your computer. This default save location is typically “TempState\ScreenClip” within the “Pictures” directory. The snips are saved as image files in the PNG format.
Conclusion
Snip & Sketch is a handy tool for capturing and editing screenshots on Windows devices. Its user-friendly interface and various capture options make it easy to capture exactly what you need, whether it’s a full screen, a specific window, or a custom area. The editing features, such as adding annotations, highlighting, and cropping, allow you to enhance and customize your screenshots before saving or sharing them. Additionally, the option to save screenshots directly to a specific folder of your choice provides convenience and organization. Snip & Sketch is a valuable tool for anyone who frequently needs to capture and edit screenshots on their Windows devices.


