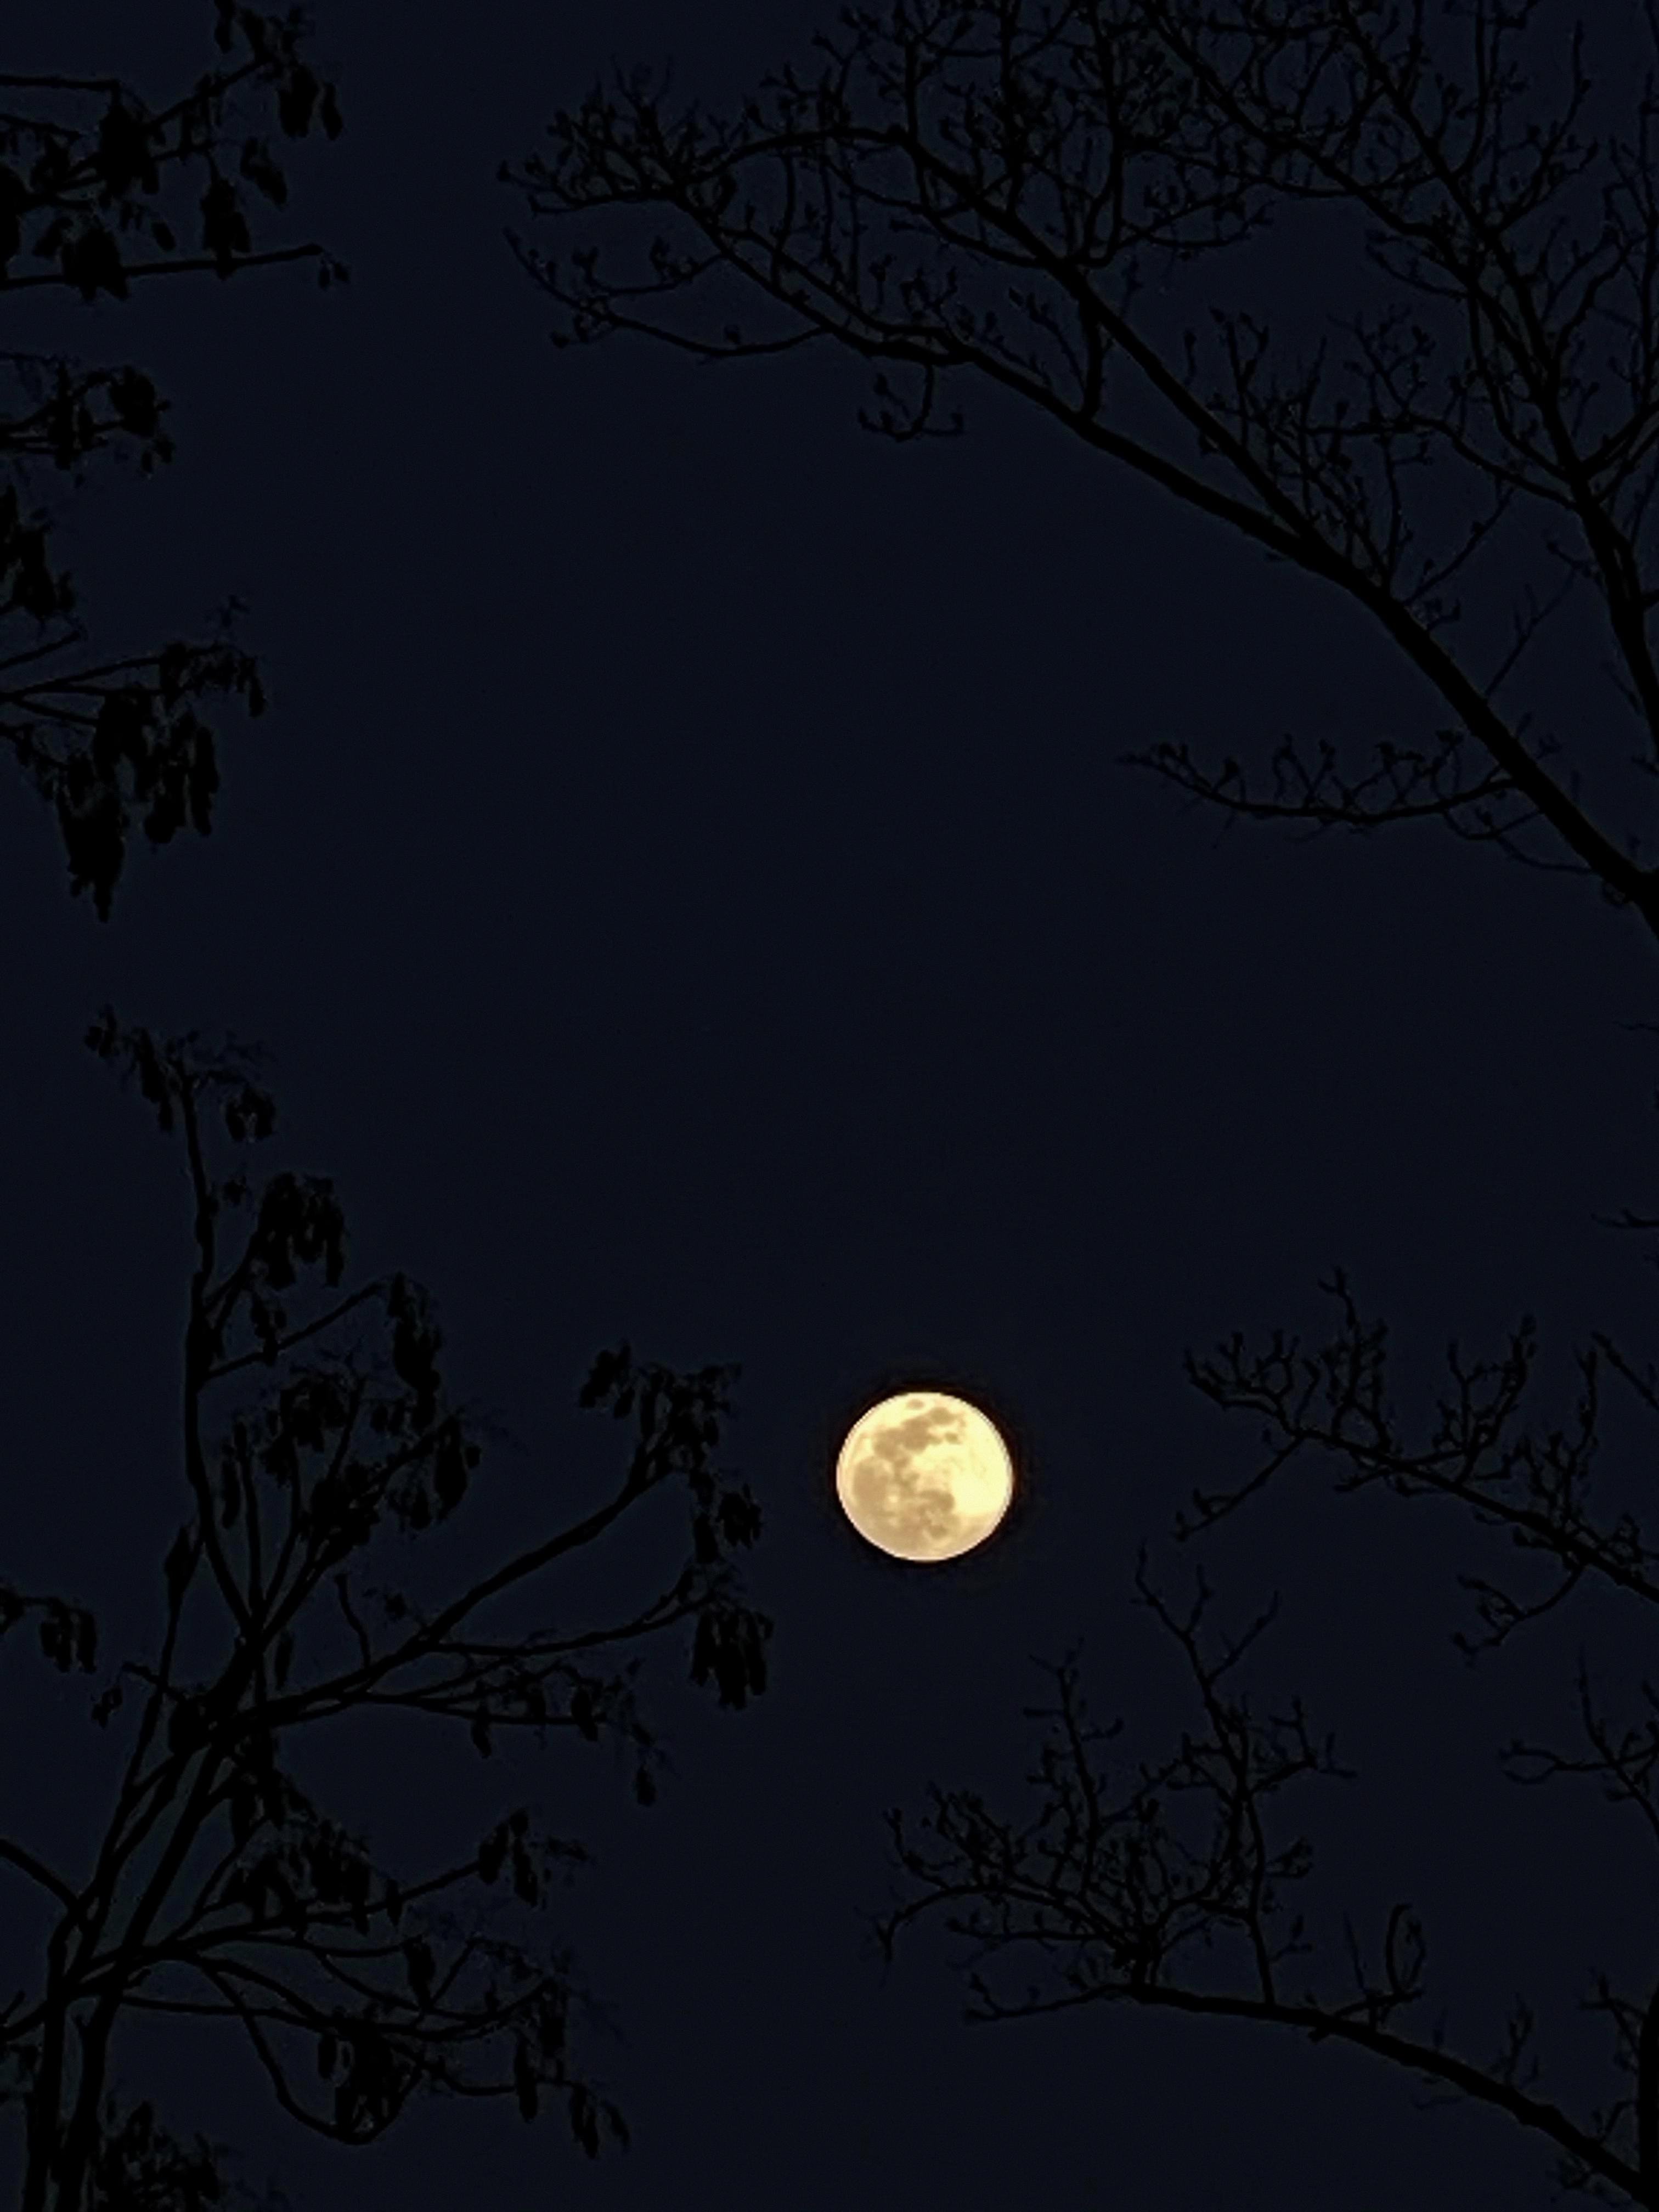
Taking stunning moon pictures with your iPhone 11 is easier than you may think. With a few adjustments and techniques, you can capture the beauty of the moon in all its glory. Here’s how:
1. Adjust your camera settings: Optical zoom provides better quality, but digital zoom allows you to get closer to the moon. Unless you want to include more of your surroundings, choose the highest zoom setting available. Tap on the moon to focus, and then drag down on the yellow focus square to lower the exposure.
2. Utilize Night mode for capturing stars: If you have an iPhone 11 model, you can capture the stars using Night mode. For the best results, place your iPhone on a tripod. Open the Camera app and frame your shot. Night mode will activate automatically in low-light conditions, but you can also tap the Night mode icon to adjust the duration that the shutter remains open.
3. Adjust your aperture: To capture the moon, it’s best to shoot with a small aperture. Experiment with different f-stops, starting at f/11 and going up to f/16. Too much light can wash out the photo, while too little can make it too dark. It may take a few tries to find the perfect balance.
4. Consider shutter speed: Aim for slightly faster than average shutter speeds when photographing the moon. This will help minimize any blurriness caused by the moon’s movement. Experiment with different shutter speeds to find the optimal setting for your shot.
Remember, practice makes perfect. Don’t be discouraged if your first attempts aren’t flawless. Keep experimenting with different settings and techniques until you achieve the desired results. With a little patience and creativity, you’ll be capturing stunning moon pictures with your iPhone 11 in no time.
How Do I Take A Good Picture Of The Moon With My IPhone 11?
To take a good picture of the moon with your iPhone 11, follow these steps:
1. Adjust your camera settings: Open the camera app on your iPhone 11 and swipe left or right to switch to the “Photo” mode. Make sure the zoom is set to 1x, as the optical zoom provides better image quality. If you want to zoom in further, you can use the digital zoom, but keep in mind that the image quality may suffer.
2. Set the exposure and focus: Tap on the moon in the viewfinder to focus on it. Sometimes, the camera may struggle to focus on a small object like the moon, so tapping on it helps. To adjust the exposure, drag down on the yellow focus square until the moon appears properly exposed. This will prevent the moon from being too bright or too dark in the photo.
3. Use a tripod or hold the phone steady: To capture a clear and sharp image of the moon, it is recommended to use a tripod or find a stable surface to rest your iPhone on. This will minimize any camera shake or blurriness. If you don’t have a tripod, try holding the phone as steady as possible while taking the shot.
4. Utilize the timer or a remote shutter: Even with a steady hand, pressing the shutter button can cause slight camera shake. To avoid this, use the timer function on your iPhone camera. Set it to a short delay, like 3 or 10 seconds, and press the shutter button. This way, the camera will have a moment to stabilize itself before capturing the photo.
5. Capture multiple shots: The moon can be quite challenging to photograph due to its brightness and contrast against the dark sky. Take multiple shots with slightly different settings to increase your chances of getting a great shot. Experiment with different exposures and zoom levels to find the best result.
Remember, taking a good picture of the moon with a smartphone has its limitations compared to using professional camera equipment. However, by following these steps and experimenting with your iPhone 11’s camera settings, you can capture some impressive moon shots.

How Do I Take Pictures Of The Night Sky With My IPhone 11?
To capture stunning pictures of the night sky with your iPhone 11, you can take advantage of the Night mode feature. Follow these steps for the best results:
1. Set up your iPhone: Mount your iPhone 11 on a tripod to ensure stability during long exposure shots. This will prevent any blurriness caused by hand movements.
2. Open the Camera app: Launch the Camera app on your iPhone 11 and frame your shot. Make sure to position your phone in a way that captures the night sky prominently.
3. Enable Night mode: The Night mode feature on iPhone 11 models automatically activates in low-light situations. When the camera detects low light, it will display the Night mode icon on the screen. However, you can also manually enable Night mode by tapping the icon.
4. Adjust Night mode settings: Once Night mode is activated, you can adjust the duration that the shutter will remain open. This is particularly useful if you want to capture more or less of the surrounding starry sky. Simply tap on the Night mode icon and use the slider to adjust the exposure time.
5. Take the shot: After setting up the framing and adjusting the Night mode settings, tap the shutter button to capture the photo. Keep your iPhone steady during the exposure to avoid any blurriness.
6. Experiment with different settings: Don’t be afraid to experiment with different exposure times in Night mode to achieve the desired effect. Longer exposure times will capture more starlight and reveal more details, but may also introduce more noise. Shorter exposure times can result in a sharper image but may sacrifice some details in darker areas.
Additional tips:
– Avoid using flash: Using the flash when capturing night sky photos can wash out the stars and ruin the overall effect. Stick to natural lighting and let Night mode do its magic.
– Use a remote shutter release: To further minimize any movement during the exposure, consider using a remote shutter release or the timer function on your iPhone. This will ensure a completely still shot.
– Experiment with composition: While capturing the night sky, try incorporating other elements in your composition, such as trees, landscapes, or buildings. This can add depth and interest to your photos.
Remember, practice makes perfect. Don’t get discouraged if your first attempts don’t turn out as expected. Keep experimenting, learning, and refining your techniques, and you’ll soon be capturing breathtaking night sky photos with your iPhone 11.
How Do You Take A Clear Picture Of The Moon?
To capture a clear picture of the moon, there are a few key settings to consider on your camera:
1. Aperture: Use a small aperture to increase the depth of field and ensure sharper focus throughout the image. Start with an f-stop of around f/11 and experiment with higher values like f/16. This will prevent the moon from appearing too bright and overexposed.
2. Shutter Speed: Opt for a slightly faster shutter speed to avoid any blurriness caused by the moon’s movement. A good starting point is to use a shutter speed of around 1/125th of a second. If needed, you can increase it further to freeze any potential motion.
3. ISO: Keep your ISO as low as possible to minimize noise in the image. Start with a lower ISO setting, such as ISO 100 or 200. This will help maintain the clarity and details of the moon’s surface.
4. Tripod: It is highly recommended to use a sturdy tripod to eliminate any camera shake, as even slight movements can result in blurry photos. This is especially important when shooting with slower shutter speeds or using longer focal lengths.
5. Manual Focus: Switch to manual focus mode and adjust the focus manually until the moon appears sharp. Autofocus can struggle when trying to focus on the moon, so taking control of the focus yourself will ensure a clear and crisp image.
6. Use a Telephoto Lens: A telephoto lens with a focal length of around 200mm or higher will allow you to capture more details of the moon. This will help magnify the moon and make it appear larger in the frame.
7. Shoot in RAW: If your camera allows it, consider shooting in RAW format. RAW files retain more data and provide greater flexibility during post-processing, allowing you to enhance the details and colors of the moon.
Remember to experiment with these settings and make adjustments based on the specific conditions and desired results. With practice, you’ll be able to capture stunning and clear pictures of the moon.
Conclusion
Capturing stunning moon pictures with your iPhone camera can be achieved by adjusting a few key settings. To ensure the best quality, it is recommended to use optical zoom if available, as digital zoom can compromise image clarity. However, if you want to capture more of your surroundings, using the highest zoom setting possible may be preferable.
To focus on the moon, simply tap on it on your screen. If the exposure is too bright, you can lower it by dragging down on the yellow focus square. Additionally, for iPhone 11 models, utilizing Night mode can help capture the stars in your shot. It is best to use a tripod for stability and frame your shot accordingly.
When it comes to aperture, shooting with a small aperture is recommended. Experimenting with f-stops between f/11 and f/16 can help find the right balance of light in your photo. Aim for slightly faster than average shutter speeds to avoid overexposure or underexposure.
Remember, capturing the perfect moon shot may require some trial and error, but with these tips, you’ll be well on your way to achieving stunning results. Happy moon photography!


