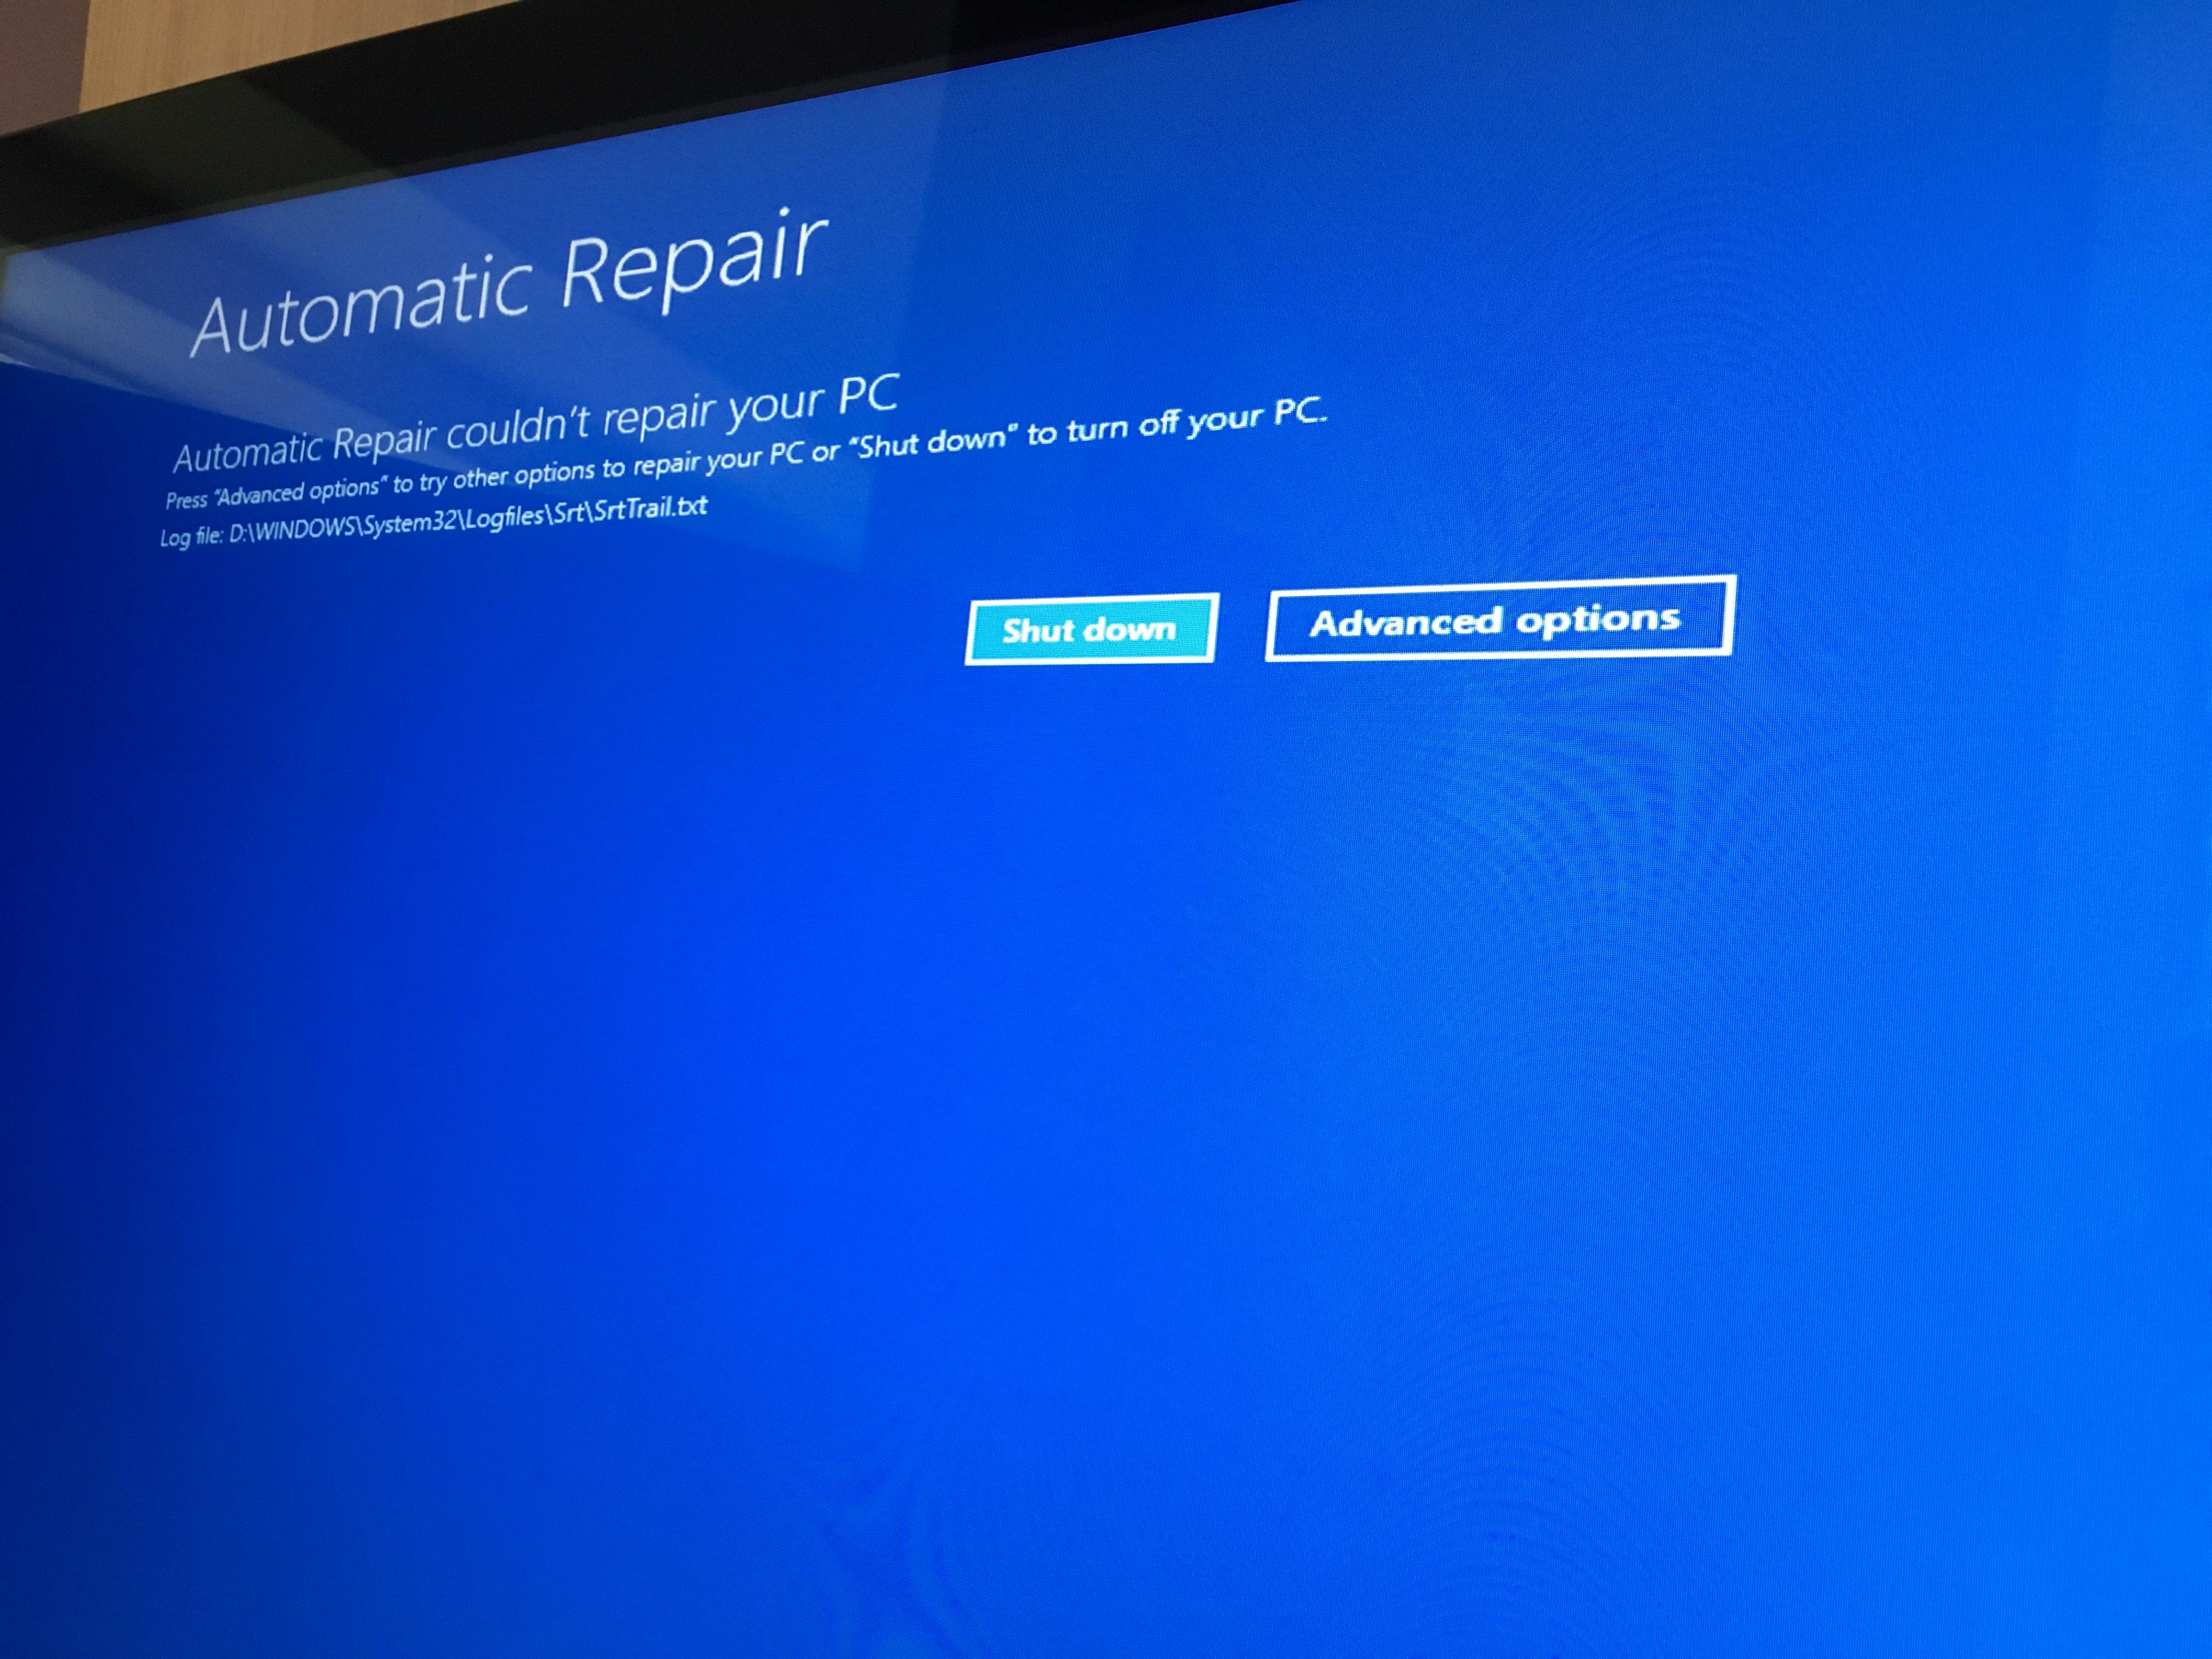
Automatic repair is a built-in feature in Windows 11/10 that aims to troubleshoot and fix issues that prevent your system from booting properly. It can be quite frustrating when you encounter a problem with your computer and are greeted with the “Preparing Automatic Repair” or “Diagnosing your PC” message. You might be wondering how long this process will take and what you can do if it seems to be taking forever.
The duration of the automatic repair process can vary depending on the complexity of the problem and the performance of your computer. In some cases, it can take just a few minutes to complete, while in others, it might take several hours. This is because the system needs to thoroughly analyze and diagnose the issues before attempting to fix them.
If you find that the automatic repair process is taking too long and there seems to be no progress, there are a few steps you can take to address the problem manually. One option is to perform a hard reboot, which involves removing the battery and AC adapter (if applicable) and holding down the power button for 20 seconds. This can sometimes help kickstart the system and allow it to boot up normally.
Another option is to access the Command Prompt as an administrator and run the “bcdedit” command. This command will display a list of boot options and their identifiers. Make note of the identifier value under the “Windows Boot Loader” section. Then, enter the command “bcdedit /set {identifier} recoveryenabled No” (replace “{identifier}” with the actual identifier value). This will disable the automatic repair feature from running automatically after the third unsuccessful boot of your PC.
It’s important to note that the automatic repair feature is not always successful in fixing the problem. In some cases, it may not be able to resolve the issue, and you may need to seek alternative solutions or professional help.
The automatic repair process on Windows 11/10 can take anywhere from a few minutes to several hours, depending on the complexity of the problem. If it seems to be taking too long with no progress, you can try a hard reboot or manually disable the automatic repair feature. However, keep in mind that this feature may not always be able to fix the problem, and additional troubleshooting steps may be required.
How Long is the Windows 10 Automatic Repair?
The duration of the Windows 10 automatic repair process can vary depending on the complexity of the issues being addressed. In general, it can take several hours for the automatic repair to complete. This is because the system needs to diagnose and troubleshoot the problems before attempting to fix them.
However, it is important to note that if you find that the automatic repair process has been running for an unusually long time without any progress, it may indicate a more significant issue. In such cases, it is advisable to consider manual troubleshooting methods to resolve the problem.
Here are some steps you can take if the automatic repair process is taking too long:
1. Restart your computer: Sometimes, a simple restart can help resolve the issue and allow the automatic repair to proceed more efficiently.
2. Check for hardware issues: If the automatic repair process is consistently taking an excessively long time, it could be due to hardware problems. Ensure that all hardware components, such as the hard drive or RAM, are functioning properly.
3. Use advanced startup options: Access the advanced startup options by repeatedly pressing the F8 key during the boot process. From there, you can choose different repair options like System Restore or Startup Repair, which may help resolve the issue.
4. Reinstall Windows: If all else fails, you may need to consider reinstalling Windows. This should be considered as a last resort, as it will erase all data on your computer. Make sure to back up your important files before proceeding with a reinstallation.
The automatic repair process on Windows 10 can take several hours to complete. If it seems to be taking an unusually long time or is not making any progress, it may be necessary to try alternative troubleshooting methods or seek professional assistance.

How Do You Get Out of Preparing Automatic Repair?
To exit the “Preparing Automatic Repair” loop in Windows, you can try the following steps:
1. Perform a Hard Reboot: Disconnect the battery and AC adapter, then press and hold the power button for about 20 seconds. Reconnect the battery and AC adapter, and try turning on your computer to check if it boots up normally.
2. Boot into Safe Mode: If the hard reboot doesn’t work, try booting into Safe Mode. To do this, repeatedly press the F8 key while your computer is starting up. This will bring up the Advanced Boot Options menu. From there, select “Safe Mode” and press Enter. Once in Safe Mode, you can troubleshoot and fix any issues that may be causing the automatic repair loop.
3. Use System Restore: If you have previously created a system restore point, you can try restoring your computer to a previous working state. To do this, boot into the Advanced Boot Options menu as mentioned earlier and select “Repair Your Computer.” Then, select “System Restore” and follow the on-screen instructions to restore your computer to a previous state.
4. Check for Disk Errors: If your computer continues to show the “Preparing Automatic Repair” message, it’s possible that there are disk errors causing the issue. To check for and fix disk errors, you can use the Windows built-in tool called “Check Disk.” Boot into the Advanced Boot Options menu, select “Command Prompt,” and type in the command “chkdsk C: /f /r” (replace C: with the appropriate drive letter if necessary). This will scan and fix any disk errors on your main drive.
5. Perform a Startup Repair: If none of the above solutions work, you can try performing a startup repair. Boot into the Advanced Boot Options menu, select “Repair Your Computer,” and then choose “Startup Repair.” This will automatically scan and fix any startup issues that may be causing the automatic repair loop.
It’s important to note that these steps may vary slightly depending on your version of Windows. If you’re unsure or uncomfortable performing these troubleshooting steps on your own, it’s recommended to seek assistance from a professional or contact your computer manufacturer’s support team.
Can You Stop Automatic Repair?
You can stop the automatic repair feature from running on your PC. To do this, you will need to follow the steps below:
1. Open the Command Prompt as an administrator: Right-click on the Start button and select “Command Prompt (Admin)” from the menu that appears.
2. In the Command Prompt window, type the following command and press Enter:
“`
Bcdedit
“`
3. Make note of the identifier value under the “Windows Boot Loader” section. This identifier will be a long alphanumeric code.
4. Next, type the following command and press Enter to disable automatic repair:
“`
Bcdedit /set {identifier} recoveryenabled No
“`
Replace `{identifier}` with the actual identifier value that you noted down in the previous step.
5. After executing the command, you should see a message confirming that the operation was completed successfully.
By following these steps, you have effectively disabled the automatic repair feature on your PC. This means that the automatic repair process will no longer run automatically after the third unsuccessful boot of your PC.
How Long Should Windows Attempting Repairs Take?
The duration of Windows attempting repairs can vary depending on the specific issue at hand. It can range from a few seconds to several minutes. However, it is important to note that there is no fixed time frame for this process, as it depends on various factors such as the complexity of the problem, the performance of the computer, and the availability of necessary resources.
In some cases, Windows may be able to successfully fix the problem within a short span of time. However, there are instances where the repair process may take longer or even fail to resolve the issue. If Windows is unable to fix the problem, it will notify you accordingly.
It is worth mentioning that during the repair process, it is advisable to refrain from interrupting or forcefully shutting down the system. Doing so may cause further complications and potentially lead to data loss or system instability.
Conclusion
The automatic repair feature in Windows 11/10 can take a significant amount of time to complete, ranging from a few minutes to several hours. This is because the system goes through a troubleshooting process to identify and resolve any issues that may be causing the startup problem.
If you find that the automatic repair process is taking too long or appears to be stuck, it is recommended to perform a hard reboot by removing the battery and AC adapter and holding down the power button for 20 seconds. This can help restart the system and potentially resolve the issue.
Alternatively, if you are experiencing the “Preparing Automatic Repair” or “Diagnosing your PC” error and the system is unable to boot, you can manually disable the automatic repair feature by opening the Command Prompt as an administrator and running the bcdedit command. This will prevent the automatic repair from running after the third unsuccessful boot.
It is important to note that while the automatic repair feature is designed to fix common startup problems, it may not always be successful in resolving more complex issues. In such cases, it may be necessary to seek further assistance or perform additional troubleshooting steps to address the problem.


