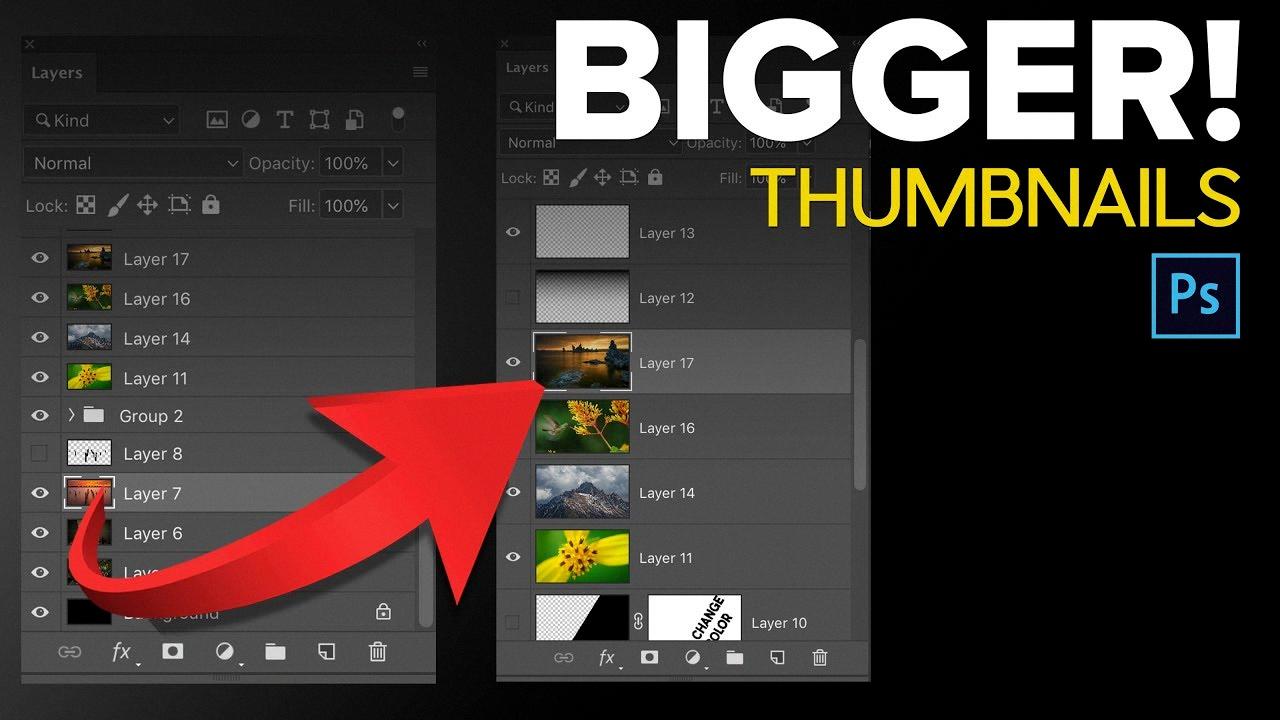
Windows 10 is a popular operating system that offers a variety of customization options for its users. One such option is the ability to make thumbnails bigger, allowing for a better visual experience when browsing through files and folders.
To make thumbnails bigger in Windows 10, there are a few different methods you can try. One way is to right-click in the folder where you want to change the thumbnail size and select “Show View Options.” This will bring up a menu box where you can adjust the icon size of the thumbnails. Simply use the slider to set the size to your desired preference.
Another method is to right-click on your desktop and select “View” from the menu. From there, you can choose between large, medium, or small icons. Selecting the size you prefer will immediately apply it to your desktop.
If you prefer using the scroll wheel on your mouse, you can also resize desktop icons by pressing and holding the Ctrl key while scrolling. This allows you to make the icons larger or smaller, depending on your needs.
For those who want to make more advanced changes, you can modify the icon cache size in the Registry Editor. To do this, open the Registry Editor app and navigate to the following key: HKEY_LOCAL_MACHINE\SOFTWARE\Microsoft\Windows\CurrentVersion\Explorer. Right-click on the Explorer subkey and select “New” and then “String Value.” Name it MaxCachedIcons. Double-click on the MaxCachedIcons value and set its data to 4096.
By following these steps, you can easily make thumbnails bigger in Windows 10. Whether you prefer a larger visual display or want to customize your desktop to your liking, Windows 10 provides the flexibility to meet your needs. So go ahead and give it a try, and enjoy a better viewing experience on your computer.
How Can I Increase The Size Of Thumbnails When Opening Files?
To increase the size of thumbnails when opening files, you can follow these steps:
1. Right-click on the folder containing the files you want to view.
2. From the context menu that appears, select “Show View Options.”
3. A menu box will pop up with various options for customizing the folder view.
4. Look for an option or slider that controls the size of the thumbnails.
5. Adjust the slider to increase the size of the thumbnails to your desired level.
6. As you adjust the slider, you should see the thumbnails in the folder view getting larger or smaller.
7. Once you have set the desired size, you can close the menu box.
8. Now, when you open the folder, the thumbnails should be displayed at the increased size you selected.
By following these steps, you can easily increase the size of thumbnails when opening files in the selected folder.

How Do I Make The Extra Large Icons Larger?
To make the extra large icons on your desktop even larger, you can follow these steps:
1. Right-click on any blank space on your desktop.
2. From the menu that appears, select “View.”
3. In the “View” submenu, you will see different options for icon sizes. Choose the “Extra large icons” option.
By selecting the “Extra large icons” option, the size of the icons on your desktop will increase. This change will take effect immediately, and you should see the icons become larger and more prominent on your screen.
If you find that the “Extra large icons” option is not large enough for your preference, you can further increase their size by adjusting your screen resolution. Here’s how:
1. Right-click on any blank space on your desktop.
2. Select “Display settings” from the menu.
3. In the “Display settings” window that opens, scroll down to the “Scale and layout” section.
4. Under “Change the size of text, apps, and other items,” you will see a slider. Drag the slider to the right to increase the size of everything on your screen, including icons.
5. As you adjust the slider, you will see a preview of the changes on your screen. Stop when you are satisfied with the size of the icons.
6. Close the “Display settings” window, and the changes will be applied.
By following these steps, you can make your extra large icons even larger on your desktop. Enjoy a more visually customized experience according to your preferences!
How Do I Change The Thumbnail Size On My Desktop?
To change the thumbnail size on your desktop, you can follow these steps:
1. Right-click on an empty space on your desktop. A context menu will appear.
2. Move your cursor over the “View” option in the context menu.
3. In the “View” submenu, you will see three options: “Large icons,” “Medium icons,” and “Small icons.”
4. Select the desired size by clicking on either “Large icons,” “Medium icons,” or “Small icons.” This will change the size of the thumbnails on your desktop.
Alternatively, you can also use the scroll wheel on your mouse to resize the desktop icons. Here’s how:
1. Press and hold the Ctrl key on your keyboard.
2. While holding the Ctrl key, use the scroll wheel on your mouse.
3. Scrolling up will make the icons larger, and scrolling down will make them smaller.
4. Release the Ctrl key when you have achieved your desired thumbnail size.
By following these steps, you can easily change the thumbnail size on your desktop to suit your preference.
How Do I Increase The Thumbnail Cache Size In Windows 10?
To increase the thumbnail cache size in Windows 10, you can modify a registry value. Please note that modifying the registry should be done with caution, as it can affect the functioning of your system if not done correctly. Here are the steps:
1. Press the Windows key + R on your keyboard to open the Run dialog box.
2. Type “regedit” (without quotes) and press Enter to open the Registry Editor.
3. In the Registry Editor window, navigate to the following key:
HKEY_LOCAL_MACHINE\SOFTWARE\Microsoft\Windows\CurrentVersion\Explorer
4. Right-click on the Explorer key in the left pane and select New > DWORD (32-bit) Value.
5. Name the new value “Max Cached Icons” (without quotes) and press Enter.
6. Double-click on the newly created “Max Cached Icons” value to modify it.
7. In the Value data field, enter the desired cache size. The default value is 500, but you can increase it to a higher number, depending on your requirements. For example, you can set it to 4096 for a larger cache size.
8. Click OK to save the changes.
9. Close the Registry Editor.
After making these changes, Windows will allocate a larger cache size for thumbnails, which can improve the performance and speed up the loading of icons and thumbnails in File Explorer.
It’s important to note that modifying the registry can have unintended consequences, so it’s recommended to create a backup of your registry or create a system restore point before making any changes.
Conclusion
Changing the size of thumbnails in Windows 10 is a simple process that can be done in a few different ways. One way is to right-click in the folder where you want to change the icon size and select “Show View Options.” From there, you can adjust the slider to set the desired size of the thumbnails. Another way is to right-click on the desktop, select “View,” and choose the desired icon size from the options. Additionally, you can use the scroll wheel on your mouse to resize desktop icons by pressing and holding Ctrl while scrolling.
If you want to change the icon cache size in Windows 10, you can do so by editing the Registry Editor. This involves navigating to the appropriate Registry key, creating a new string value named “MaxCachedIcons,” and setting its data to a desired value, such as 4096.
Windows 10 provides users with various options to customize the size of thumbnails and icons, allowing for a more personalized and visually appealing desktop experience.


