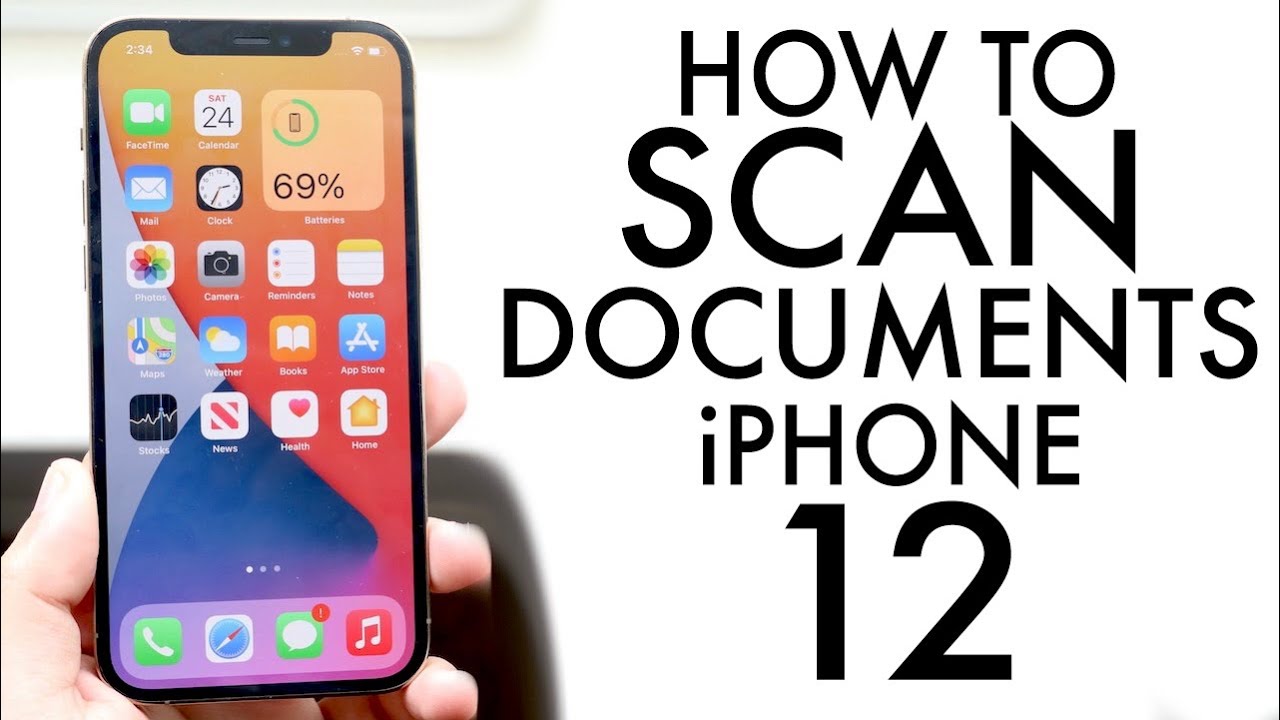
The iPhone 12 is the latest smartphone from Apple and has some impressive features that make it stand out from its predecessors. One of the most useful features is the ability to scan documents directly into Notes on your iPhone 12. This feature can save you time and hassle when you need to quickly add images or documents to a note. In this blog post, we’ll walk through the steps for scanning documents into Notes on your iPhone 12.
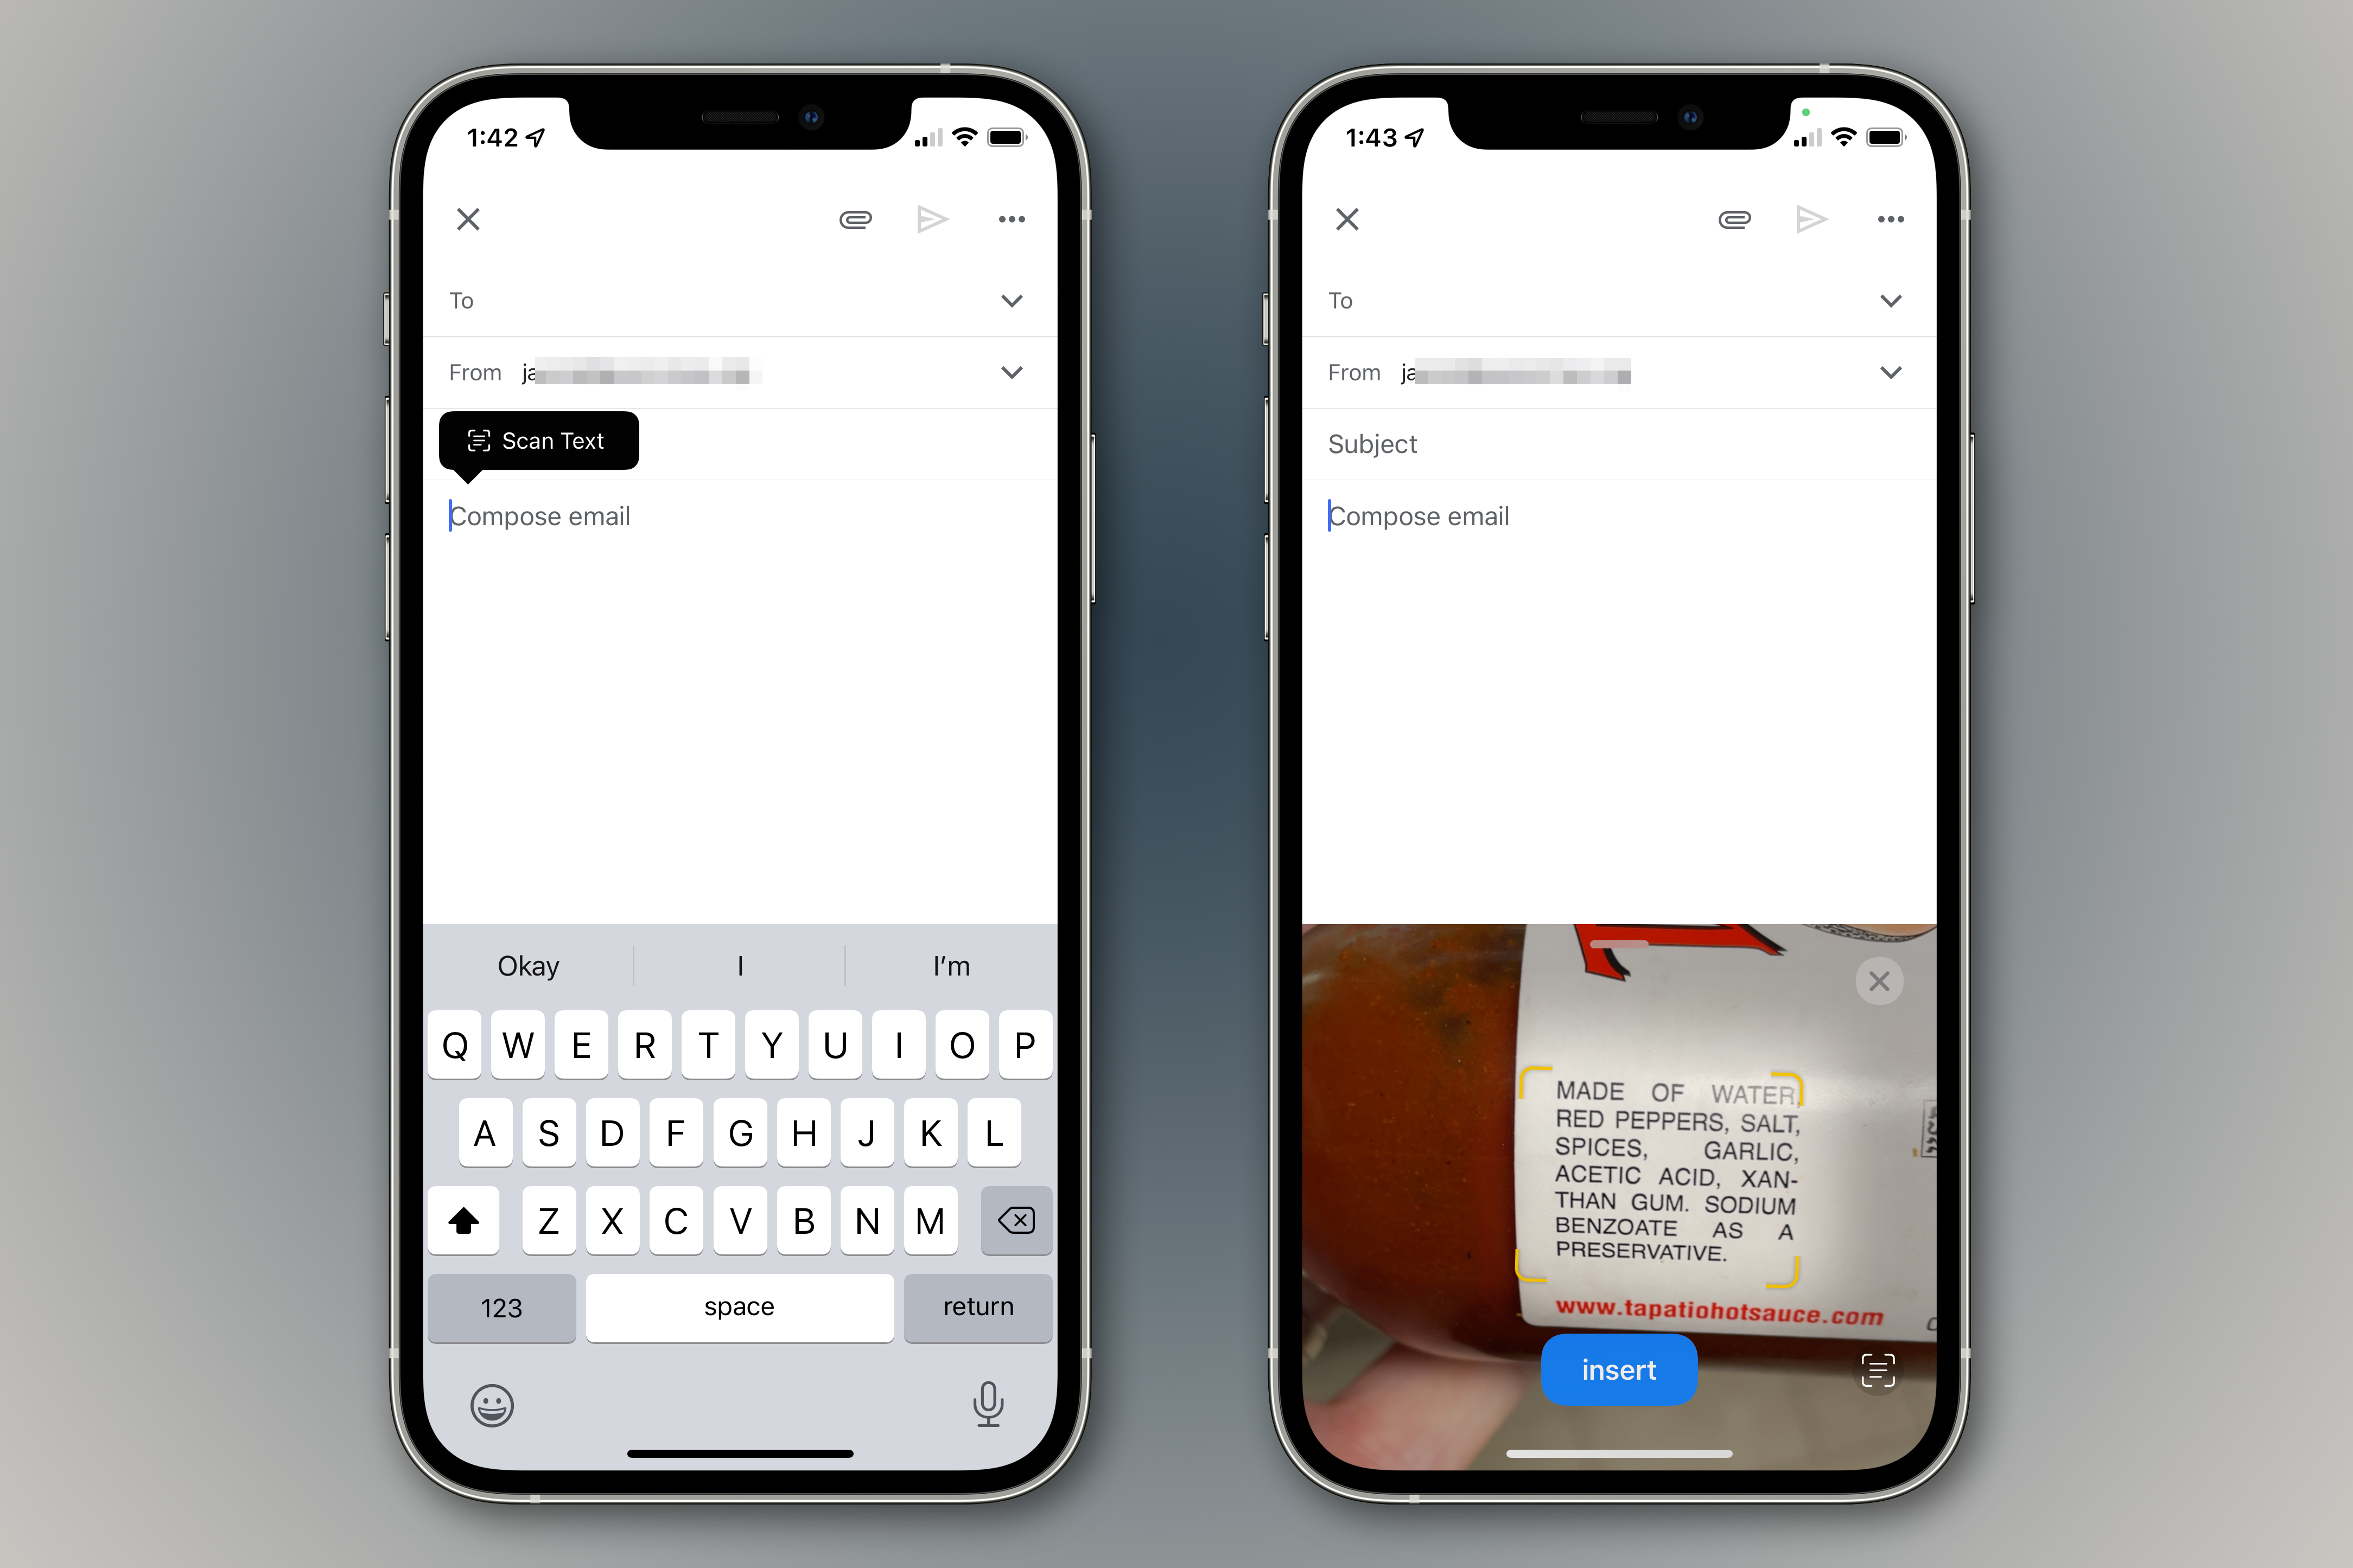
First, open up Notes on your iPhone 12 and select “New Note” from the bottom right corner. Next, tap on the camera icon above the keyboard and select “Scan Documents” from the window that appears. Once this is done, position your document in front of your camera and press the button to start scanning. Your document will be automatically scanned into Notes on your iPhone 12 in a matter of seconds!
Now that you have successfully scanned in your document using Notes on your iPhone 12, you can go ahead and add any additional text or images to it as needed. You can also move or delete any items within a note, or even share it with others if desired. You can even save notes onto iCloud to access them later from other devices with ease.
Overall, having the ability to scan documents directly into Notes on an iPhone 12 is a great way to quickly save files for future use without having to manually enter them each time. If you ever find yourself needing to quickly add images or documents to notes, use this handy feature!
Inability to Scan In Notes on iPhone
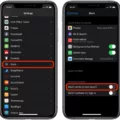
There are a few possible reasons why you may not be able to scan documents in Notes on your iPhone. First, make sure that you have an active internet connection. If the connection is stable, then check that iCloud is enabled as the default account for Notes in your iPhone’s Settings app. You may also need to make sure that you have the latest version of iOS installed on your iPhone. Finally, restarting your device can help resolve any issues that might be preventing you from scanning documents in Notes.
Using the Scan Feature on Notes
To get the scan feature on your Notes app, start by opening the app and tapping on the ‘New Note’ icon in the bottom right corner. From there, select the camera icon above the keyboard and tap ‘Scan Documents’. Position your document in view of your camera, then press the button to scan it. Your scanned document will appear within your note.
Using Notes on iPhone as a Scanner
Yes, you can use the Notes app on your iPhone as a scanner! The Notes app allows you to scan documents quickly and easily. All you need to do is open the Notes app, create a new note, and then hit the plus sign at the top right of the screen. When you do this, a menu appears that gives you options for taking photos, scanning documents, and more. Select “Scan Documents” from this menu and then use your iPhone’s camera to take a photo of the document that you want to scan. The Notes app will automatically detect the edges of your document and crop it accordingly. You can even adjust the brightness or color if needed. Once you have taken your photo, tap “Save” in the upper right corner and it will be added to your Note as an image file!
Saving Notes from an iPhone to Scan
To save your Notes document from your iPhone to scan, open the Notes app and locate the note you want to scan. Tap the Share icon in the upper right corner of the note, then select Scan Documents. Position your iPhone so that the document page appears onscreen and it will automatically capture the page. Scan additional pages, then tap Save when you’re done. Your scanned document will be saved in your Notes for easy access later.
The Ability to Scan PDFs Using iPhone Notes
Yes, iPhone Notes can scan PDF documents. To do this, open the Notes app on your iPhone and tap the camera icon at the bottom of the screen. Next, select “Scan Documents” from the menu. The camera will open and you can now take a picture of your document. After taking a picture, you can crop and adjust it to make sure it’s clear. Finally, tap “Save” and your document will be saved as a PDF file in your Notes folder.


