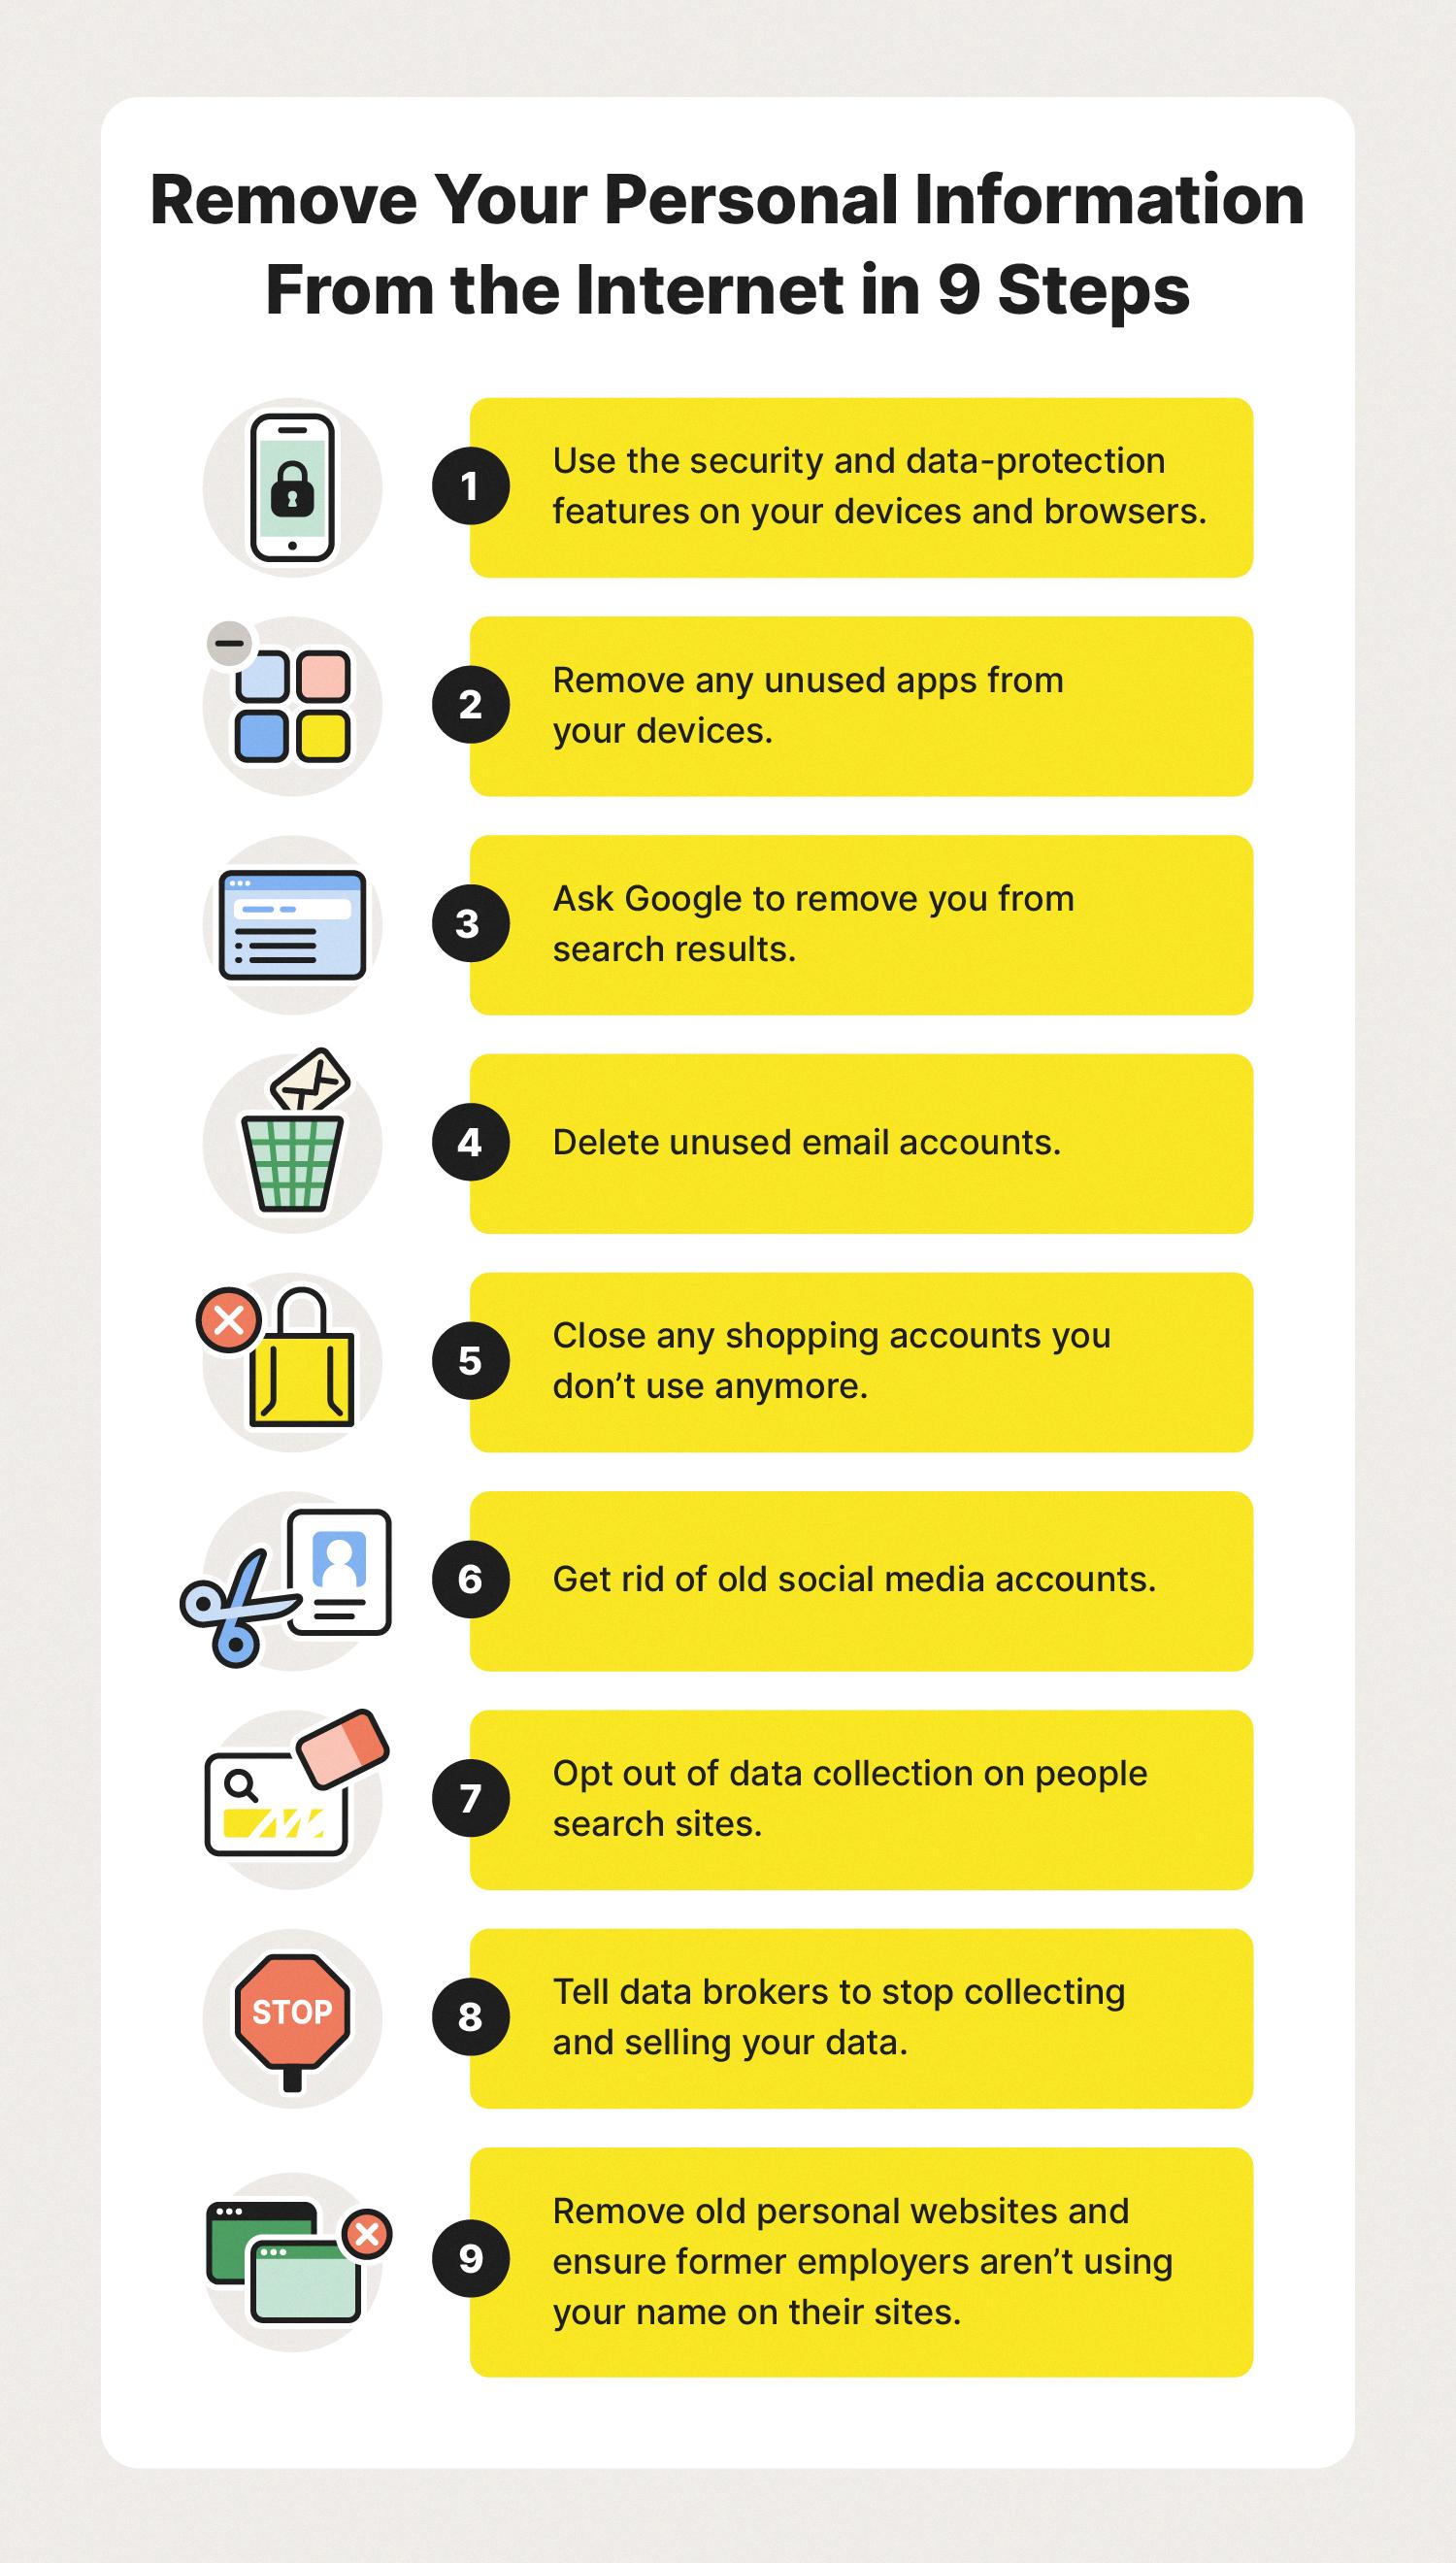
Personal data is an important aspect of our digital lives, and it’s crucial to know how to remove it properly when needed. In this article, we will discuss persona data and provide a step-by-step guide on how to remove all personal data from Windows 10.
Personal data refers to any information that can identify an individual. This includes things like your name, address, phone number, email address, social media accounts, browsing history, and more. With the increasing importance of privacy and data protection, it’s essential to take steps to remove personal data from your Windows 10 computer.
To remove all personal data from Windows 10, follow these steps:
1. Back up your data (optional): Before proceeding with the data removal process, it’s a good idea to back up any important files or documents that you want to keep. This ensures that you don’t lose any valuable information during the process.
2. Access the settings: Click on the Start button and select the gear-shaped icon to open the Settings menu.
3. Go to Update & Security: In the Settings menu, click on the “Update & Security” option.
4. Open the Recovery settings: In the left sidebar of the Update & Security menu, select the “Recovery” option.
5. Choose the reset option: Under the “Reset this PC” section, click on the “Get started” button.
6. Select removal option: You will be presented with two options – “Keep my files” and “Remove everything.” Choose the “Remove everything” option to delete all personal data from your computer.
7. Confirm the reset: Windows will prompt you to confirm the reset. Read the information carefully and make sure you understand that this action will remove all your personal files, applications, and settings. If you are certain, click on the “Next” button.
8. Local reinstall: In the next step, you will be asked to choose between two options – “Cloud download” and “Local reinstall.” Select the “Local reinstall” option to reinstall Windows from your computer itself.
9. Start the reset process: Click on the “Reset” button to initiate the reset process. Windows will then remove all personal data from your computer and reinstall the operating system.
10. Follow on-screen instructions: During the reset process, Windows may ask you to provide certain information and make decisions regarding settings. Follow the on-screen instructions to complete the process.
It’s important to note that once you remove all personal data from your Windows 10 computer, it cannot be recovered. Therefore, double-check your backup and ensure that you have saved any important files or information before proceeding with the reset.
By following these steps, you can effectively remove all personal data from your Windows 10 computer. This ensures that your information remains private and secure, giving you peace of mind when handing over or selling your computer.
Remember, it’s always a good practice to regularly review and remove unnecessary personal data from your devices to maintain your privacy and protect your information.
How Do I Wipe All User Data In Windows 10?
To wipe all user data in Windows 10, follow these steps:
1. Click on the Start menu and select the Settings icon.
2. In the Settings window, click on the “Update & security” option.
3. In the left-hand menu, click on “Recovery”.
4. Under the “Reset this PC” section, click on the “Get Started” button.
You will then be presented with two options:
– Keep my files: This option will remove all apps and settings, but will keep your personal files intact.
– Remove everything: This option will remove all apps, settings, and personal files from your computer.
5. Choose the “Remove everything” option.
You will then be asked if you want to “Just remove my files” or “Remove files and clean the drive”.
– Just remove my files: This option will delete all of your files, but they may still be recoverable using data recovery software.
– Remove files and clean the drive: This option will securely erase your files by overwriting them, making them much more difficult to recover.
6. Choose the option that suits your needs.
Next, you will be asked if you want to clean the drive.
– Only if you’re planning to sell or give away your computer: Selecting this option will securely erase your drive, making it difficult to recover any data. This is recommended if you are getting rid of your computer.
– Don’t clean the drive: This option is quicker and suitable if you are keeping the computer or passing it on to someone you trust.
7. Choose the option that best fits your situation.
After selecting the appropriate options, Windows will begin the process of wiping your drive and reinstalling Windows. This process may take some time, so be patient.
Once the process is complete, your computer will be restored to its original state, with all user data removed.

How Do I Remove Personal Data From My Computer Before Selling It?
To remove personal data from your computer before selling it, you can follow these steps:
1. Back up your important files: Before wiping your computer clean, make sure to back up any important files or data that you want to keep. You can do this by transferring them to an external hard drive, cloud storage, or another computer.
2. Sign out of all accounts: Sign out of all your accounts, including email, social media, and any other online services. This ensures that you are no longer logged in and prevents the new owner from accessing your accounts.
3. Unlink your computer from online services: Some services, such as Microsoft Office or Adobe Creative Cloud, require you to deactivate your license on the computer before selling it. Check the websites of the services you use to find instructions on how to do this.
4. Remove browsing data: Clear your browsing history, cache, and cookies from your web browsers. This will remove saved login information and prevent the new owner from accessing your online accounts.
5. Delete personal files: Manually delete any personal files or folders from your computer. This includes documents, photos, videos, and any other files that contain personal or sensitive information. Be thorough and check all folders, including the desktop, downloads, and documents.
6. Use disk-cleaning software: To ensure that your personal data is completely erased, you can use disk-cleaning software. These programs overwrite the data on your hard drive, making it extremely difficult to recover. Examples of disk-cleaning software include CCleaner, Eraser, and DBAN (Darik’s Boot and Nuke).
7. Perform a factory reset: perform a factory reset on your computer. This will restore it to its original settings, removing all personal data and restoring the operating system to its default state. The exact process may vary depending on your computer’s make and model, but you can typically find the option in the system settings or recovery menu.
By following these steps, you can ensure that your personal data is securely removed from your computer before selling it. Remember to double-check everything and verify that all your personal information has been properly deleted.
How Do I Completely Delete Everything Off My Computer?
To completely delete everything off your computer, you can perform a factory reset. This process will restore your computer to its original settings and remove all personal data and installed programs. Here is a step-by-step guide on how to do it:
1. Open the Settings menu on your computer. You can usually find it by clicking on the Start button and selecting the gear icon.
2. In the Settings menu, click on “Update & Security.”
3. Within the Update & Security menu, select the “Recovery” option.
4. Under the “Reset this PC” section, click on the “Get Started” button.
5. You will be presented with two options: “Keep my files” and “Remove Everything.”
– If you choose “Keep my files,” your personal files such as documents, pictures, and videos will be preserved, but all installed applications and settings will be removed. This option is suitable if you plan to keep using the computer or pass it on to someone else.
– If you select “Remove Everything,” all personal files, applications, and settings will be permanently deleted. This is a more thorough option if you’re planning to sell or dispose of the computer.
6. After selecting the desired option, follow the on-screen instructions to proceed with the factory reset. This may involve confirming your selection, entering your password, or selecting a specific drive to reset.
7. Once you confirm the reset, the process will begin, and your computer will restart. This can take some time, so be patient.
8. After the factory reset is complete, your computer will be restored to its original state, similar to when you first purchased it.
Remember to back up any important files before performing a factory reset, as they will be permanently deleted. Additionally, ensure that you have the necessary installation media or product keys to reinstall any software or operating system if needed.
It’s also worth noting that the specific steps for performing a factory reset may vary slightly depending on the version of Windows or operating system you are using.
Conclusion
When it comes to personal data, it is crucial to prioritize privacy and security. Safeguarding your personal information is essential to protect yourself from identity theft, fraud, and other cybercrimes. It is important to be cautious about sharing sensitive information online and only provide it to trusted sources. Regularly reviewing and updating your privacy settings on social media platforms and other online accounts is also advisable. Additionally, implementing strong passwords and enabling two-factor authentication can add an extra layer of security. Lastly, in case of selling or disposing of electronic devices, it is crucial to properly wipe the hard drive to ensure that your personal data is completely erased. By following these best practices, you can minimize the risk of your personal data falling into the wrong hands and maintain control over your digital identity.


