The Macbook Air is Apple’s ultra-lightweight laptop, making it perfect for those who need to be able to work on the go. But what if you want to connect your Macbook Air to a projector? Luckily, with the right tools and setup, it’s easy to do.
First, you’ll need an adapter that converts the signal from your Macbook Air to the correct HDMI input for your projector. The most common adapter for this is a Mini DisplayPort-to-HDMI adapter (sometimes called a DVI adaptor). You can find one at any local electronics store or online.
Once you have the adapter, plug one end into your Macbook Air’s Mini DisplayPort port and the other end into the HDMI port of your projector. If you don’t have a Mini DisplayPort port on your Macbook Air, you’ll need an appropriate USB-C to HDMI adapter instead.
After connecting the cables between your laptop and projector, open System Preferences from the Apple menu and select Displays from within System Preferences. Here you’ll be able to choose what kind of display mode you want (like mirrored or extended desktop), as well as adjust screen resolution and brightness settings.
If you’re having trouble getting your laptop and projector to detect each other automatically, try clicking on “Detect Displays” while holding down the Option key. This should force the system to look for any connected displays that it may not be detected automatically.
Once everything is connected and set up correctly, you should be good to go! With just a few simple steps, it’s easy to get your Macbook Air connected to a projector—allowing you to share presentations or videos on a larger screen than just your laptop’s display.
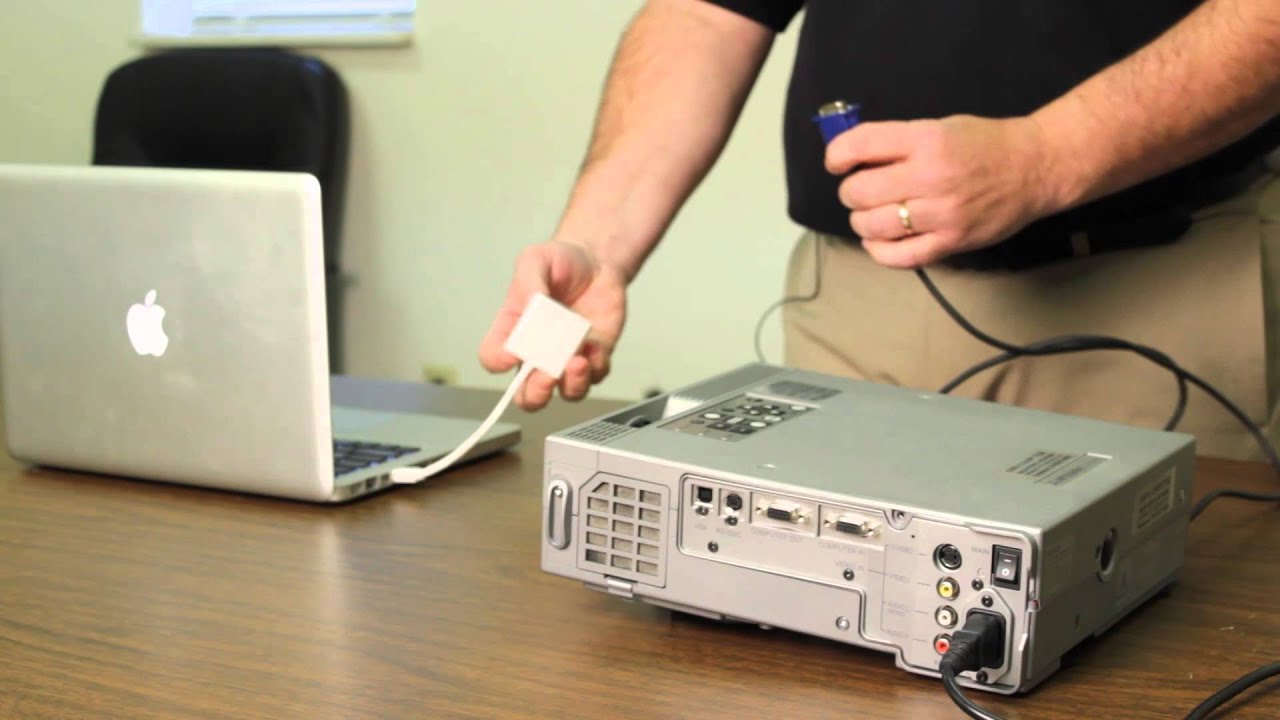
Connecting a MacBook Air to a Projector
To get your MacBook Air to display on a projector, you’ll need to connect the appropriate cable from your Mac to the projector. Depending on the type of projector and your Mac model, you may need a Thunderbolt 3, USB-C, HDMI, or Mini DisplayPort cable. If the ports on your Mac and projector don’t match, you can also use an adapter for the connection. Once your cable is connected, switch on both devices and make sure that both are set to use the same input/output port. Your MacBook Air should now be displayed on the projector screen.
Troubleshooting MacBook Air Connection to Projector
It is possible that your MacBook Air is not connecting to your projector due to a variety of reasons. It could be due to the type of cable you are using, the ports on both devices, the resolution settings, or the distance between them. Try making sure that your cable is securely connected and that you have selected the correct input on the projector. If these steps do not work, try resetting both devices or checking if they are compatible with each other. Additionally, check if the projector is set to “Mirror” mode instead of “Extend” mode. Lastly, try moving the projector closer to your MacBook Air and testing again.
Troubleshooting Mac Screen Not Displaying on Projector
It’s possible that your Mac screen is not showing on the projector due to a few different issues. First, make sure the display cable connections are secure. If there is an adapter involved, such as an HDMI to VGA adapter, make sure it is up to date with the latest software. Second, check the resolution and brightness settings in System Preferences > Displays. Make sure that your Mac is set to the correct resolution and brightness for your projector. Finally, it can also help to try clicking on ‘Scaled’ and then holding down the Option key while clicking ‘Detect Displays’. Doing this should cause your Mac to detect if any displays are connected. If none are found, then you may need to consult your projector manual or contact technical support for assistance.
Connecting a MacBook to an HDMI Device
To get your MacBook to play through HDMI, you will need a USB-C to HDMI adapter and an HDMI cable. First, plug one end of the USB-C to HDMI adapter into your laptop’s USB-C port. Then, plug one end of the HDMI cable into your TV’s HDMI port. Finally, plug the other end of the HDMI cable into the other end of the USB-C to the HDMI adapter. You should now be able to play audio and video from your MacBook onto your TV through the HDMI connection.

